WindowsのVisual Studio CodeでC言語とFORTRANの環境(MinGW)を構築する方法について説明する
筆者の環境ではオンラインインストールに失敗したので、オフラインインストールを行った
≫gfortranのオフラインインストール方法(オンラインインストールに失敗した場合)
エディション Windows 10 Home
バージョン 21H2
インストール日 2022/02/14
OS ビルド 19044.1526
エクスペリエンス Windows Feature Experience Pack 120.2212.4170.0
Visual Studio Code のインストール
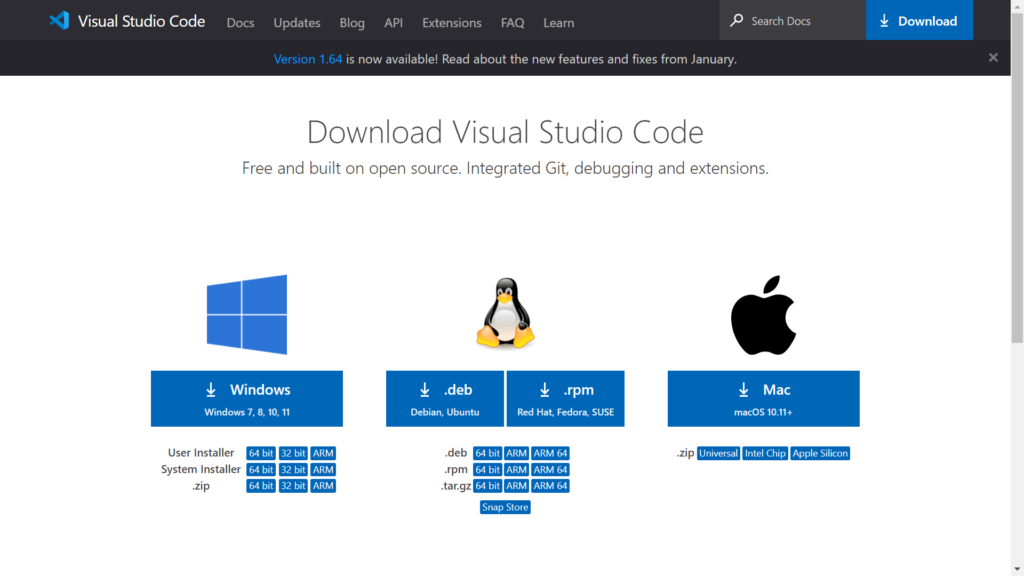
↓Visual Studio Code の公式サイトにアクセスする
「Windows」をクリックする
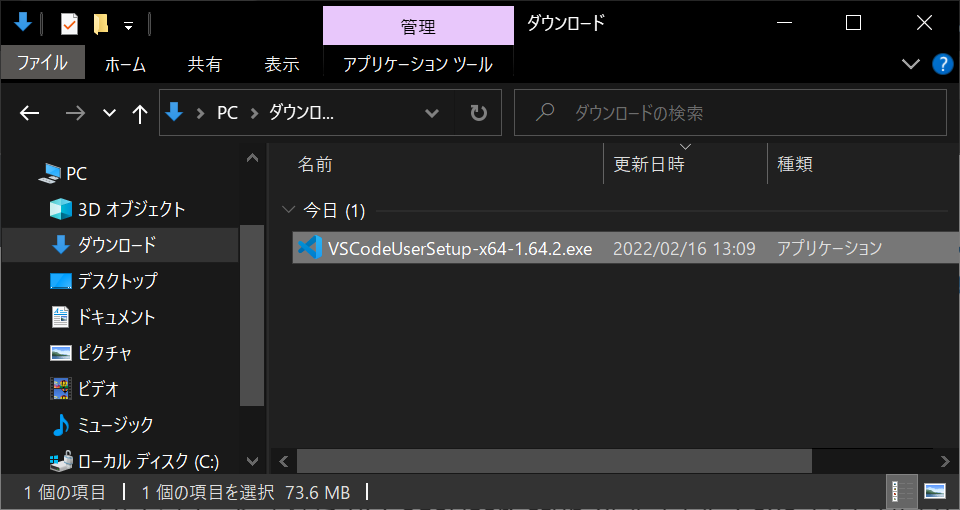
ダウンロードされた VSCodeUserSetup-x64-1.64.2.exe をダブルクリックして実行する
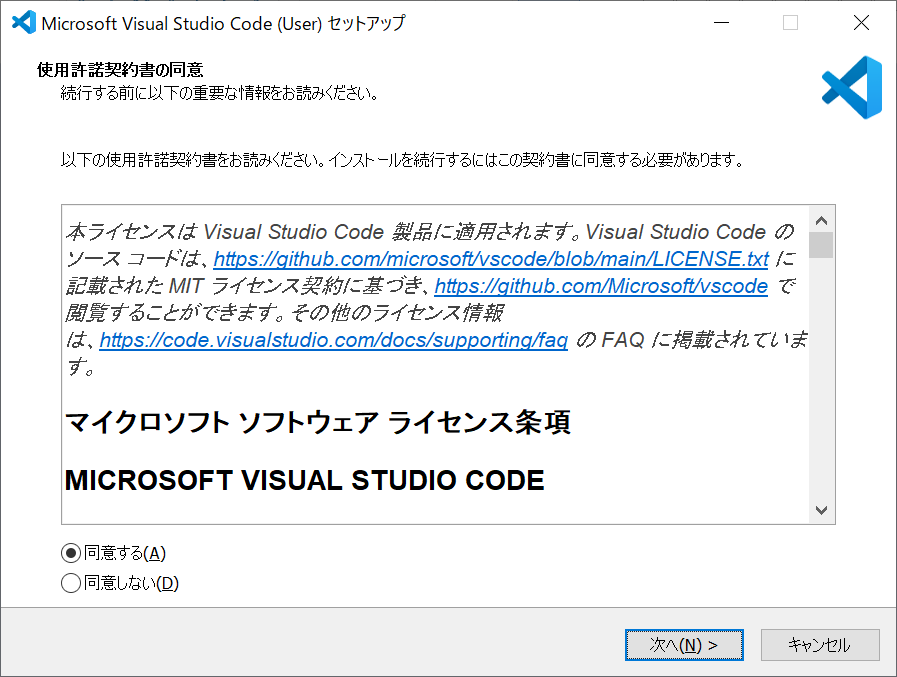
使用許諾契約書を読んで「同意する」にチェックを入れ「次へ」をクリック
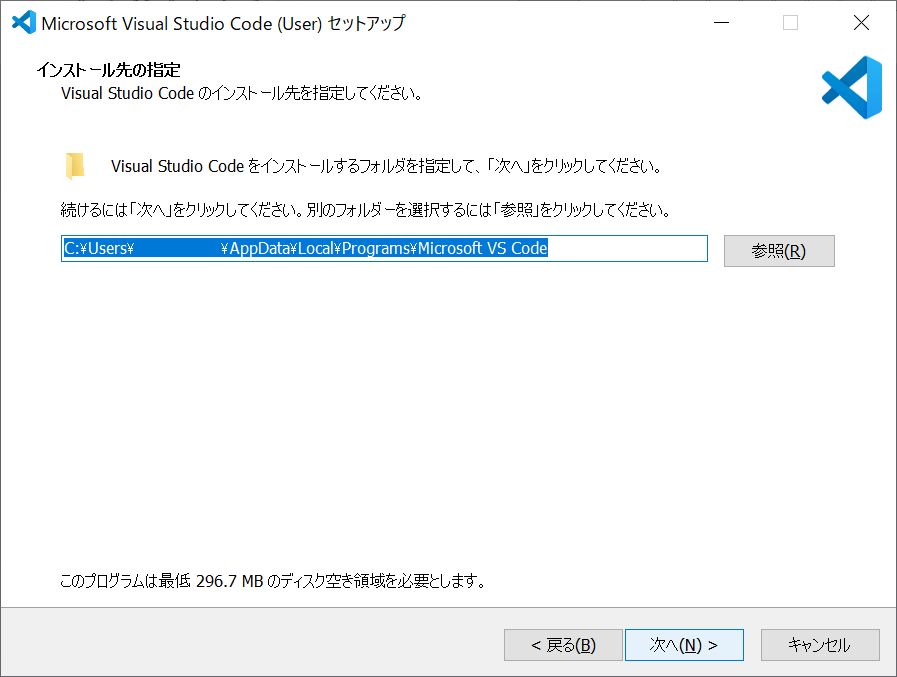
「次へ」をクリック
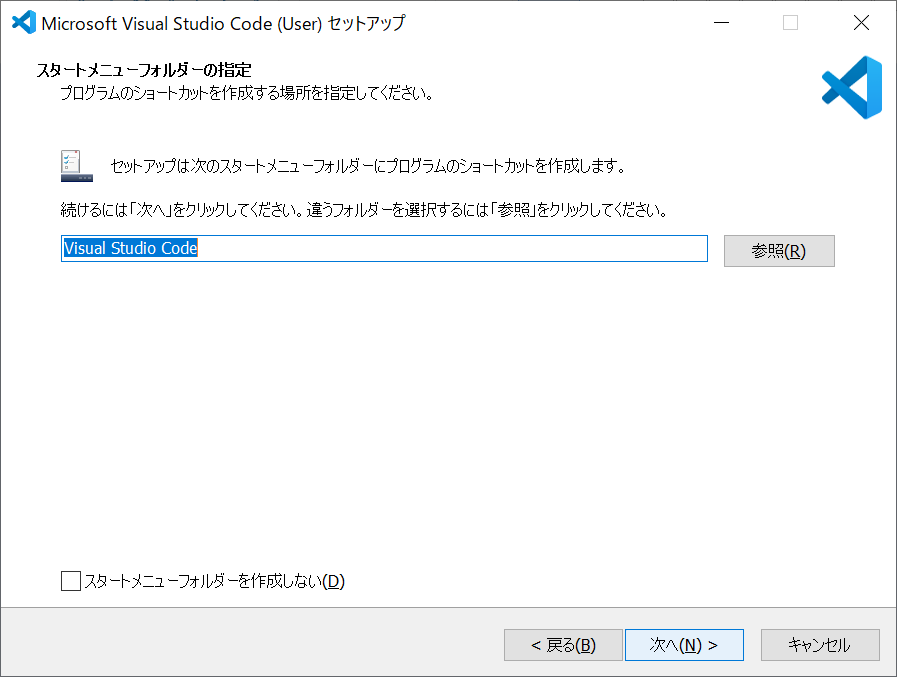
「次へ」をクリック
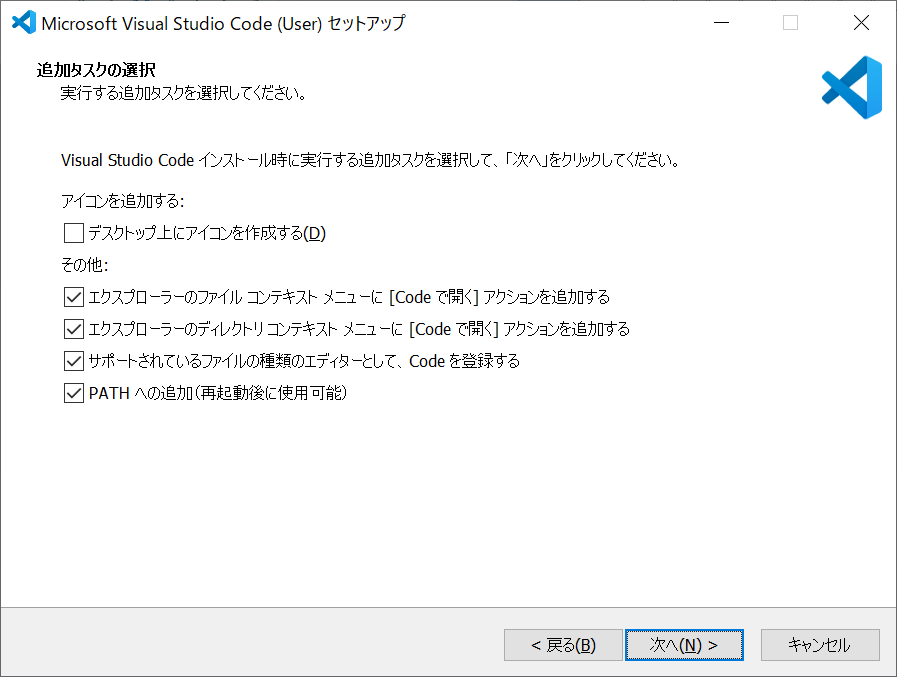
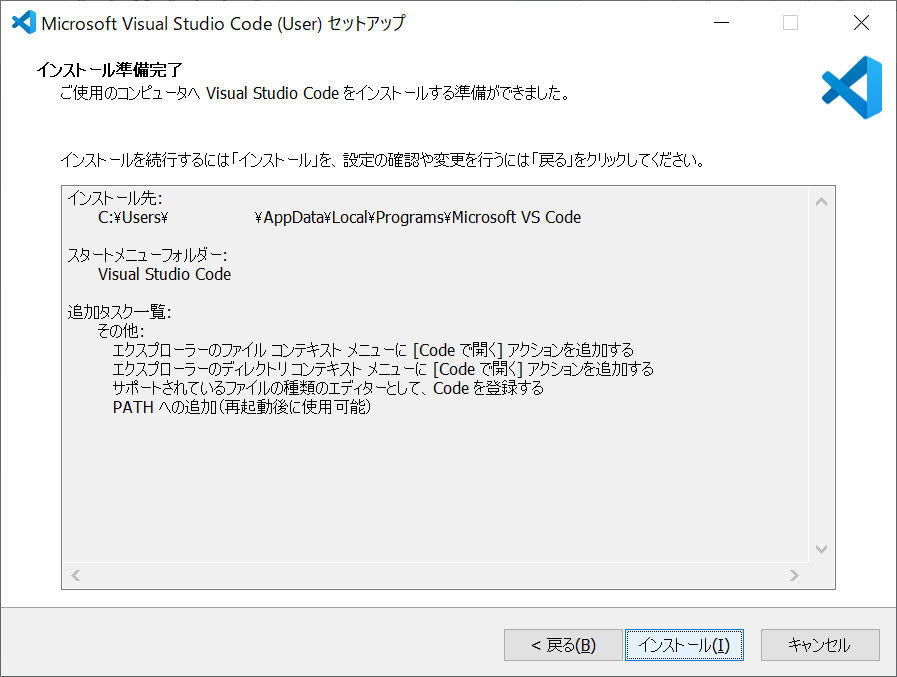
「PATHへの追加(再起動後に使用可能)」にチェックを入れる
それ以外はお好みでチェックを入れ「次へ」をクリック
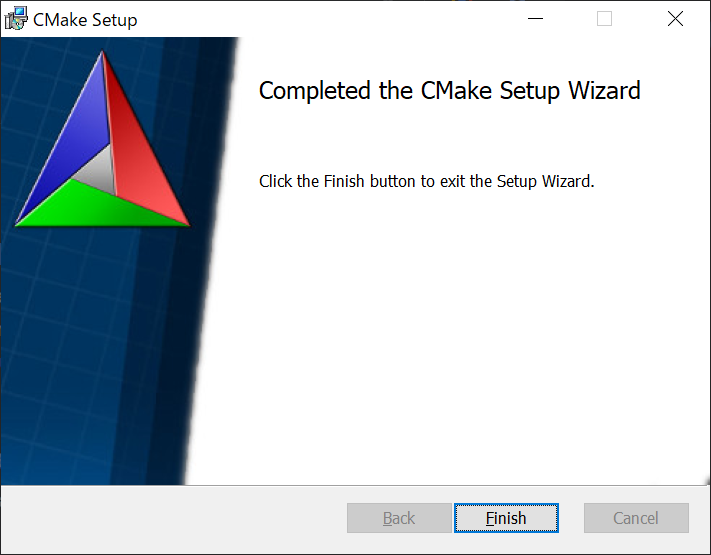
「インストール」をクリック
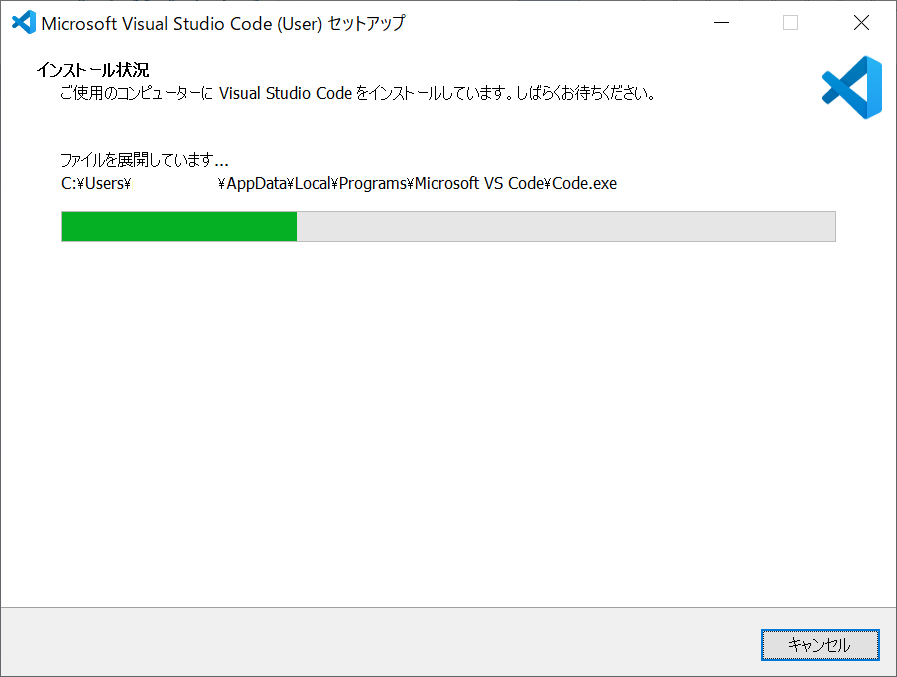
インストールが始まる(すぐに終わる)
「Visual Studio Code を実行する」にチェックを入れて「完了」をクリック

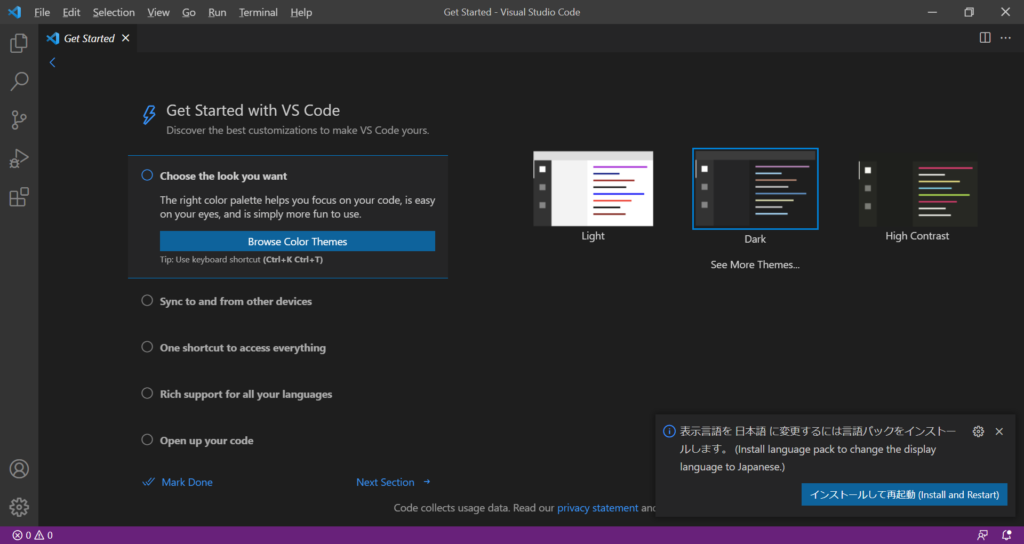
Visual Studio Code が起動する
言語を日本語にするために、右下の「インストールして再起動」をクリック
Visual Studio Code が再起動され、言語が日本語になる
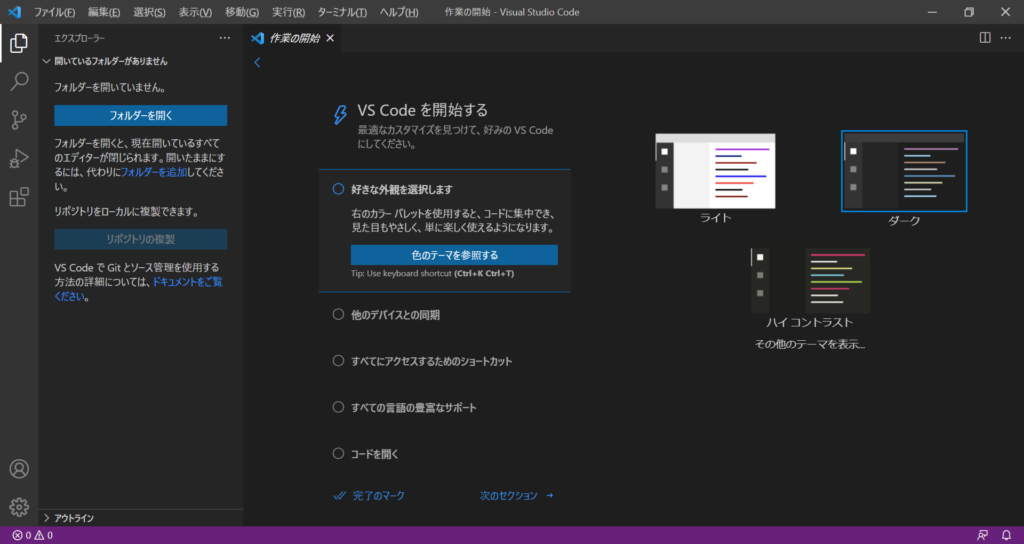
これでVisual Studio Code のインストールは完了である
MinGWのオフラインインストール
↓sourceforgeのMinGWのページにアクセスする

「MinGW-W64 GCC-8.1.0」の「x86_64-posix-seh」をクリックする
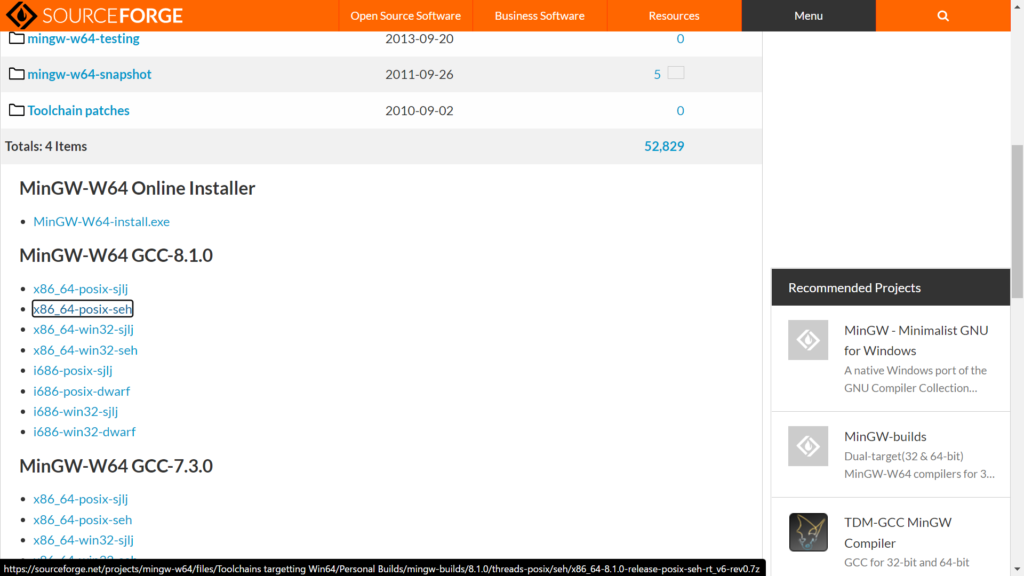
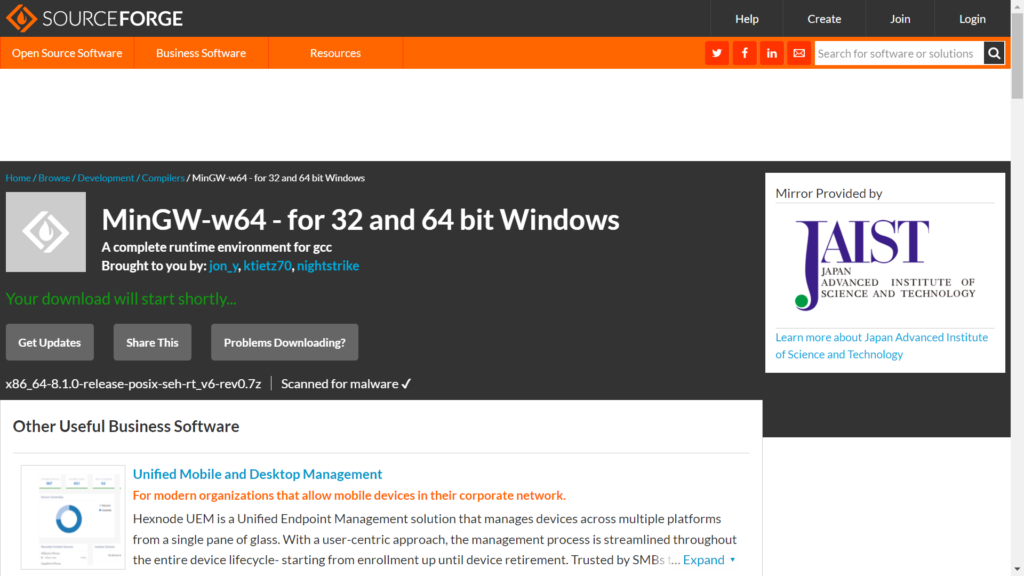
別ページに飛んでダウンロードが始まる
posixだのsehだのの意味はこちら
≫Windows環境にフリーのC開発環境を構築した際のメモ - Qiita
7-Zip のインストール
ダウンロードされた「x86_64-8.1.0-release-posix-seh-rt_v6-rev0.7z」を回答するために、「7-Zip(64bit版)」をインストールする
≫これで7zファイルを解凍できる!Windows10で拡張子「7z」のファイルを解凍する方法2選
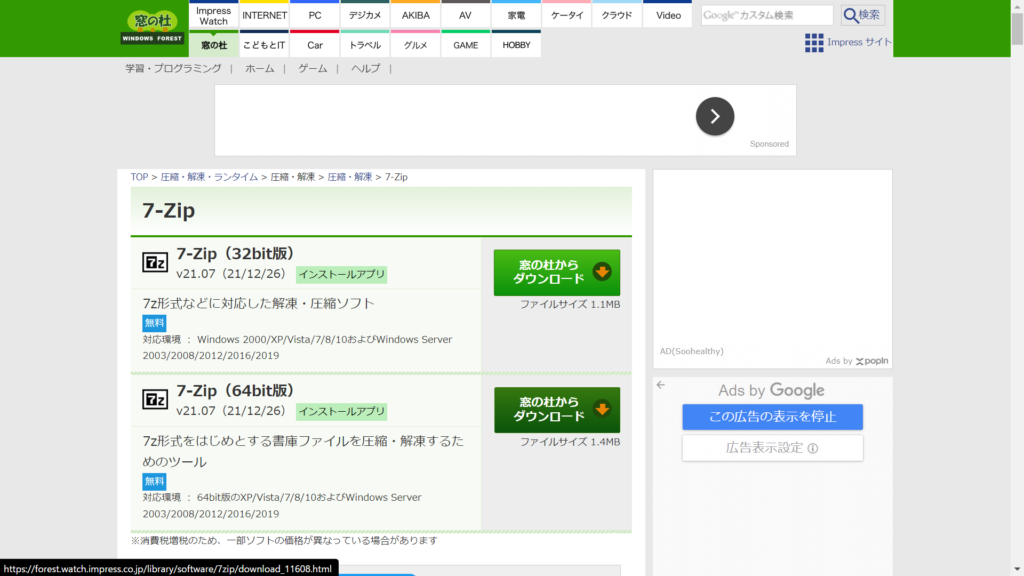
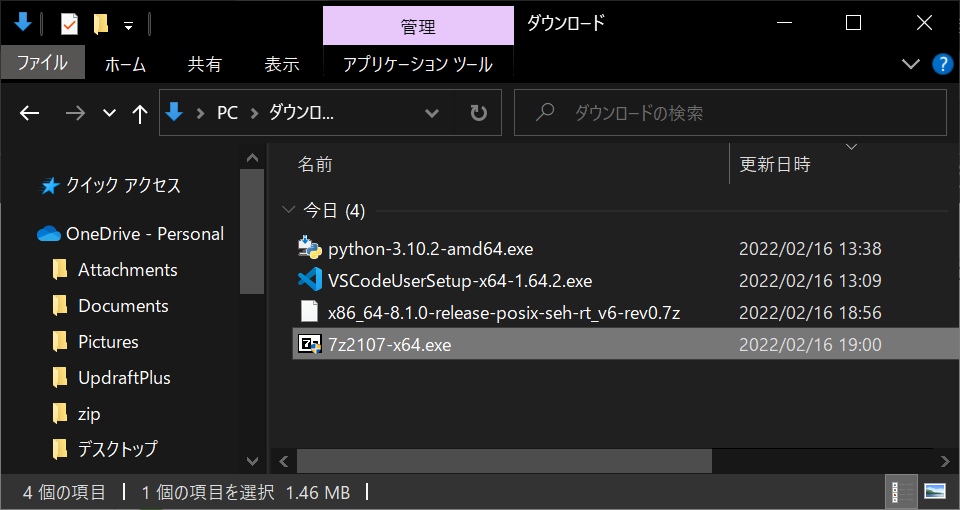
「窓の杜からダウンロード」をクリックすると「7z2107-x64.exe」がダウンロードされるので、ダブルクリックで実行する
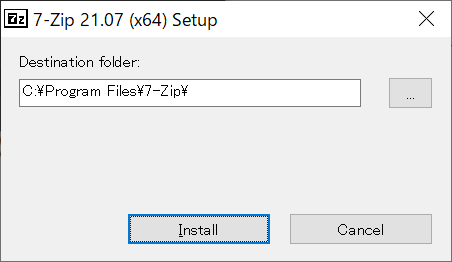
「Install」をクリックする
インストールが始まってすぐに終わるので「Close」をクリック

.7zファイルの解凍
Windowsキーを押してスタートを開き、検索窓に「7-Zip File Manger」と打ち込む
検索結果に7-Zip File Managerが出てくるので「管理者として実行」をクリックする

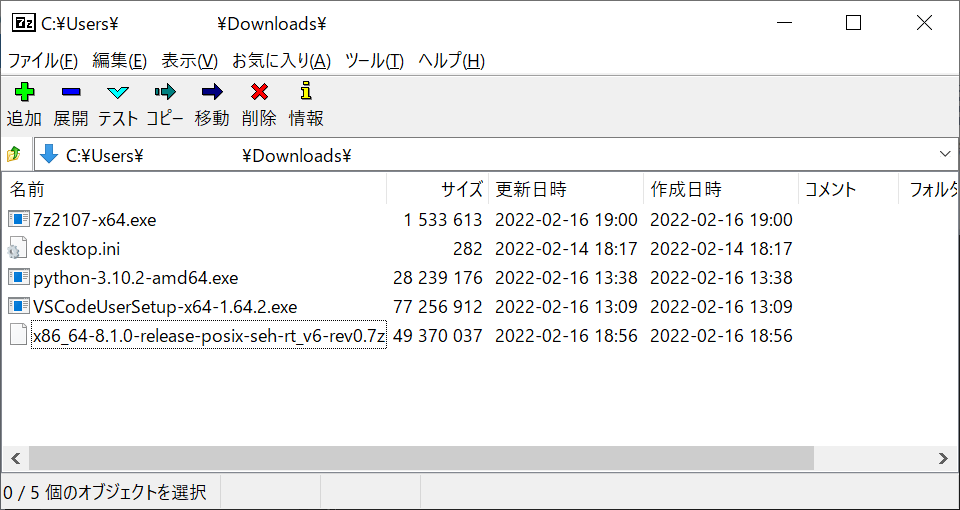
7-Zipのウィンドウが開くので「C:\Users\XXX\Downloads」にアクセスする
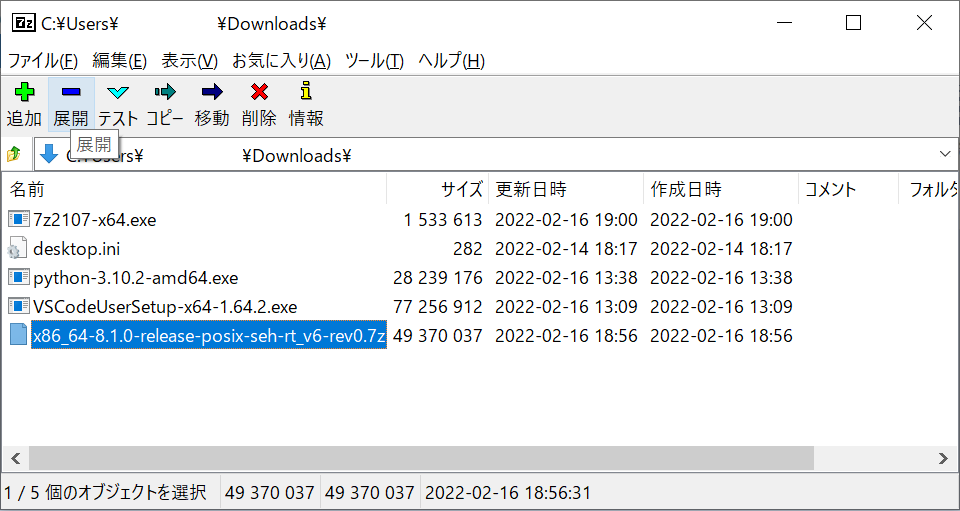
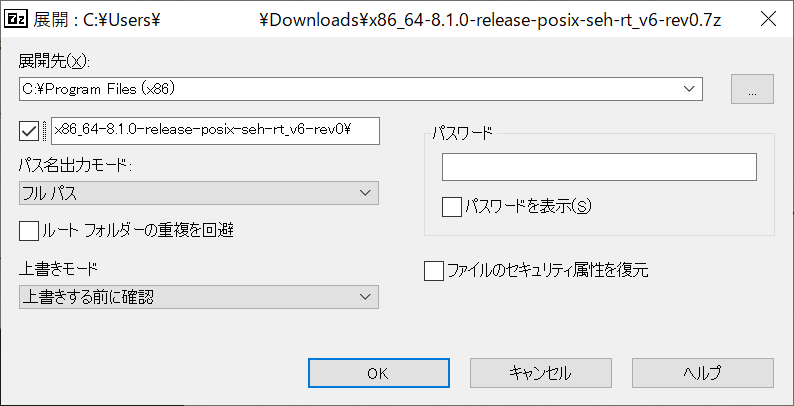
「x86_64-8.1.0-release-posix-seh-rt_v6-rev0.7z」を選択し上のバーの「展開」をクリックする
展開先を「C:\Program Files (x86)」として「OK」をクリック
展開が始まる(すぐに終わる)
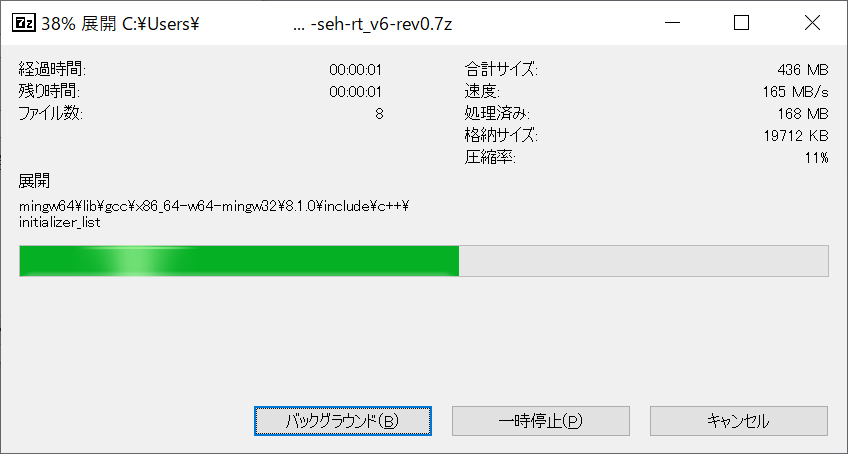
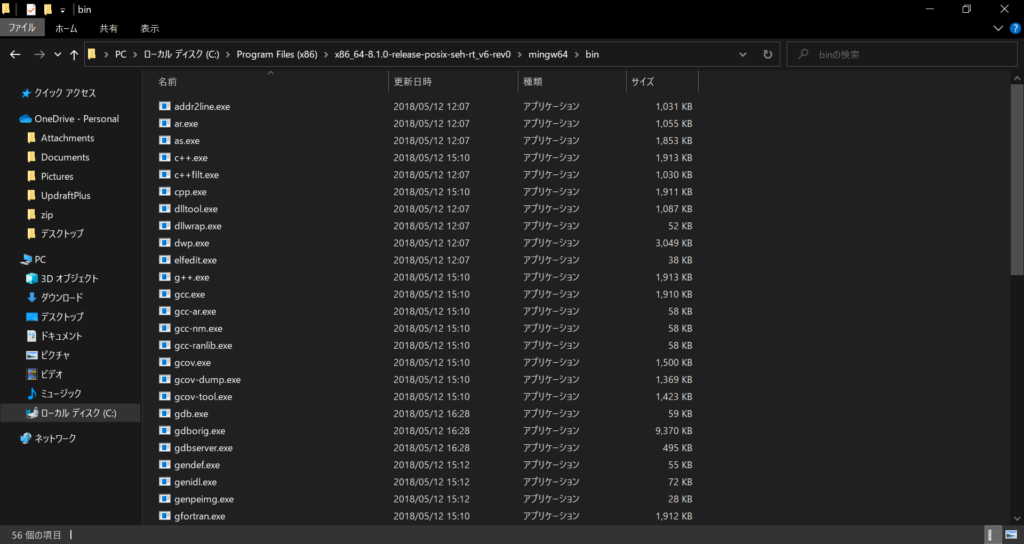
「C:\Program Files (x86)\x86_64-8.1.0-release-posix-seh-rt_v6-rev0」に「mingw64」が展開される
PATHを通す
Visual Studio Code から MinGW を呼び出すためにPATHを設定する
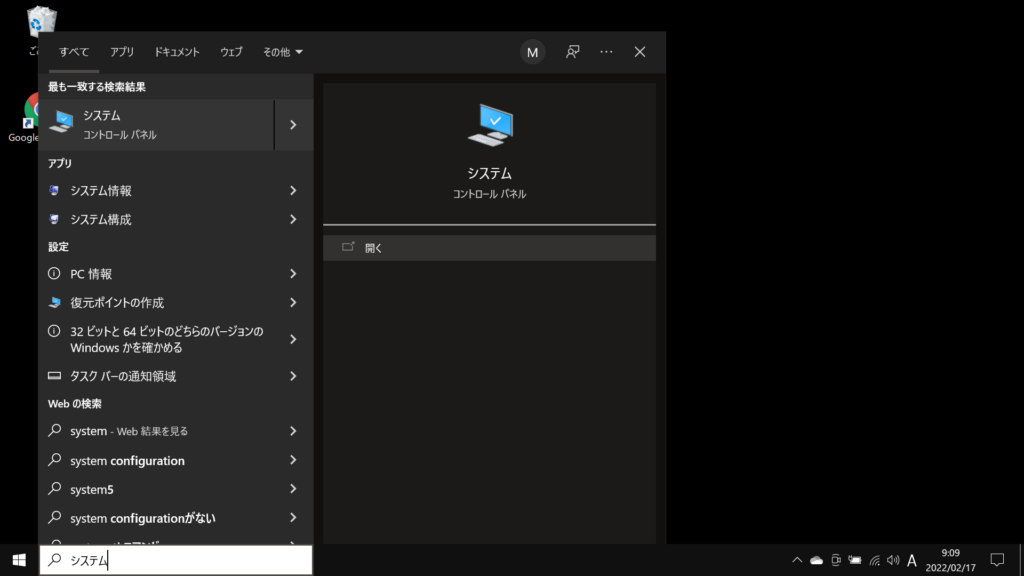
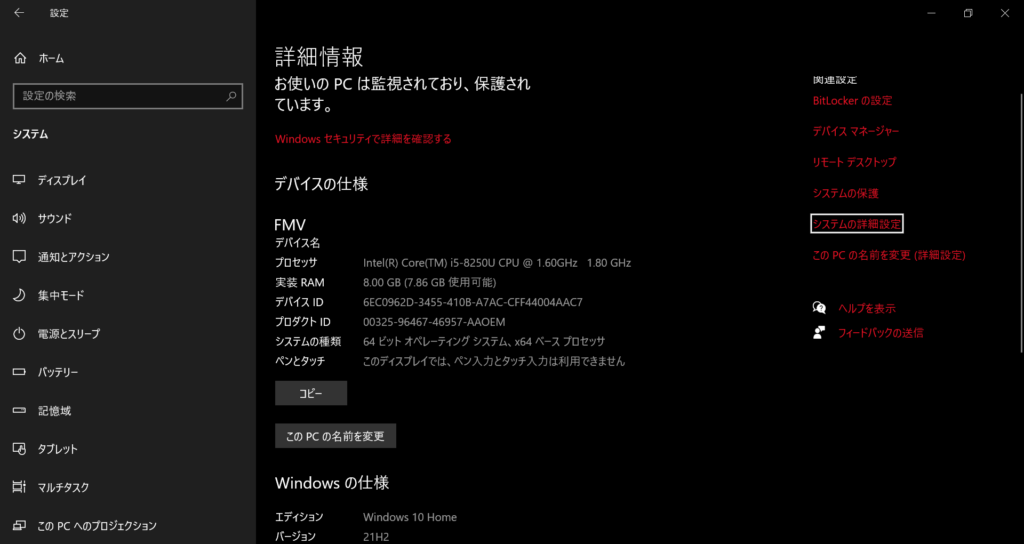
Windowsキーを押してスタートを開き「システム」と入力する
1番上に出てくる「システム」の「開く」をクリックする
設定のウィンドウが開くので、右側の「システムの詳細設定」をクリック
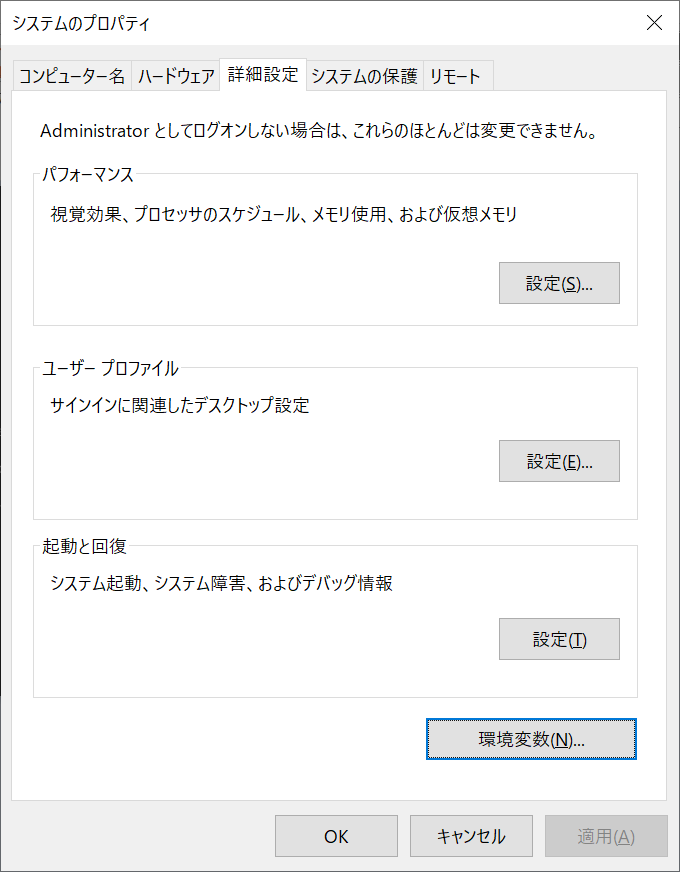
システムのプロパティのウィンドウが開くので、詳細設定タブの「環境変数」をクリック
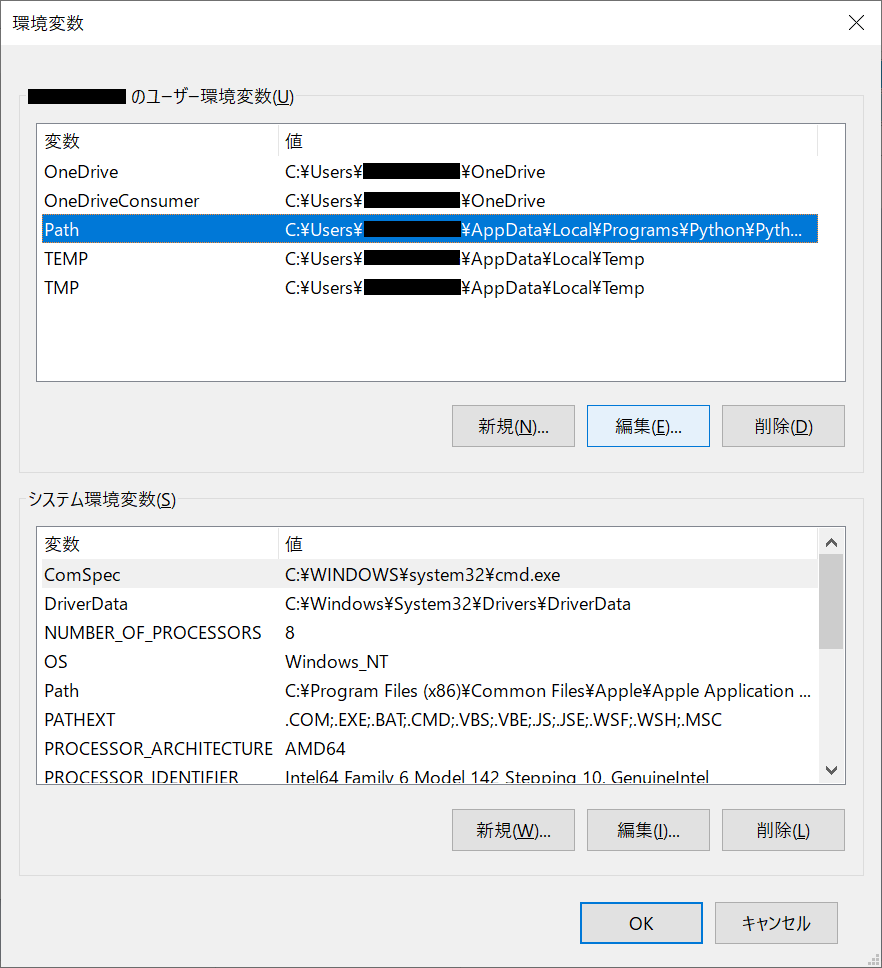
ユーザー環境変数の「Path」を選択して「編集」をクリック
「新規」をクリックして「C:\Program Files (x86)\x86_64-8.1.0-release-posix-seh-rt_v6-rev0\mingw64\bin」を入力し「OK」をクリック
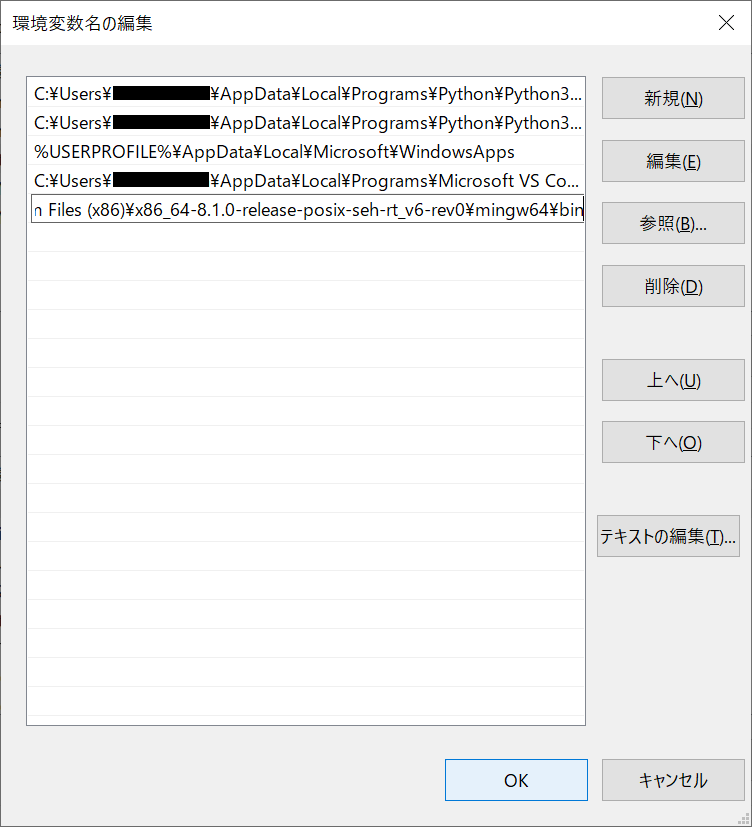
これでC言語とFORTRANのコンパイラ(gccとgfortran)のインストールは完了である
Visual Studio Code で C言語 を使えるようにする
Visual Studio Code を開き、拡張機能を開く(Ctrl+Shift+X)
左上の検索窓に「C/C++」と入力し、上から「C/C++」「C/C++ Themes」「C/C++ Extension Pack」という名前の拡張機能の「インストール」をクリックする
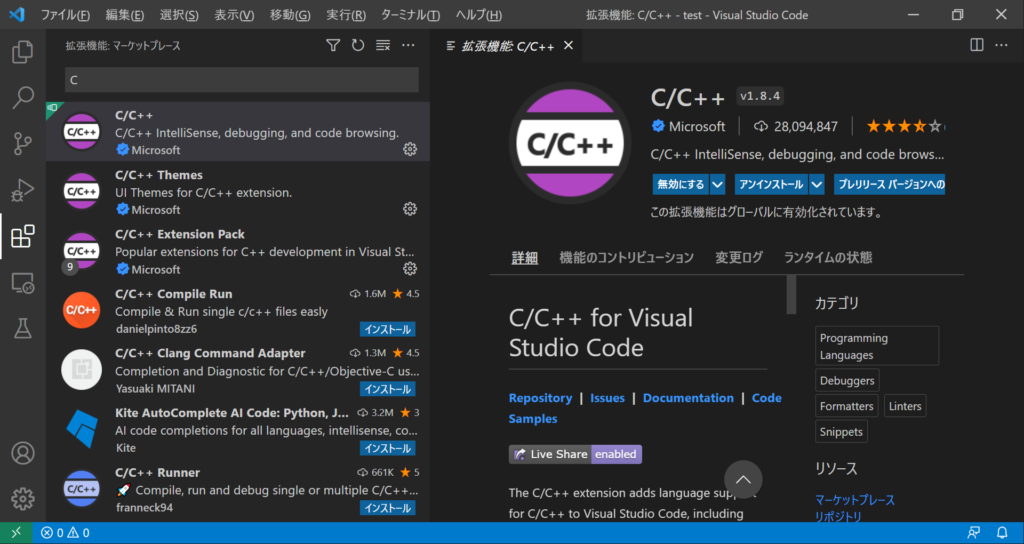
さらに、左上の検索窓に「fortran」と入力し、上から「fortran」「Modern Fortran」という名前の拡張機能の「インストール」をクリックする

サンプルプログラムを実行する
きちんとインストールできたかどうかを確認するために、サンプルコードを実行する
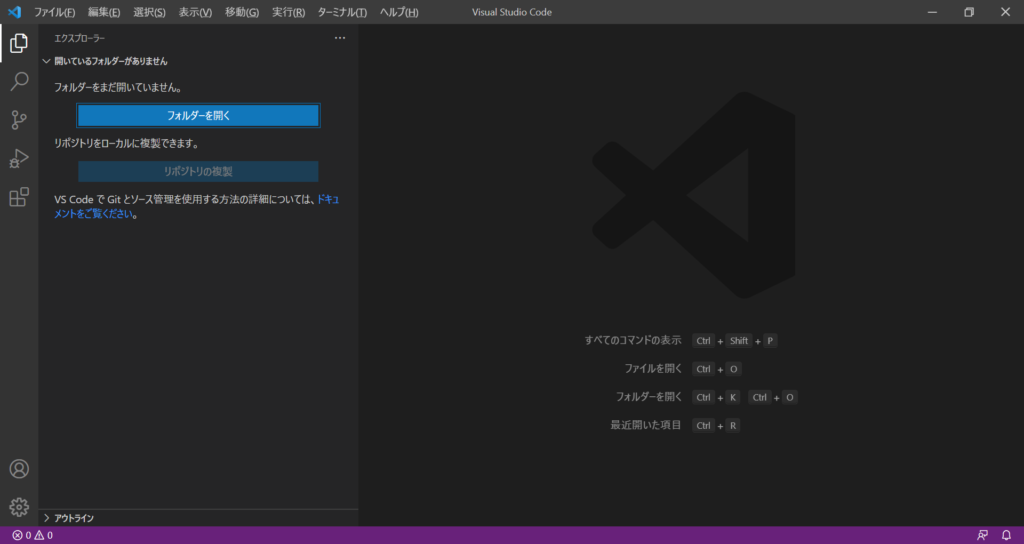
Visual Studio Code を開き、エクスプローラーを開く(Ctrl+Shift+E)
「フォルダーを開く」をクリックする
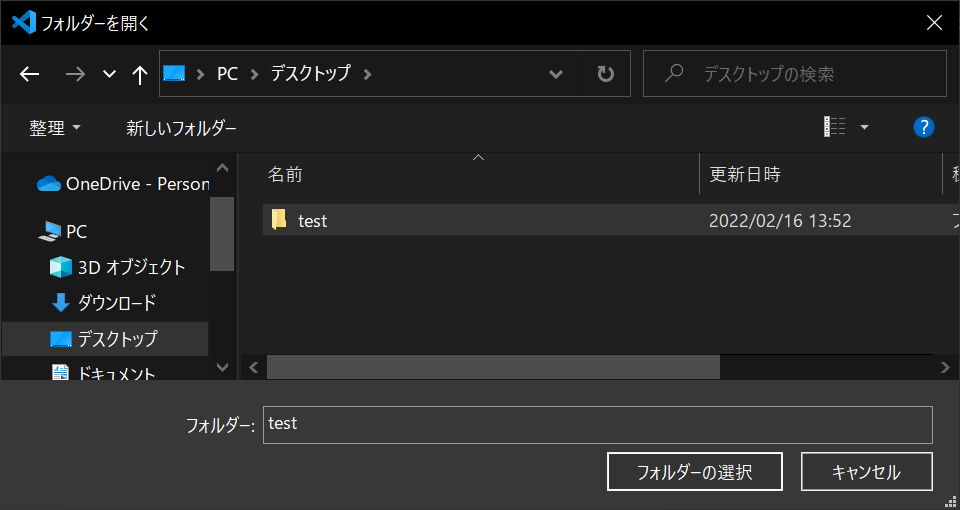
好きなフォルダを選択して「フォルダの選択」をクリック(今回はC:\Users\XXX\Desktop\test)
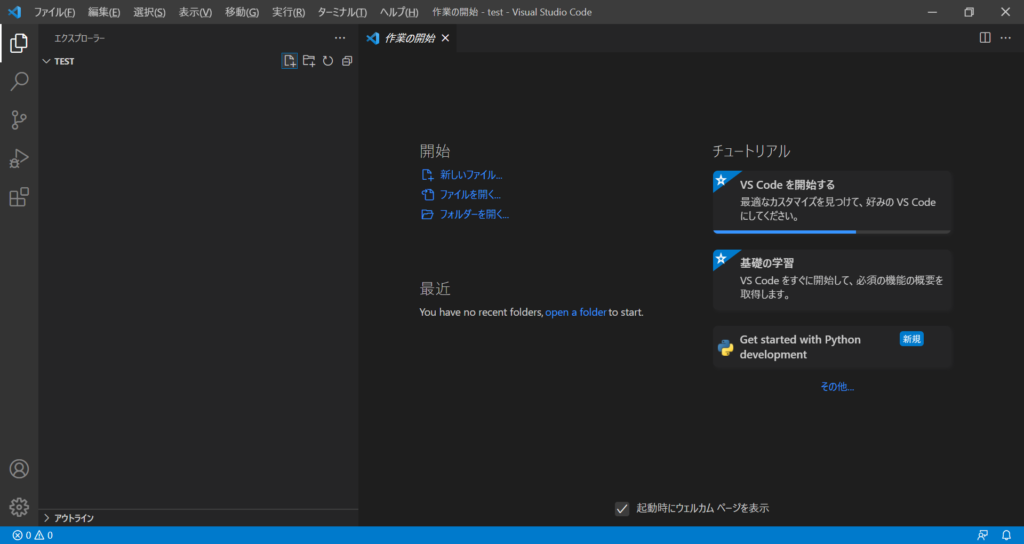
「このフォルダー内のファイルの作成者を信頼しますか?」という警告が出たら「はい、作成者を信頼します」をクリック

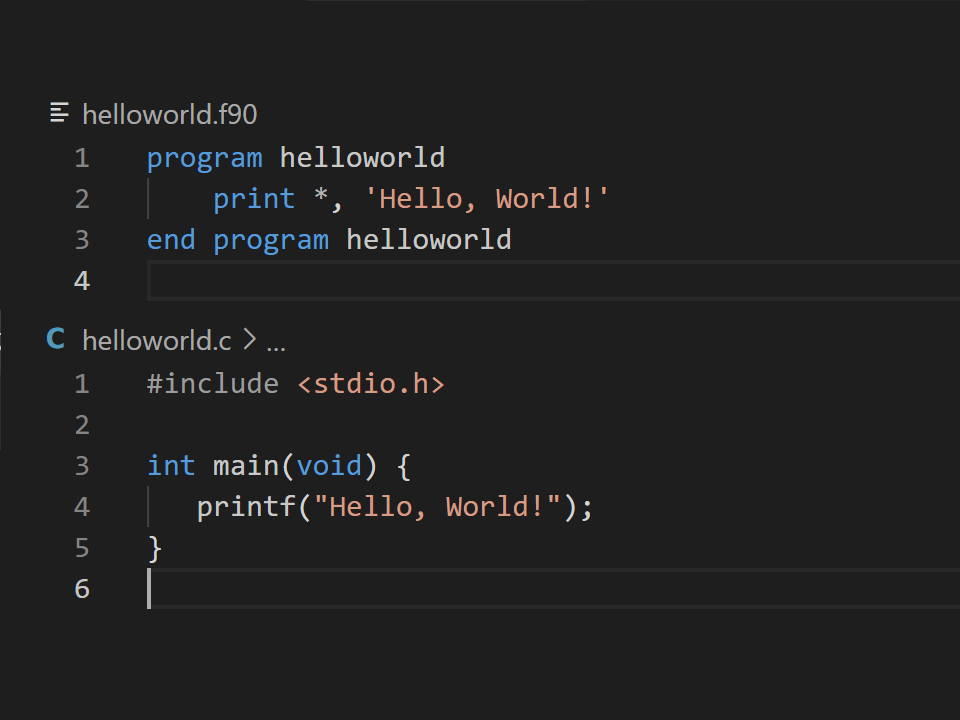
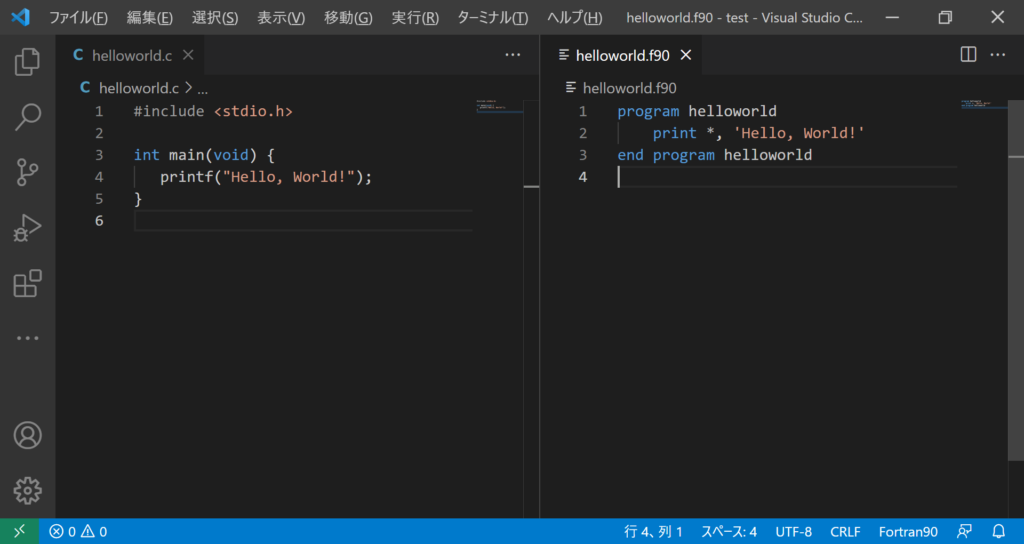
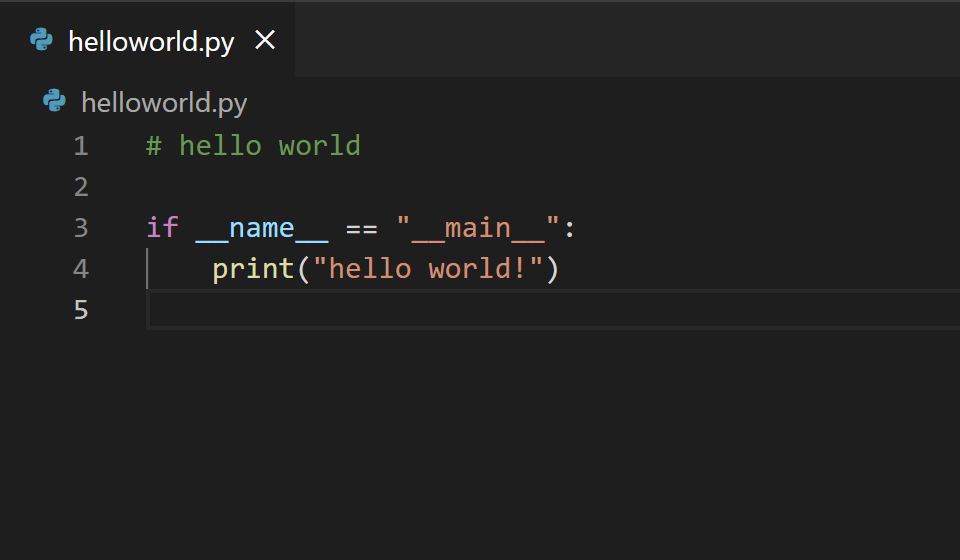
左上の書類のマーク(新しいファイル)をクリックし適当な名前の.cファイルと.f90ファイルを作る(今回はhelloworld.cとhelloworld.f90)
helloworld.cとhelloworld.f90の中身は以下の通り
//helloworld.c
#include <stdio.h>

int main(void) {
   printf("Hello, World!");
}
!helloworld.f90
program helloworld
    print *, 'Hello, World!'
end program helloworld
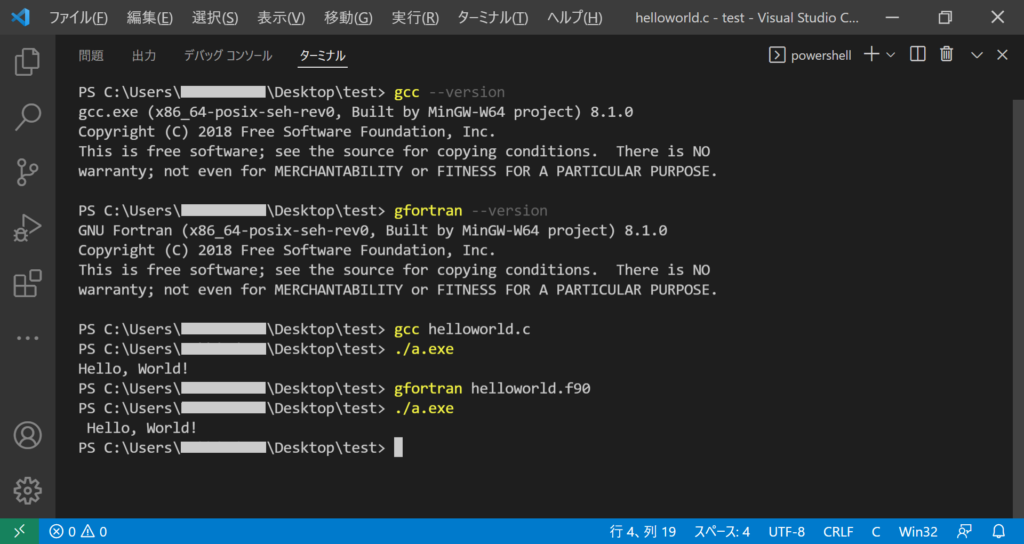
「Ctrl+@」でターミナルを開く
C言語とFORTRANのコンパイラがインストールできているかを「gcc --version」「gfortran --version」コマンドで確認する
PS C:\Users\XXX\Desktop\test> gcc --version
gcc.exe (x86_64-posix-seh-rev0, Built by MinGW-W64 project) 8.1.0
Copyright (C) 2018 Free Software Foundation, Inc.
This is free software; see the source for copying conditions.  There is NO
warranty; not even for MERCHANTABILITY or FITNESS FOR A PARTICULAR PURPOSE.

PS C:\Users\XXX\Desktop\test> gfortran --version
GNU Fortran (x86_64-posix-seh-rev0, Built by MinGW-W64 project) 8.1.0
Copyright (C) 2018 Free Software Foundation, Inc.
This is free software; see the source for copying conditions.  There is NO
warranty; not even for MERCHANTABILITY or FITNESS FOR A PARTICULAR PURPOSE.

PS C:\Users\XXX\Desktop\test>
テストプログラムを実行してみる
PS C:\Users\XXX\Desktop\test> gcc helloworld.c
PS C:\Users\XXX\Desktop\test> ./a.exe
Hello, World!
PS C:\Users\XXX\Desktop\test> gfortran helloworld.f90
PS C:\Users\XXX\Desktop\test> ./a.exe
 Hello, World!
PS C:\Users\XXX\Desktop\test>
できた
まとめ
WindowsのVisual Studio CodeでC言語とFORTRANの環境を構築する方法について説明した
C言語とFORTRANを使えばいろいろと面白いことができるので、ぜひ挑戦してみてほしい
↓関連記事
コメント