WindowsのVisual Studio CodeでCMakeをインストールする方法について説明する
エディション Windows 10 Home
バージョン 21H2
インストール日 2022/02/14
OS ビルド 19044.1526
エクスペリエンス Windows Feature Experience Pack 120.2212.4170.0
↓C言語のインストールはこちら
CMake のインストール
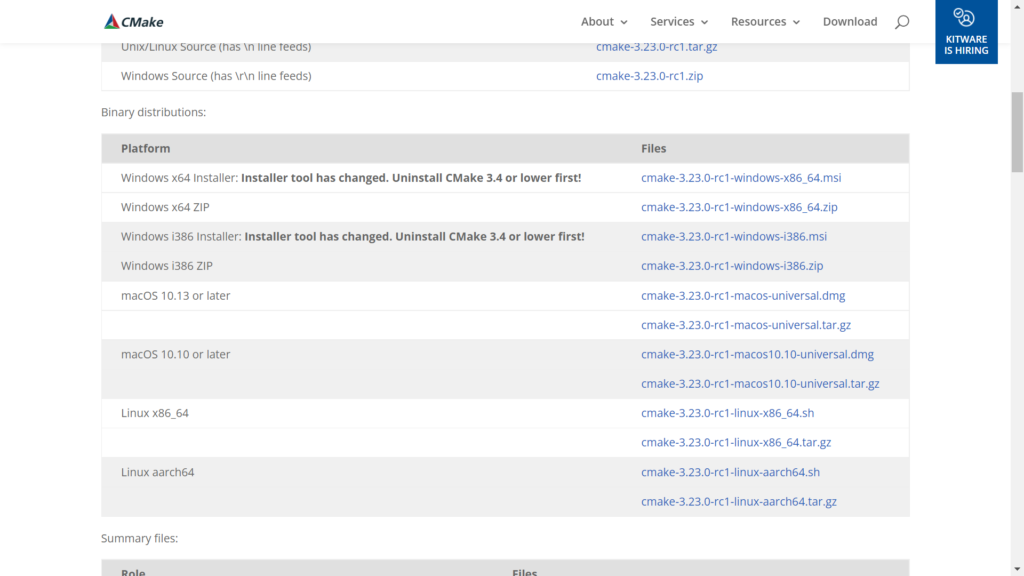
↓CMake の公式サイトにアクセスする

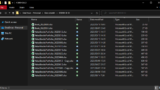
「cmake-3.23.0-rc1-windows-x86_64.msi」をクリックする
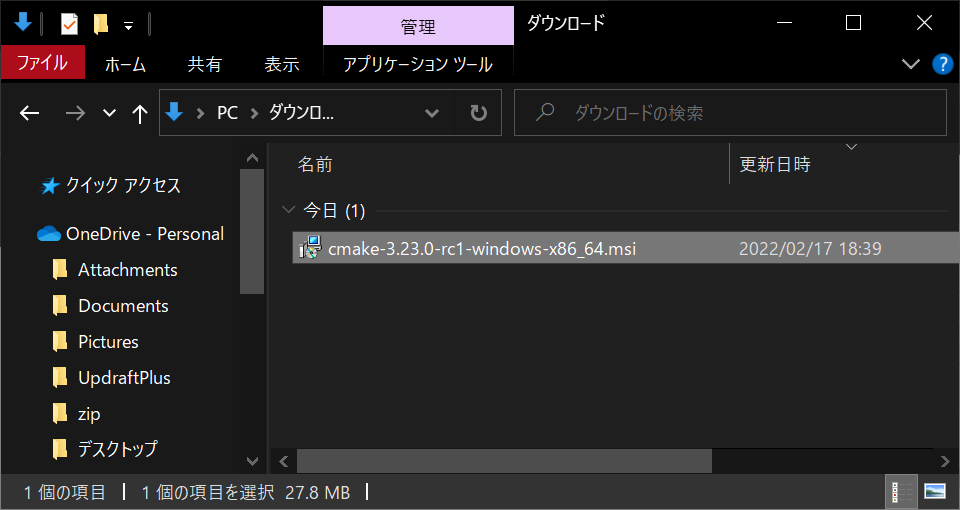
ダウンロードされた「cmake-3.23.0-rc1-windows-x86_64.msi」をダブルクリックして実行する
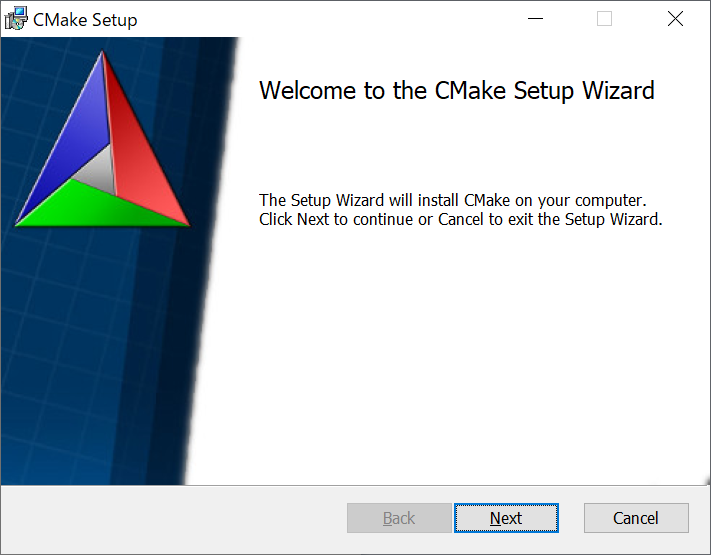
「Next」をクリック
Licence Agreementを読んで「I accept the terms in the License Agreement」にチェックを入れて「Next」をクリック

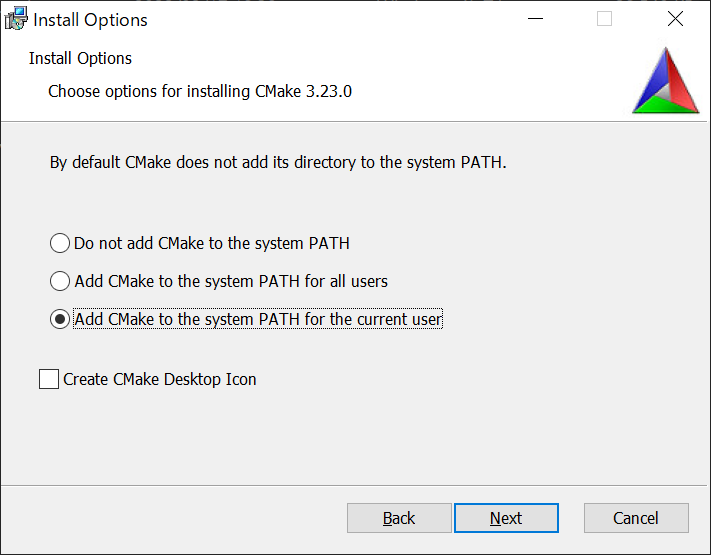
「Add CMake to the system PATH for the current user」にチェックを入れて「Next」をクリック
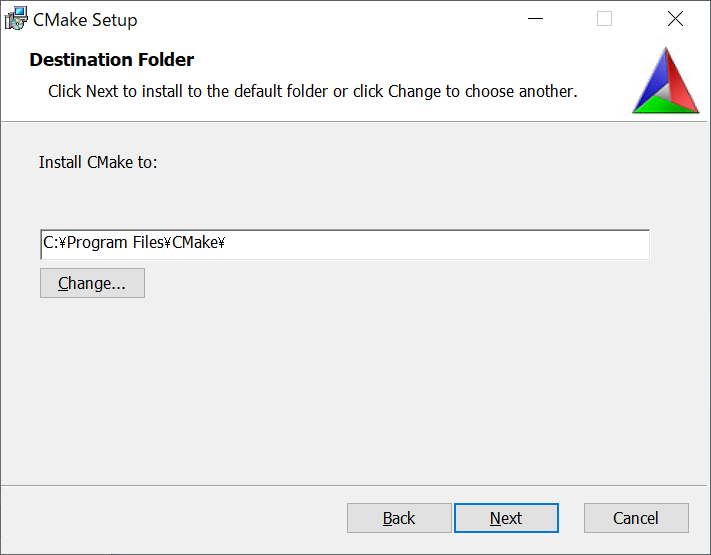
「Next」をクリック
「Install」をクリック
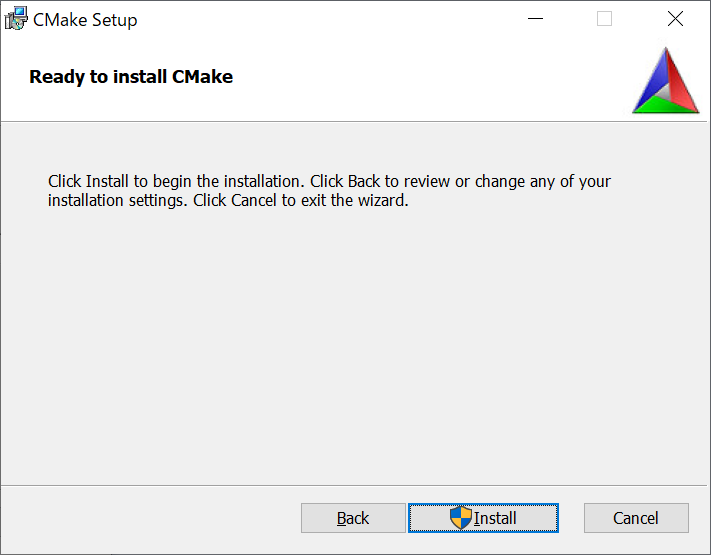
インストールが始まる(すぐに終わる)
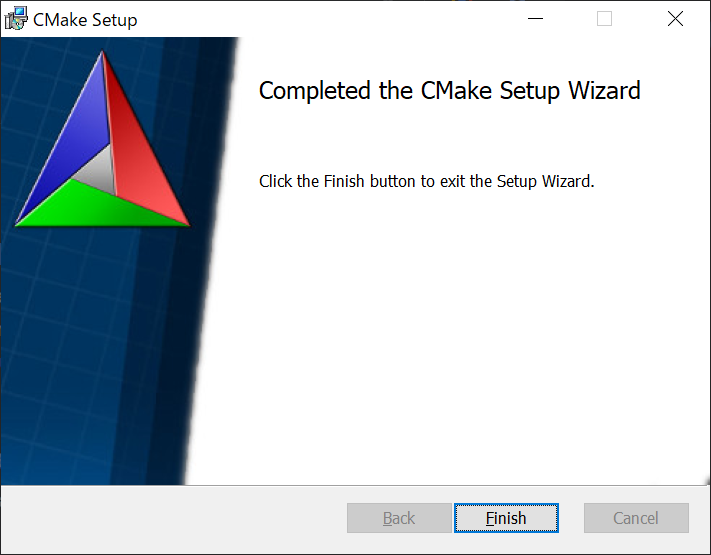
これでCMakeのインストールは完了である
Visual Studio Code で CMake を使えるようにする
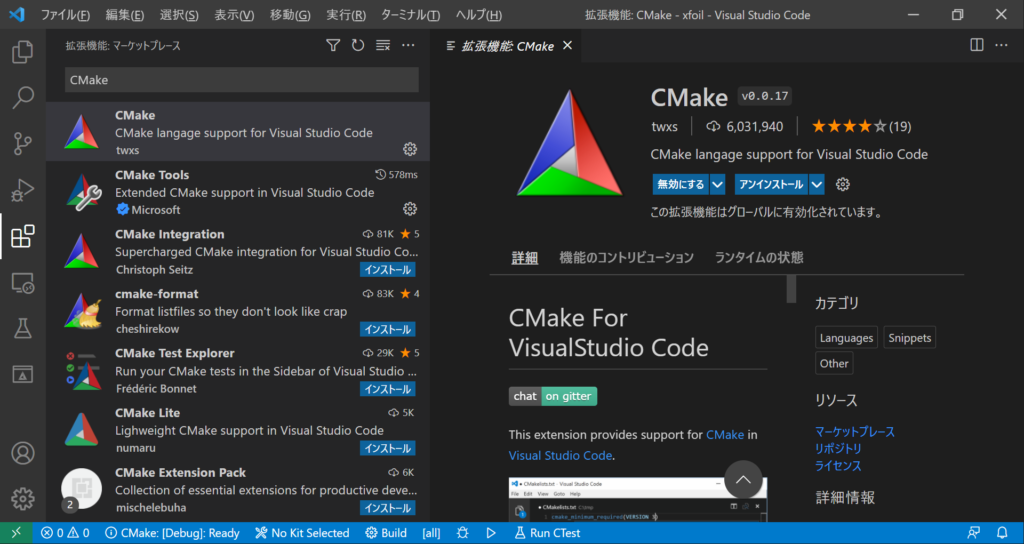
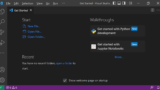
Visual Studio Code を開き、拡張機能を開く(Ctrl+Shift+X)
左上の検索窓に「CMake」と入力し、上から「CMake」「CMake Tools」という名前の拡張機能の「インストール」をクリックする
インストールできているか確認する
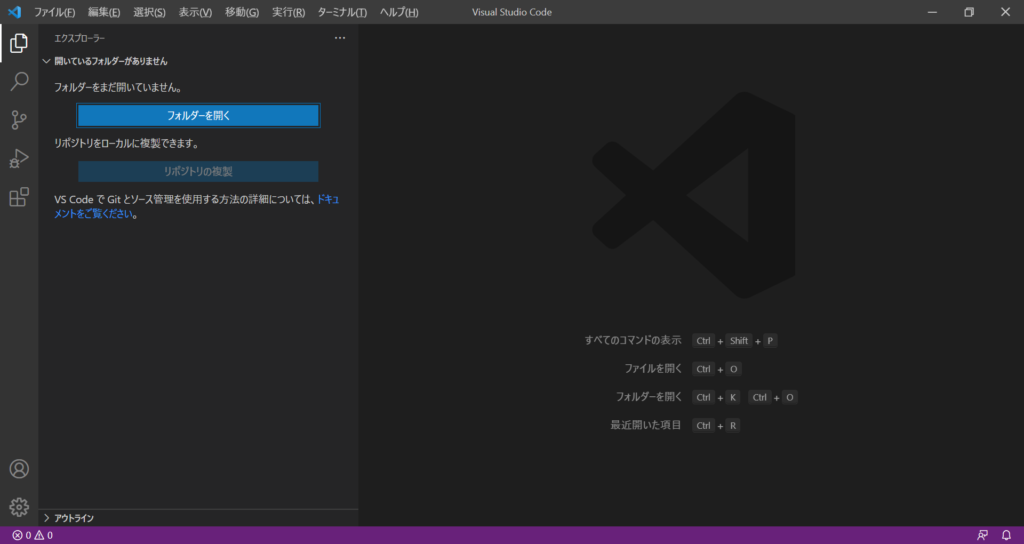
きちんとインストールできたかどうかを確認するために、Visual Studio Code を開き、エクスプローラーを開く(Ctrl+Shift+E)
「フォルダーを開く」をクリックする
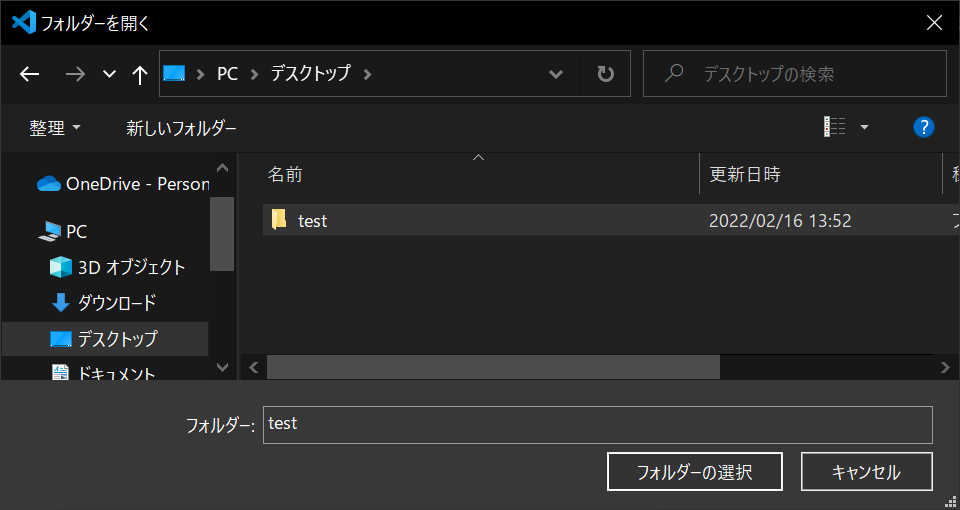
好きなフォルダを選択して「フォルダの選択」をクリック(今回はC:\Users\XXX\Desktop\test)
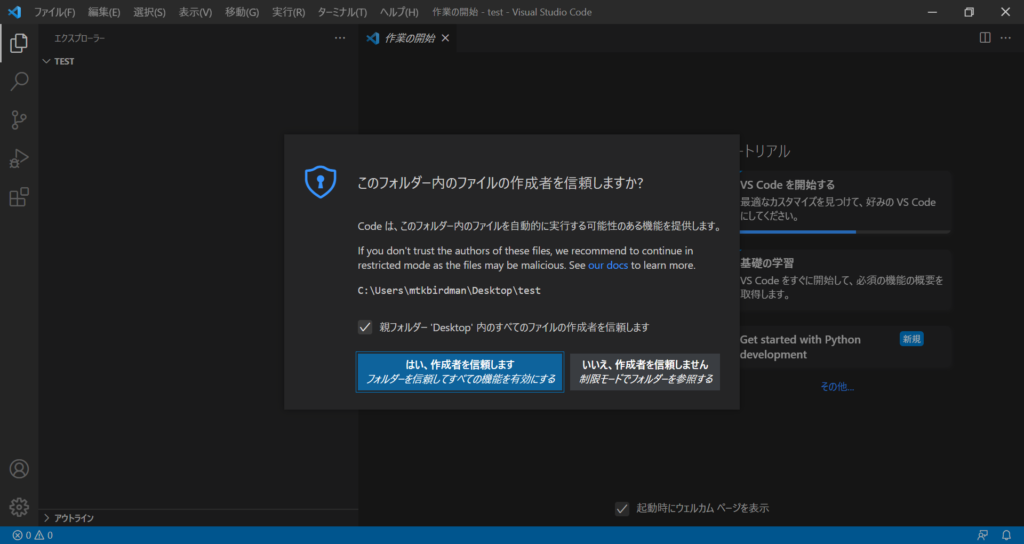
「このフォルダー内のファイルの作成者を信頼しますか?」という警告が出たら「はい、作成者を信頼します」をクリック
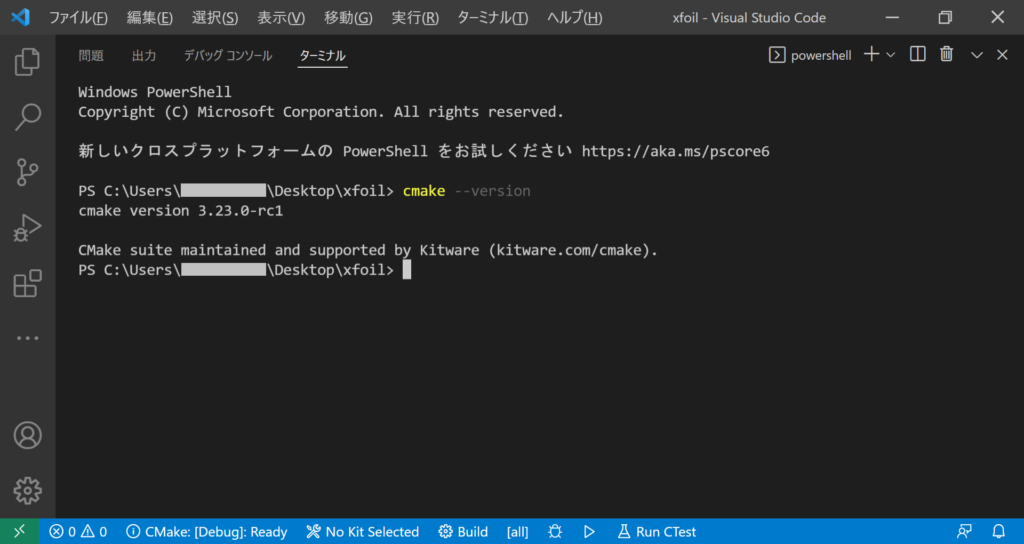
「Ctrl+@」でターミナルを開く
CMakeがインストールできているかを「cmake --version」コマンドで確認する
PS C:\Users\XXX\Desktop\test> cmake --version
cmake version 3.23.0-rc1

CMake suite maintained and supported by Kitware (kitware.com/cmake).
PS C:\Users\XXX\Desktop\test>
できた
まとめ
WindowsのVisual Studio CodeでCMakeをインストールする方法について説明した
↓関連記事


コメント