GithubとSourceTreeを使ってExcelファイルのバージョンを管理する方法について説明する
今回は例としてExcelファイルを取り扱うが,Wordやプログラムなどどんなデータでも適用できる
はじめに
↓参考にした記事(Macについて書かれている)

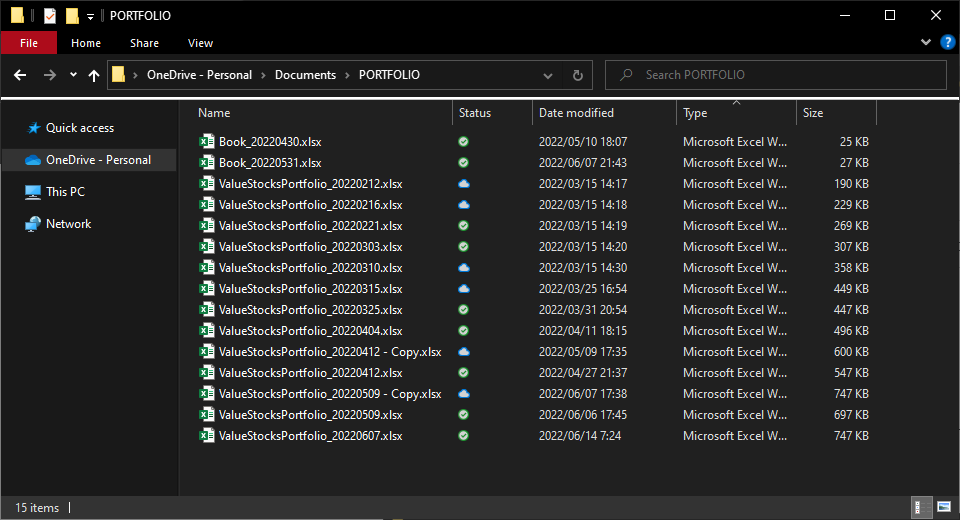
もうファイル名に日付とか「最終」とか付けるな.文字しか書いてないWordファイルとかExcel方眼紙とかはこの際目をつぶる.それはもう仕方ない.だがファイル名によるバージョン管理だけは駄目だ.
もうこれ以下は無理というぐらい最低限なバージョン管理. いいからgit使え _ by Ichi Kanaya _ Pineapple Blog
チラッ
...それではいってみよう
SourceTreeをインストールする
まずはGithubのアカウントを作る

アカウントを作成が終わるとこんな感じの画面になる

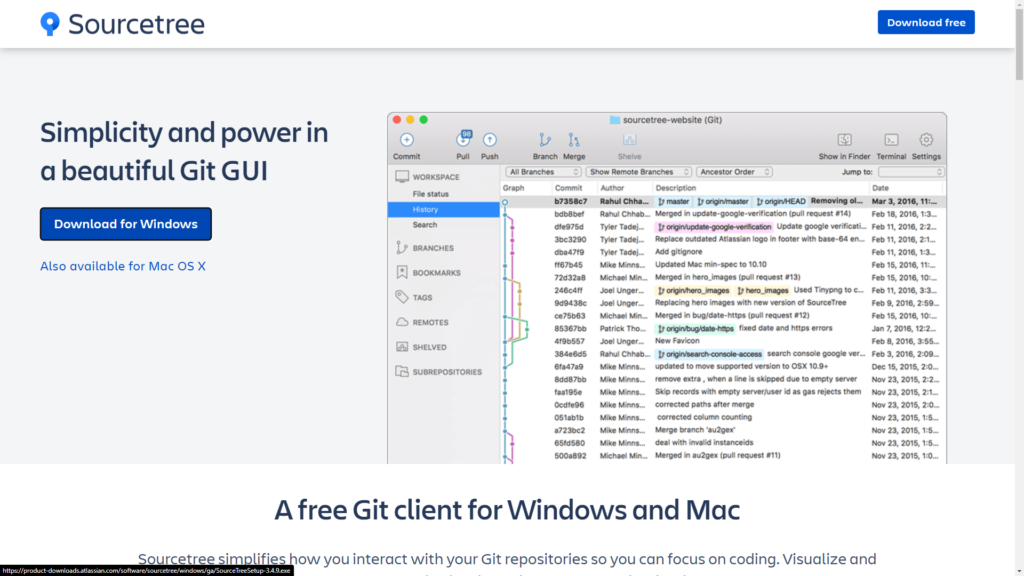
Sourcetreeのサイトにアクセスする

左側の「Download for Windows」をクリックする
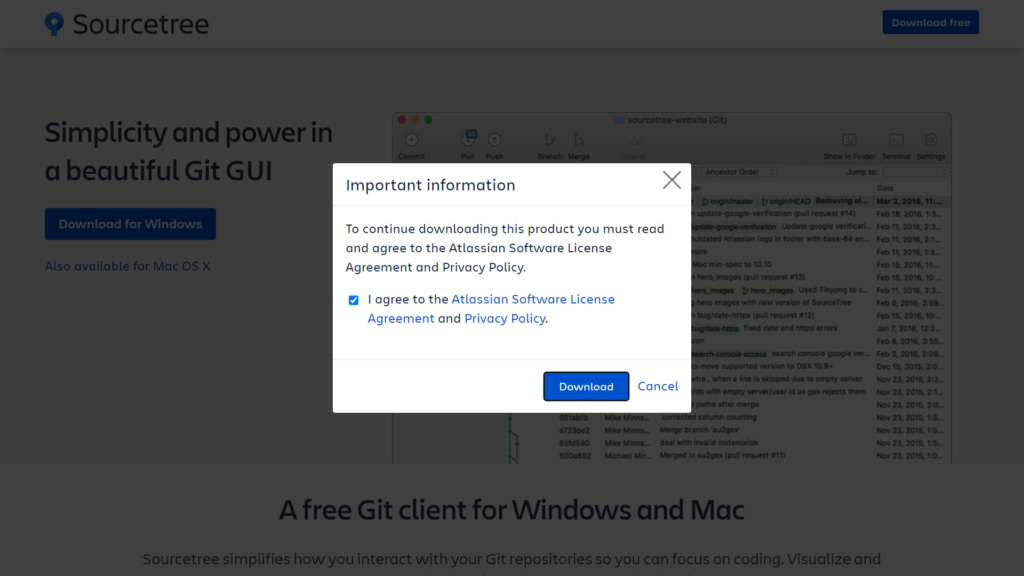
チェックを入れて「ダウンロード」をクリックする
ダウンロードした「SourceTreeSetup-3.4.9.exe」をダブルクリックして実行する
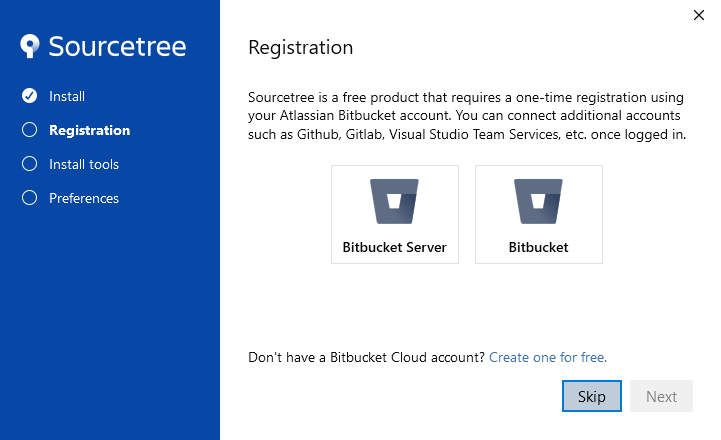
「Skip」をクリックする
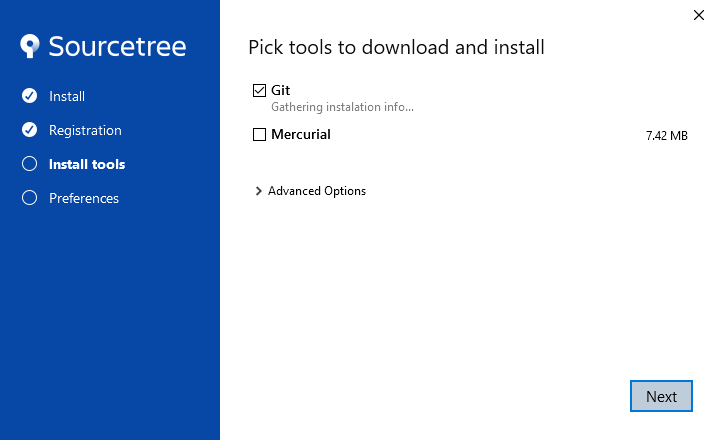
「Git」にチェックを入れて「Next」をクリックする
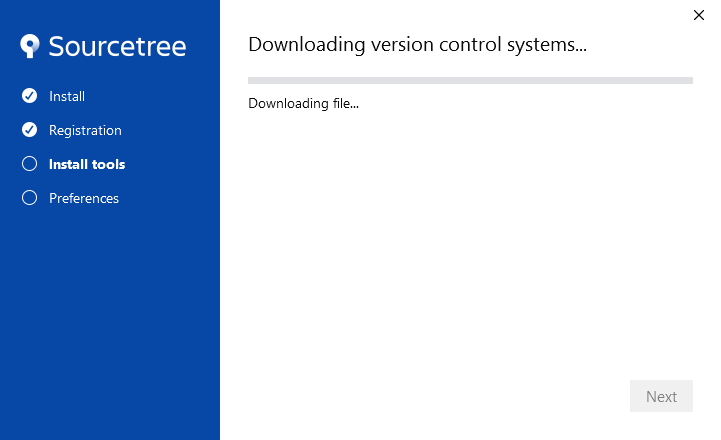
インストールが始まる
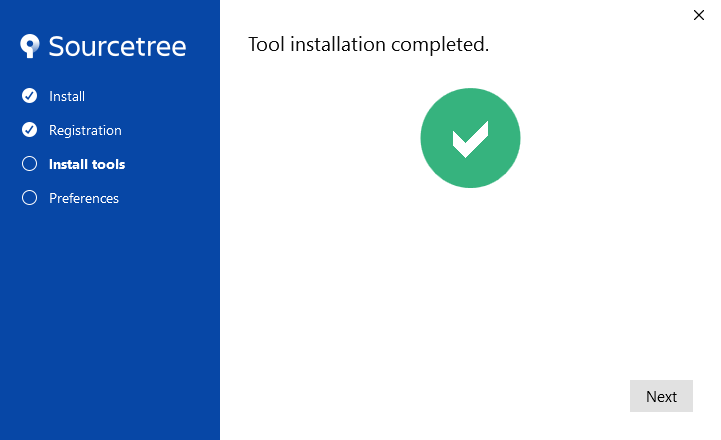
インストールが終わったら「Next」をクリックする
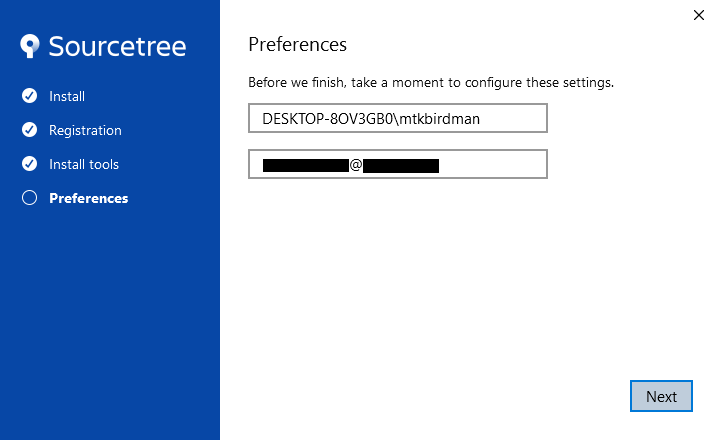
メールアドレスを入力して「Next」をクリックする
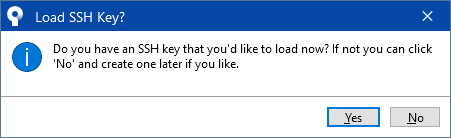
SSHキーは使わないので「No」をクリックする
これでインストールは完了である
Githubのリポジトリのクローンを作る
Githubにリポジトリを作成する
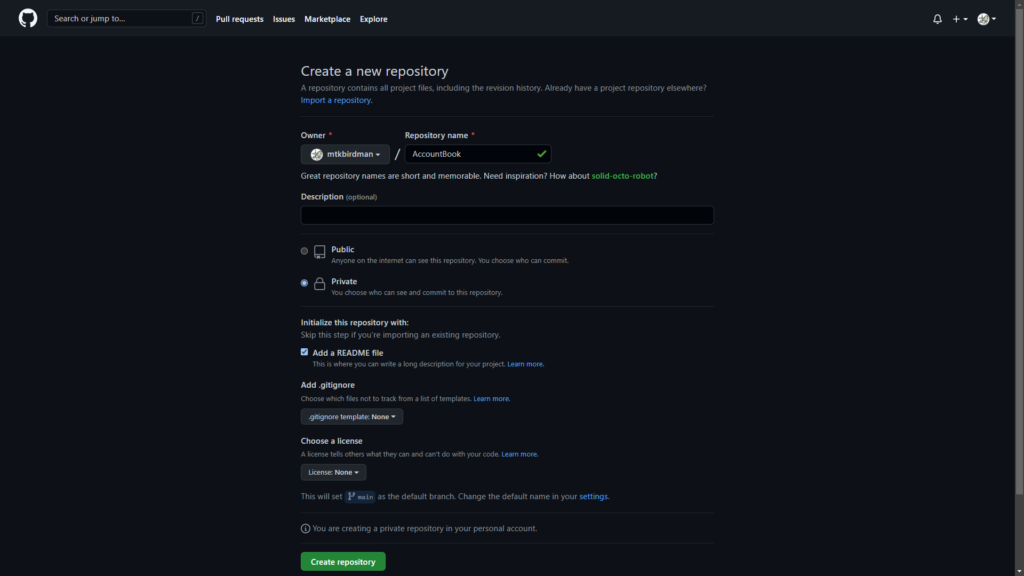
Githubにアクセスして,左上の「New」をクリックする

「Repository name」「Description」を入力し,「Public/Private」のどちらかと「Add a README file」にチェックを入れて一番下の「Create Repository」をクリックする
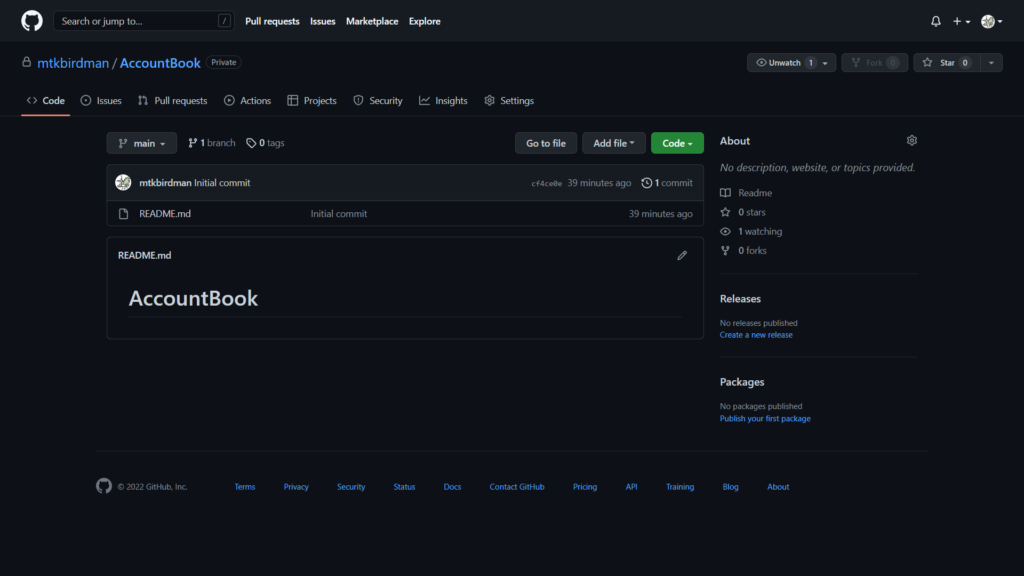
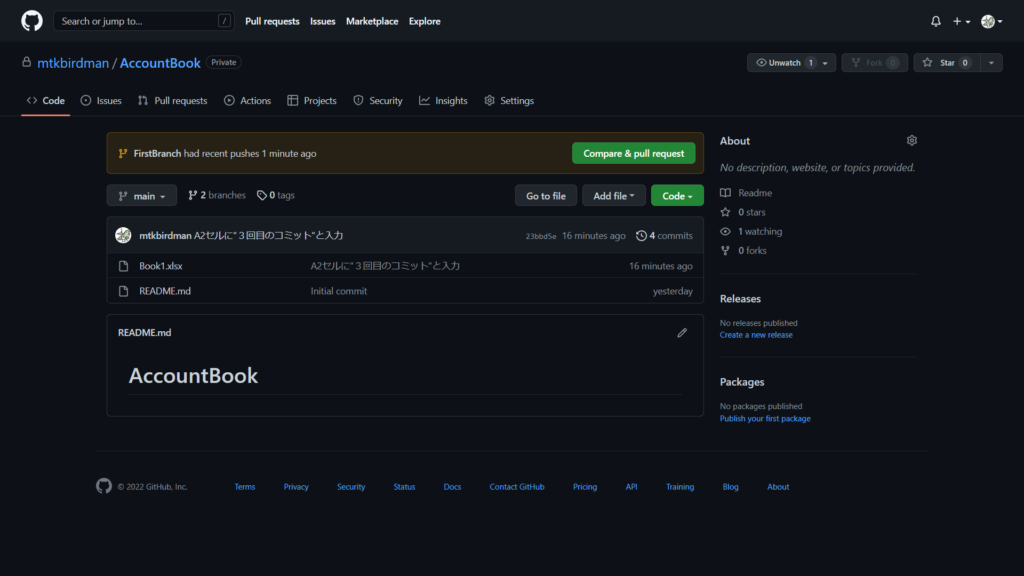
新しいリポジトリが作成される
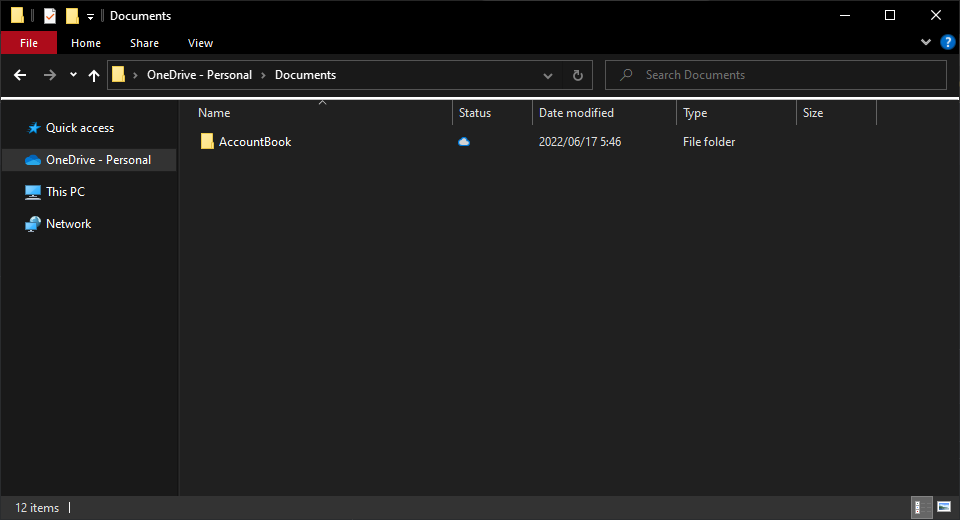
Githubに作成したリポジトリと同期させるためのフォルダをローカルに作成する(フォルダ名は任意)
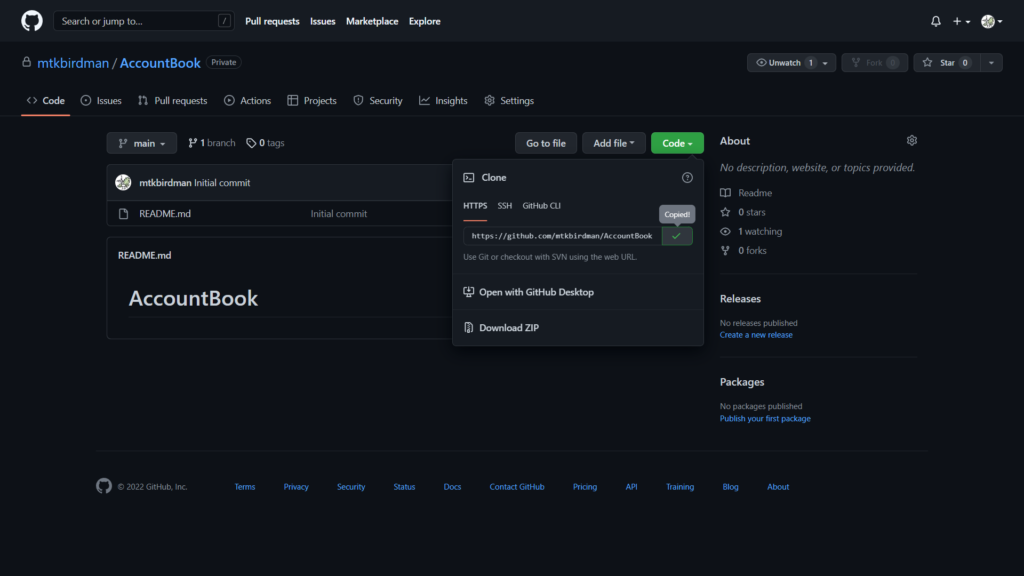
Githubのリポジトリのページの右にある「Code>HTTPS」を開いてURLをコピーする
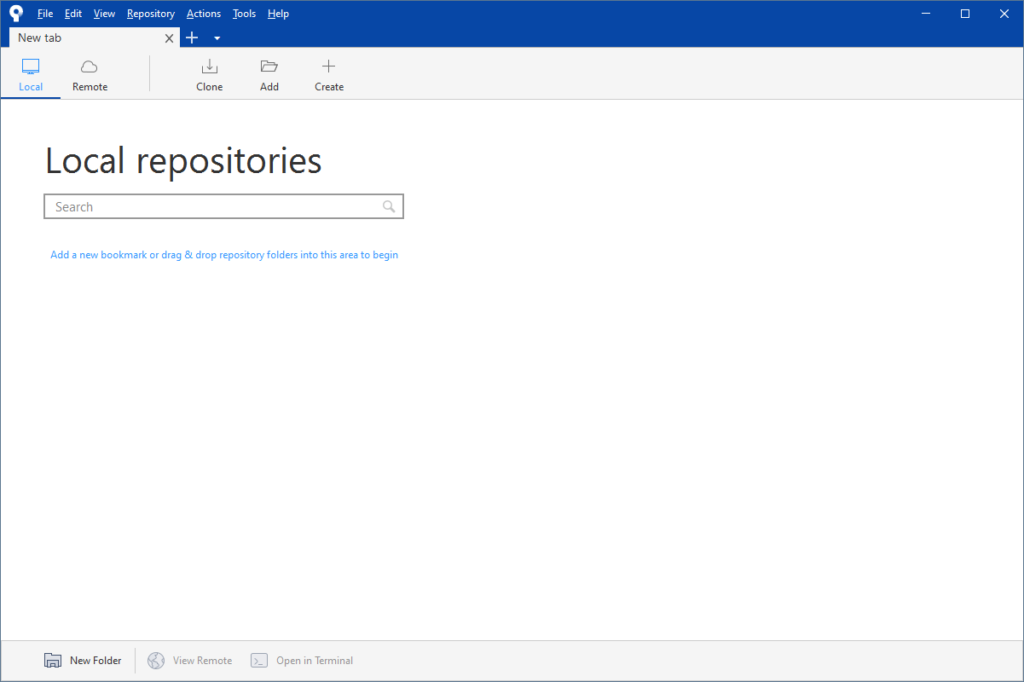
SourcetreeのNew tabでCloneを開く
上でコピーしたURLとローカルに作成したフォルダのパスを入力する
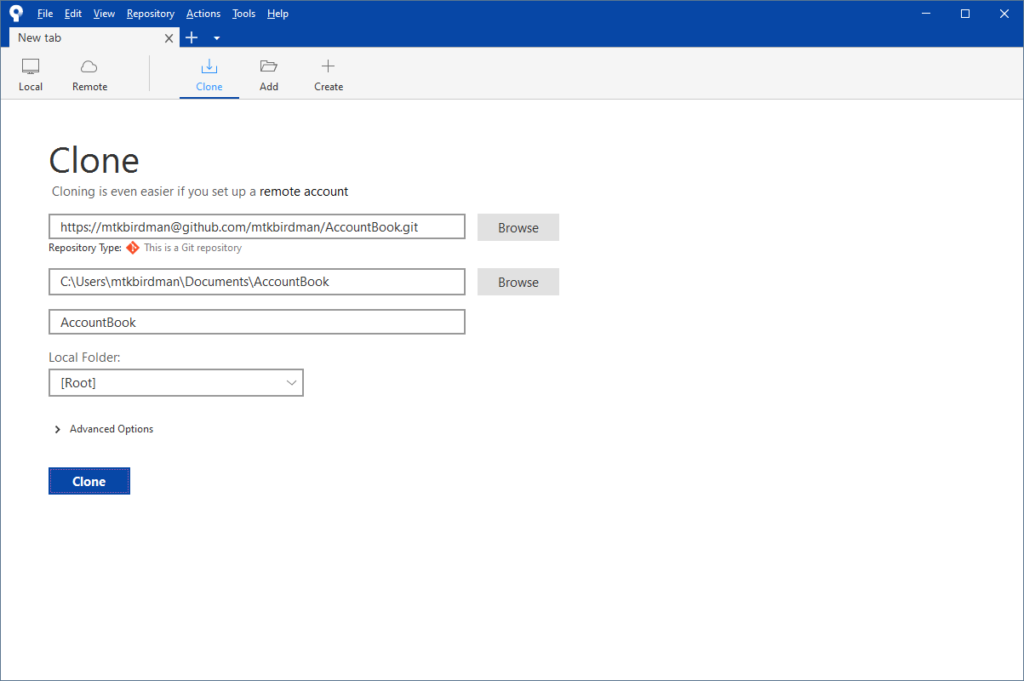
筆者の場合はコピーしたURLだとうまくいかなかったので,URLを
https://username@github.com/username/repository-name.gitの形に書き換えてから入力した
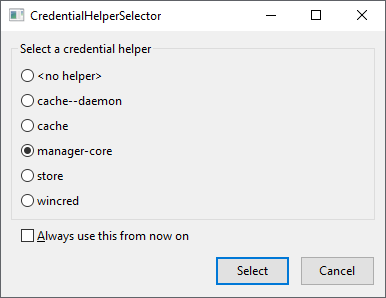
「manager-core」にチェックを入れて「Select」をクリックする
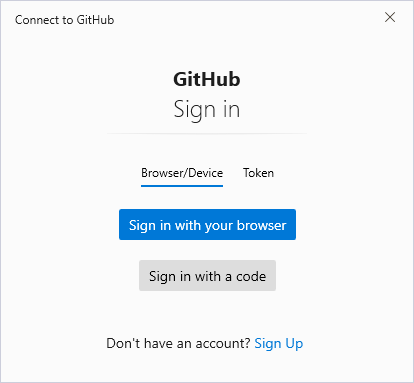
「Sign in with your browser」をクリックする
ブラウザが開くので「Authorize GitCredentialManeger」をクリックする

Githubのパスワードを入力する
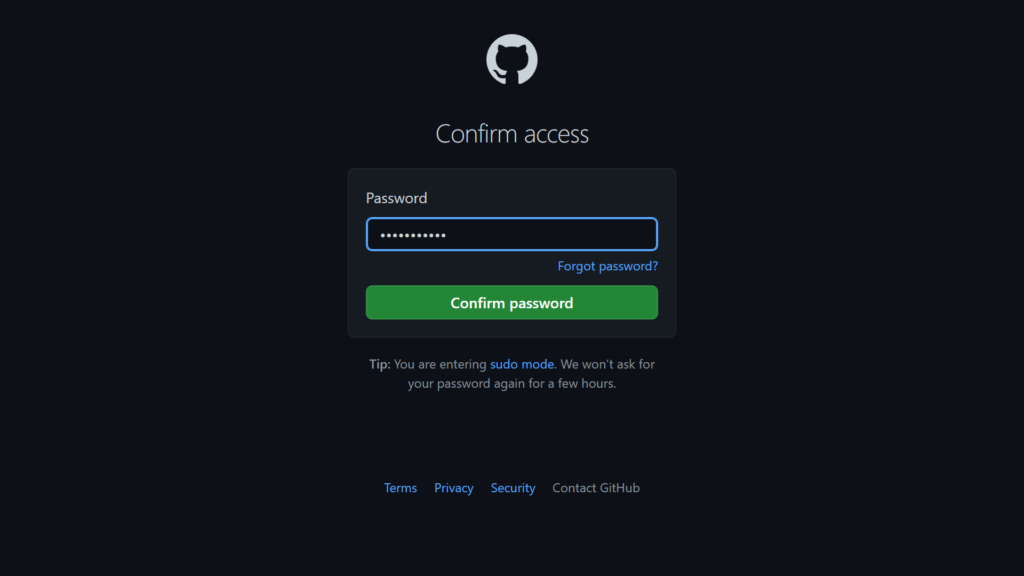
Githubのユーザー名とパスワードを入力する

SourcetreeとGithubが連携される
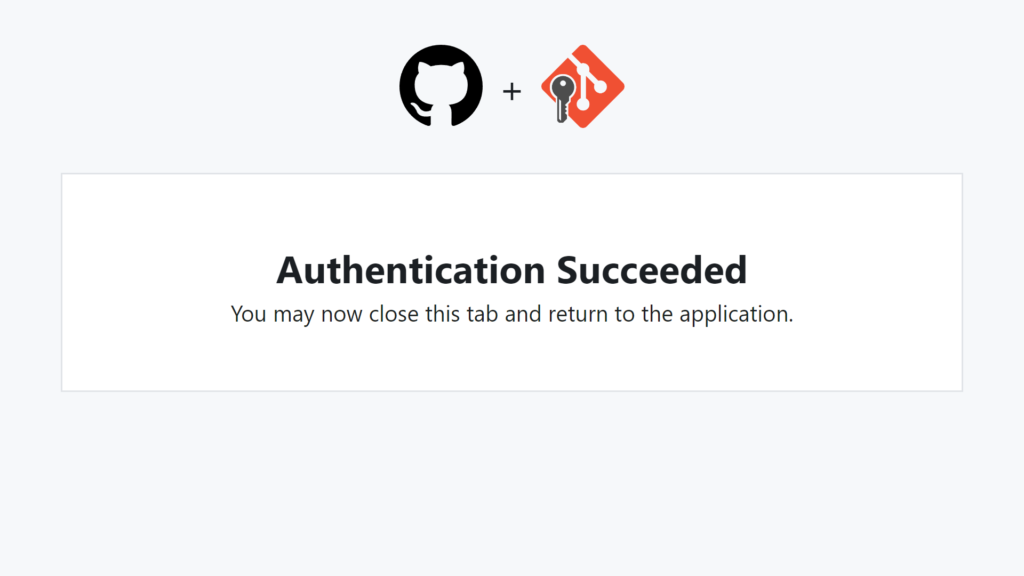
これでGithubのリポジトリのクローンは完了である
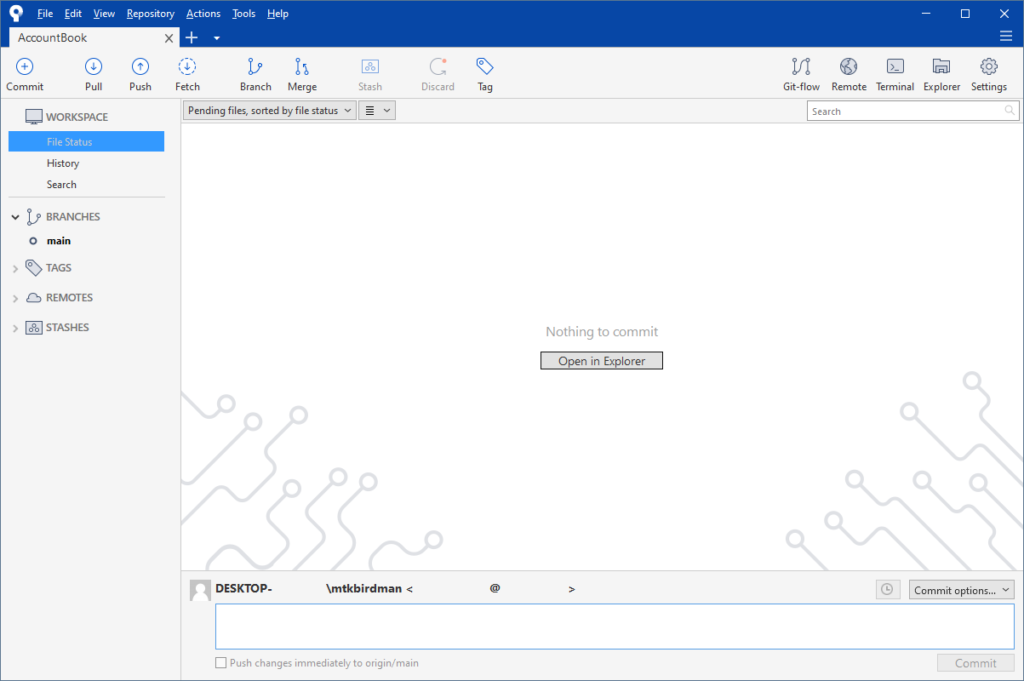
基本的な使い方
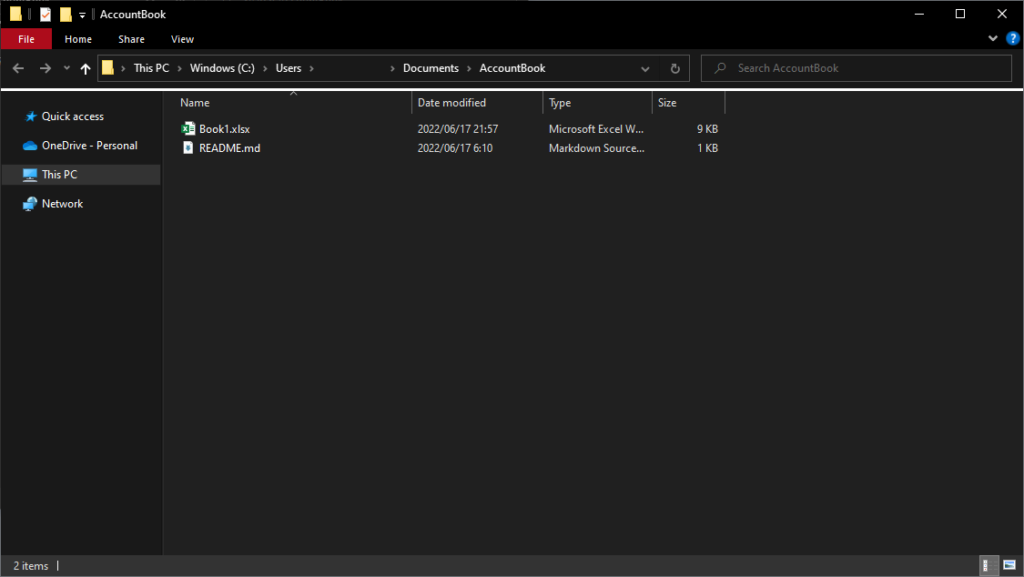
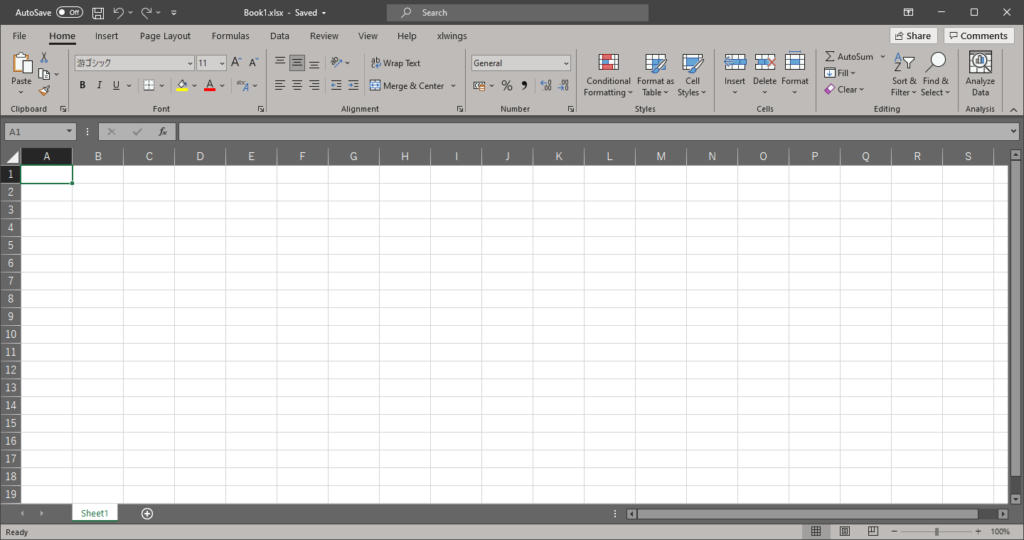
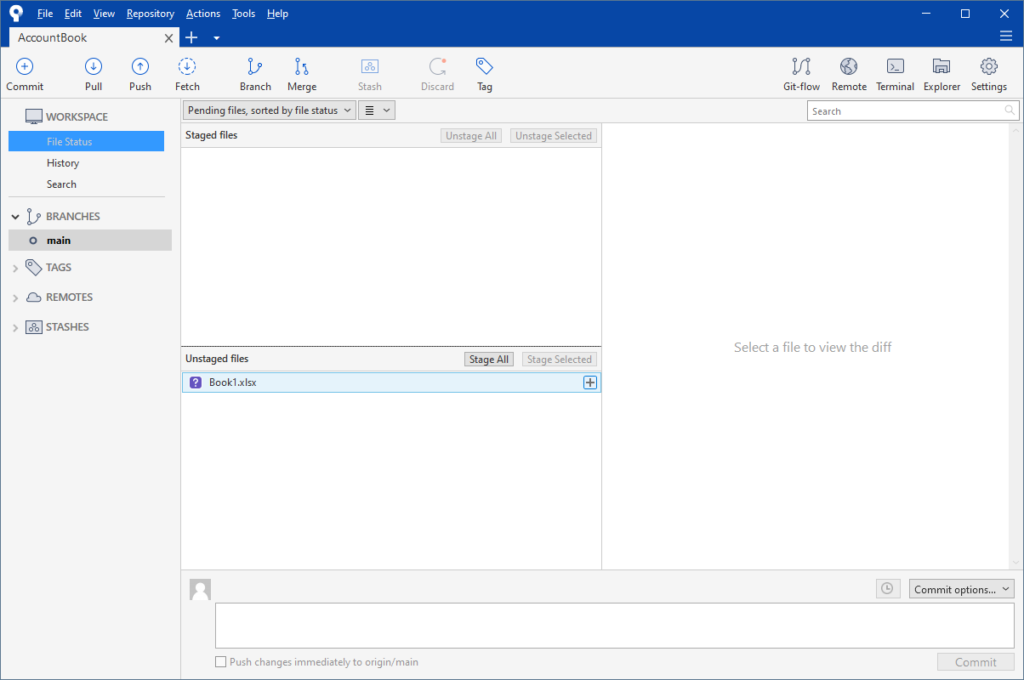
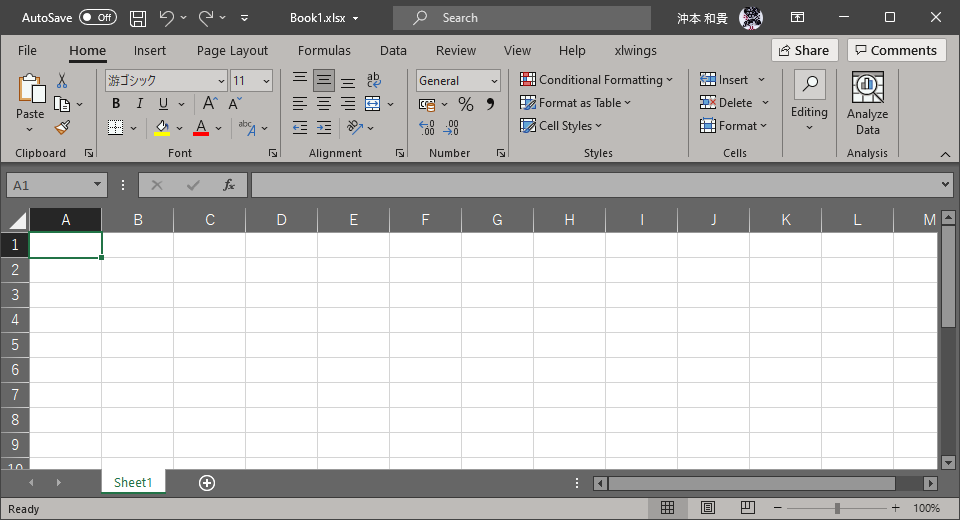
Githubのレポジトリと同期したローカルフォルダにExcelファイルを作成する
Sourcetreeを見てみると「Unstaged files」にExcelファイルが追加されている
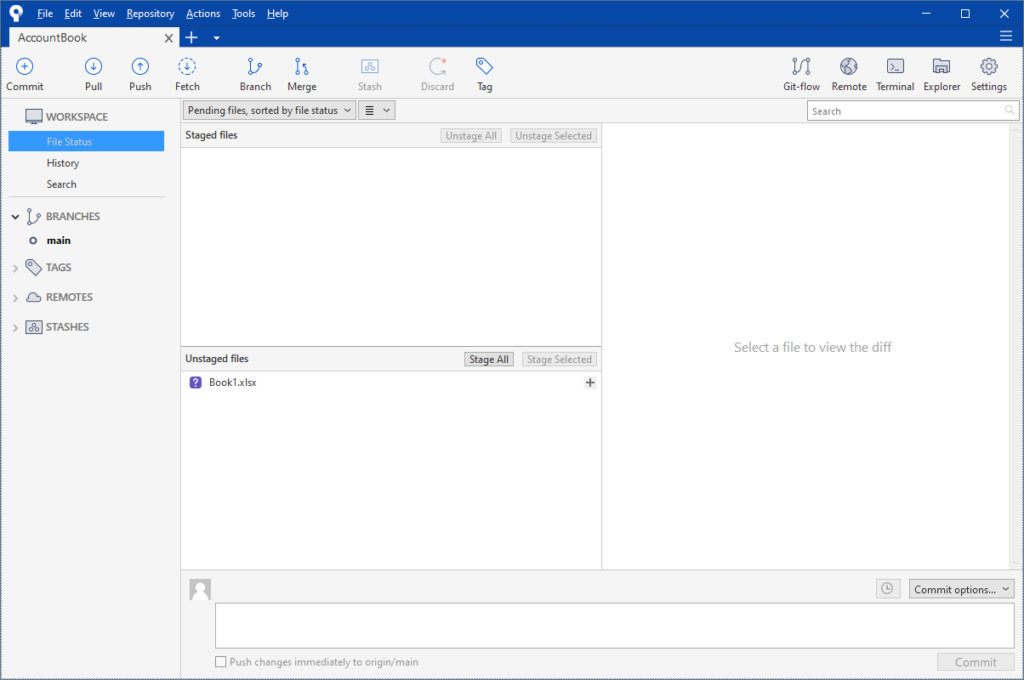
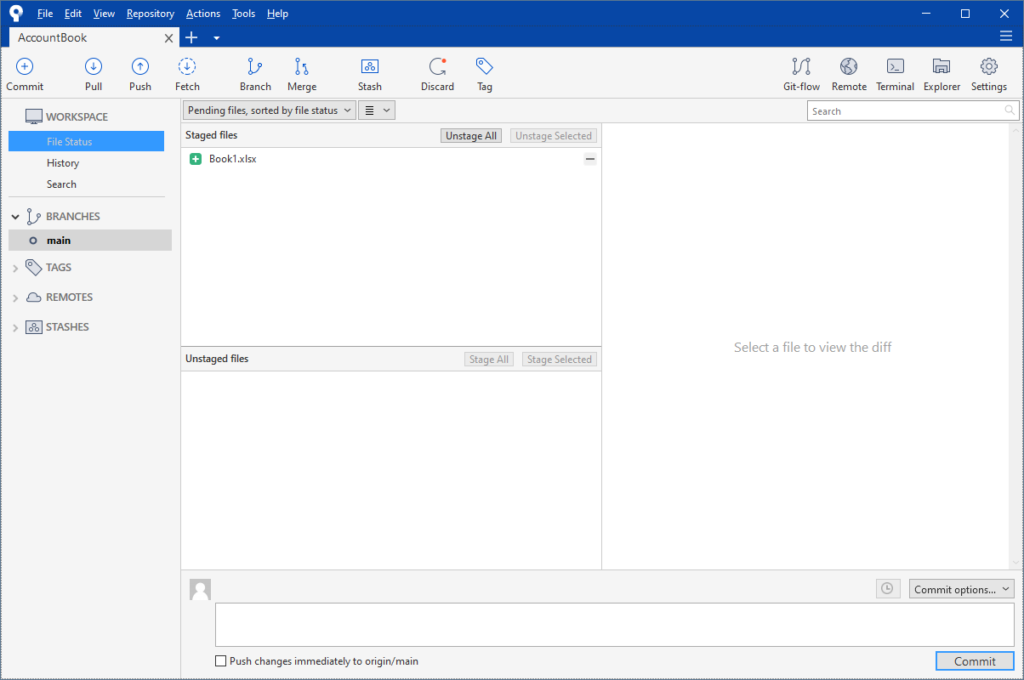
「Stage All」あるいはファイル名の右にある「+」をクリックしてExcelファイルをステージングする
Excelファイルが「Staged files」に移動するので,左上の「Commit」をクリックする
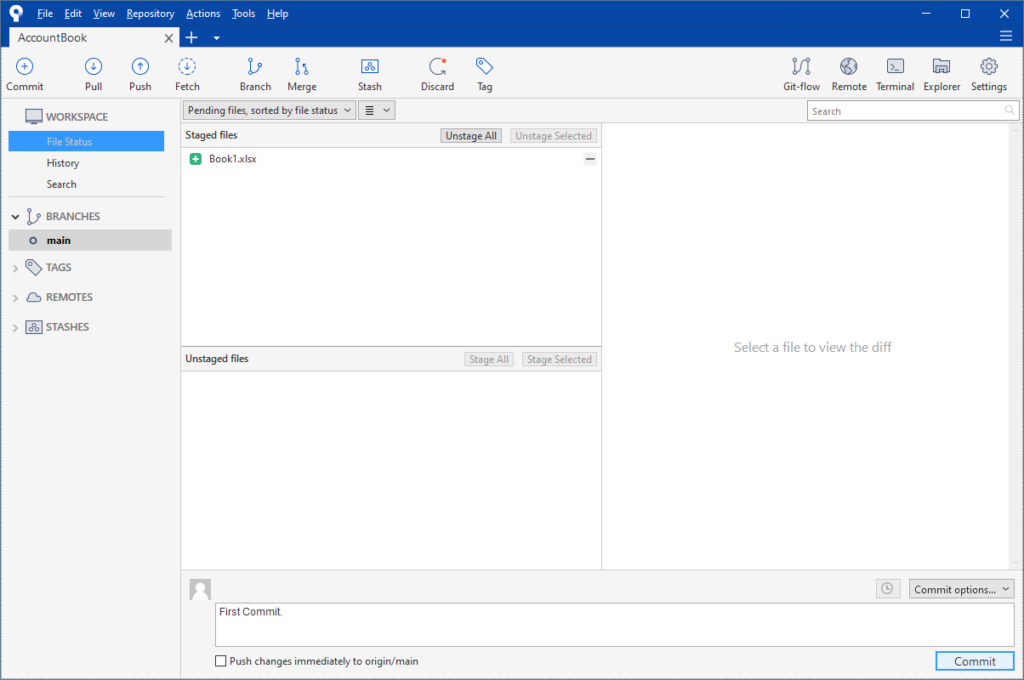
下の空欄にコメントを入力し,右下のコミットをクリックする
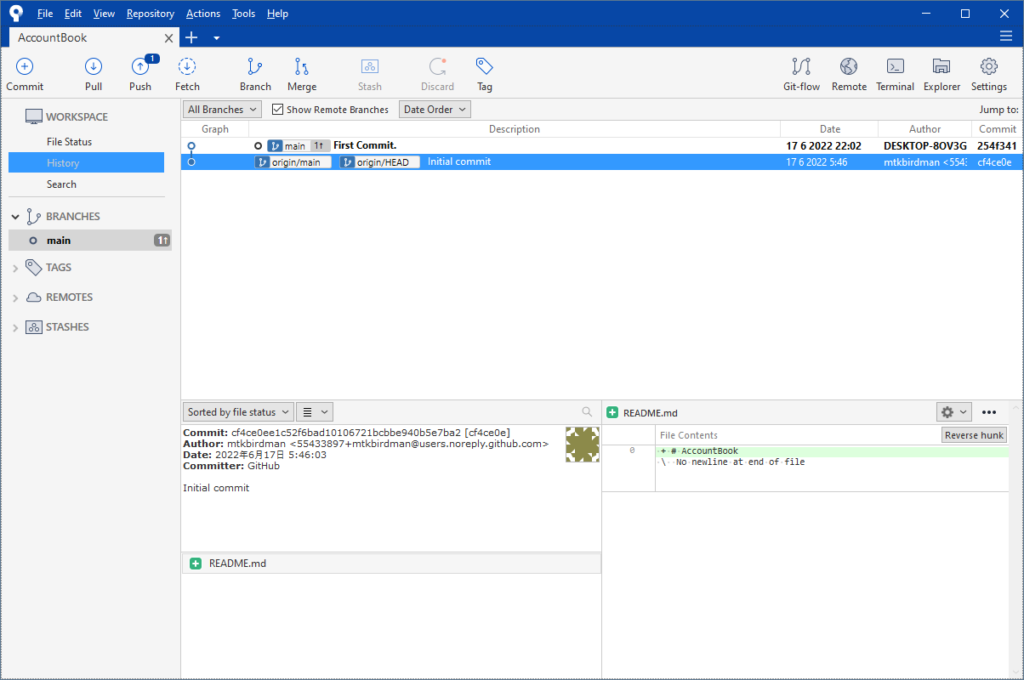
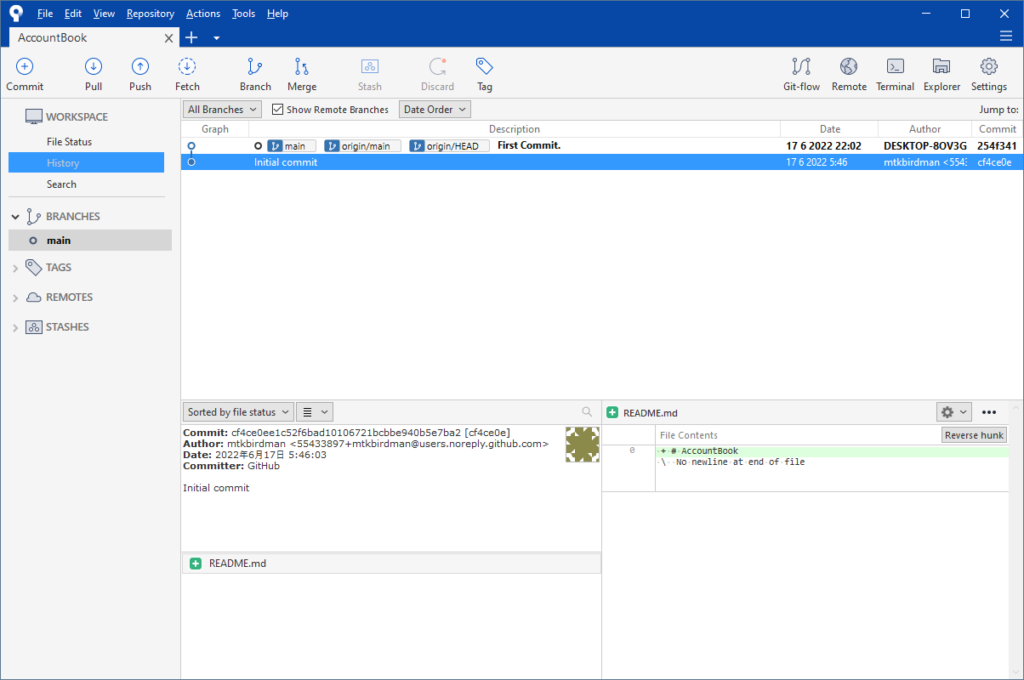
これで現時点でのファイルの状態が保存され,コミットグラフが更新される
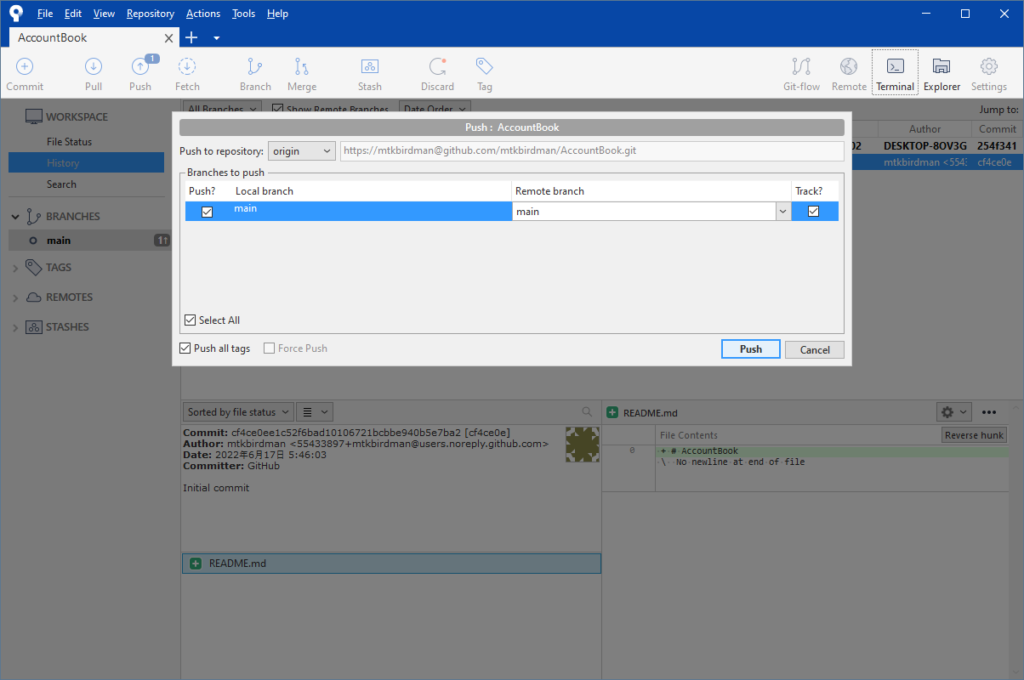
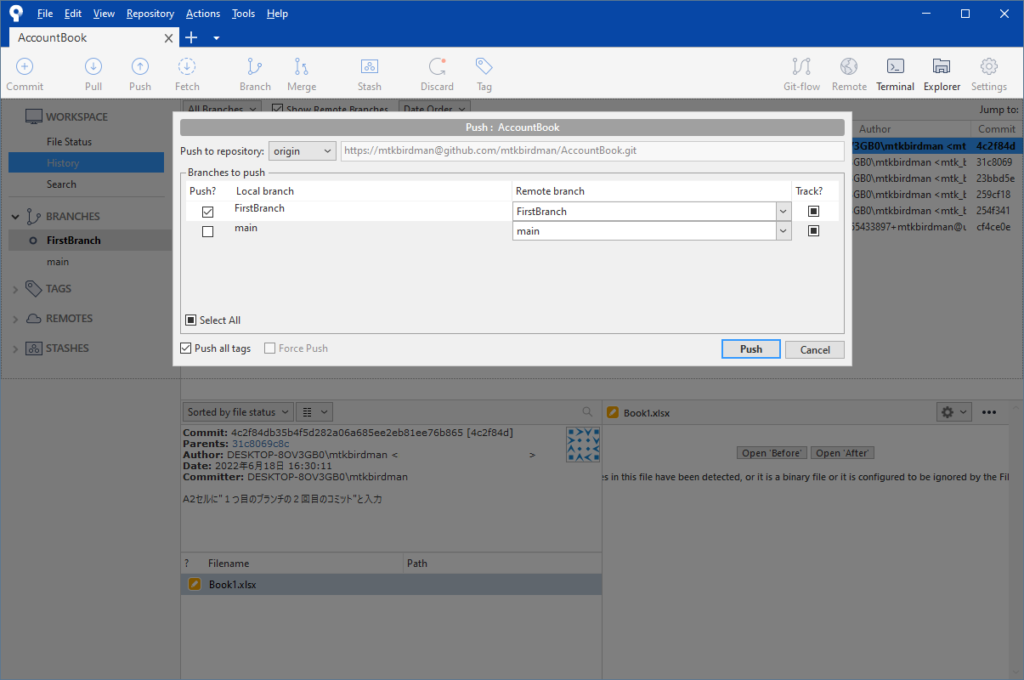
ローカルの変更をGithubに反映するために,右上の「Push」をクリックする

「Push」をクリックする
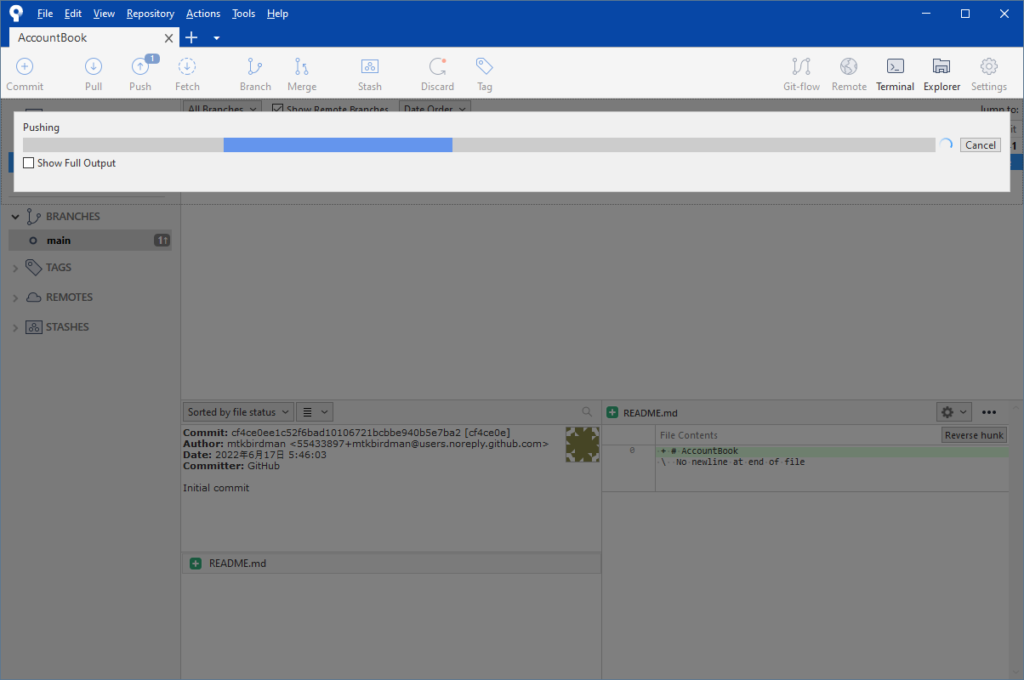
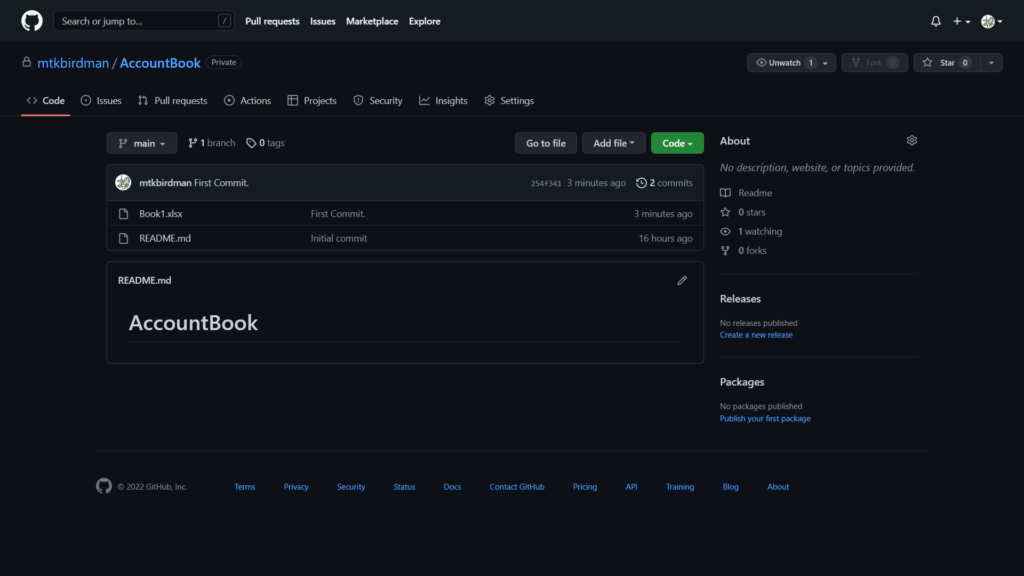
これでローカルの変更がGithubに反映される
ちなみにコミットとプッシュを同時にしたい場合は,コミットをする際に左下の「Push changes immediately to XXX」にチェックを入れればいい

作業をロールバックする
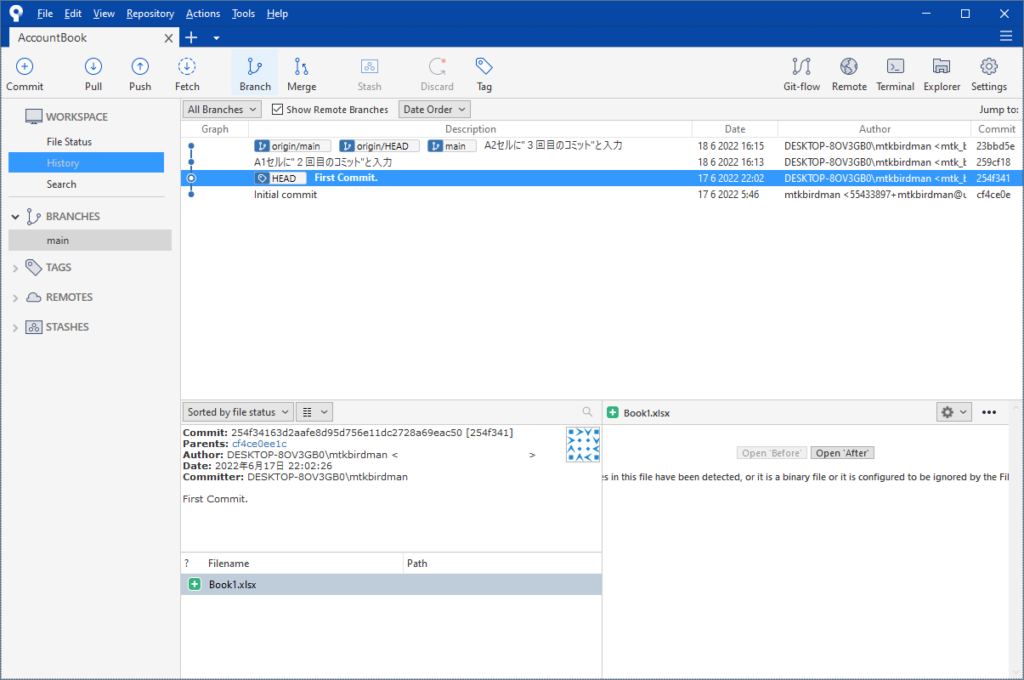
作業にある程度進捗が出るごとにこまめにコミットしていくと,コミットグラフはこんな感じになる
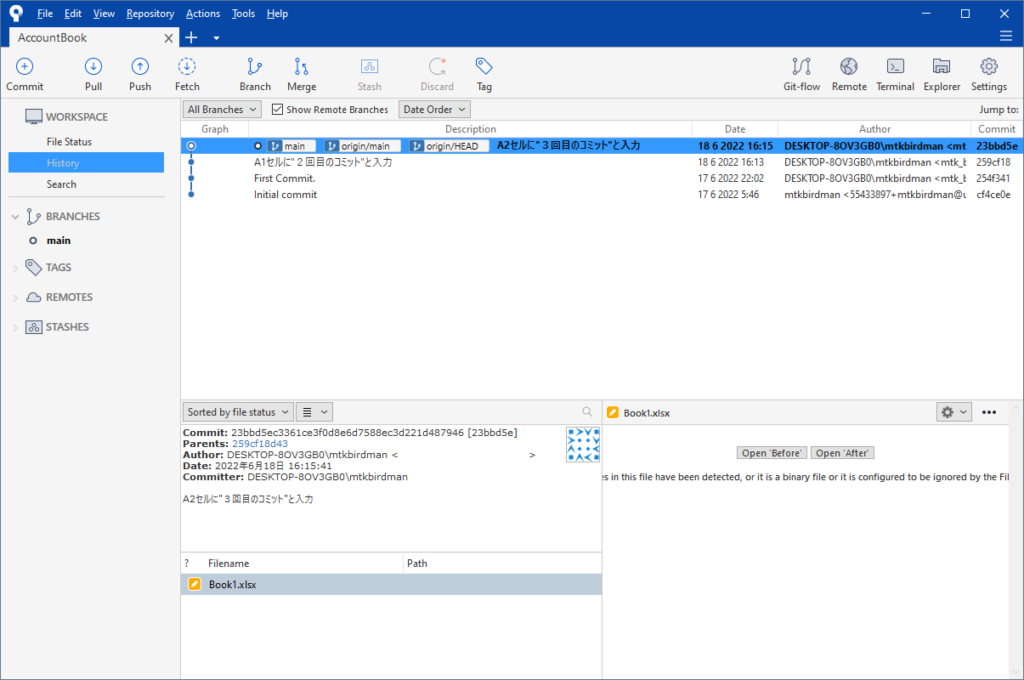
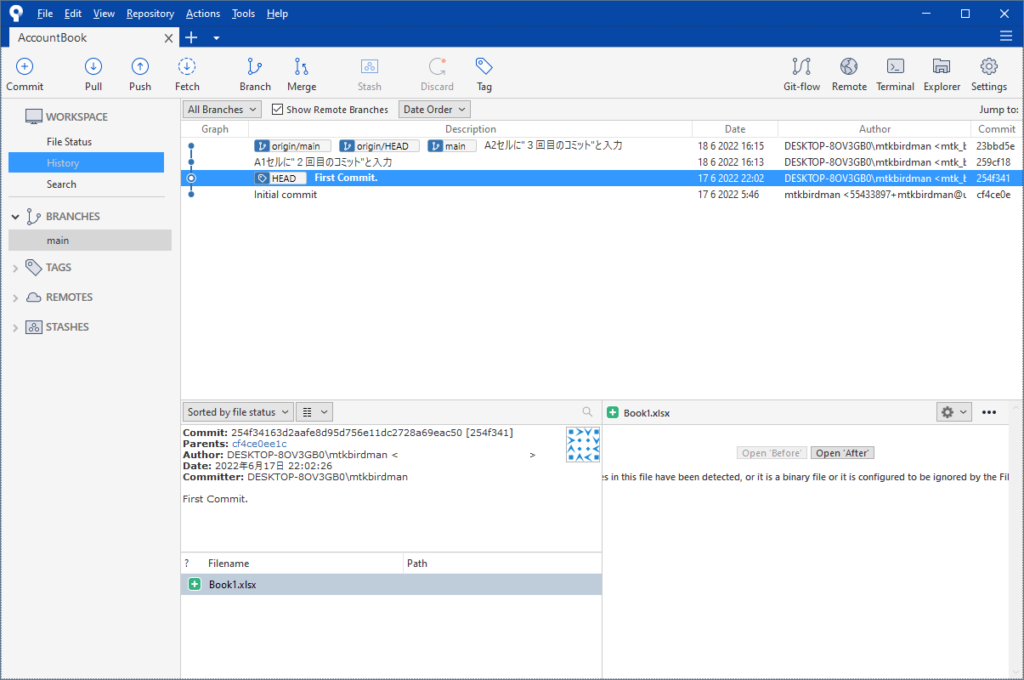
作業をロールバックしたいときは,作業中のファイルを閉じてからコミットグラフの中から戻りたいコミットを選んでダブルクリックする(チェックアウトという)
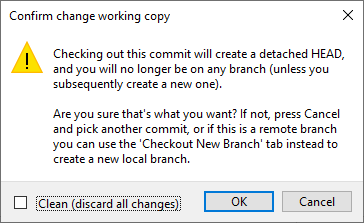
警告が出てきたら「OK」をクリックする
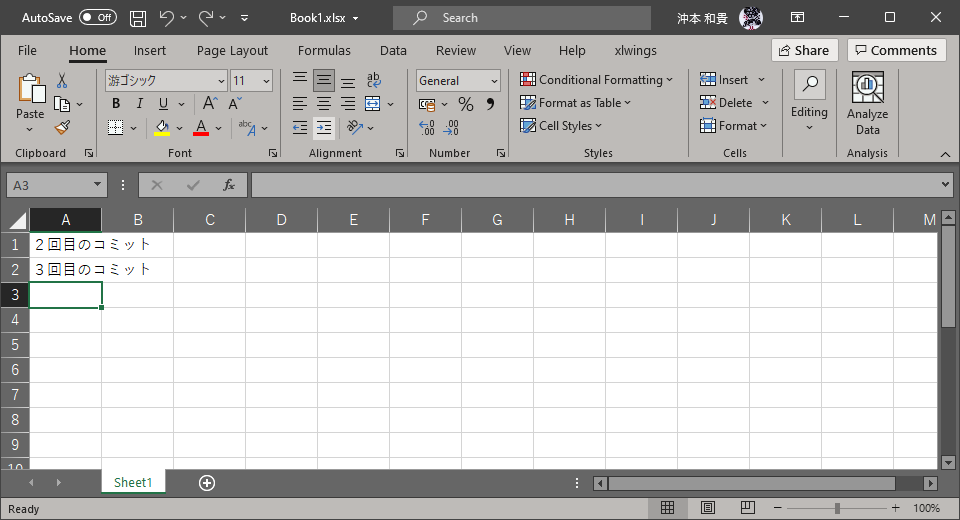
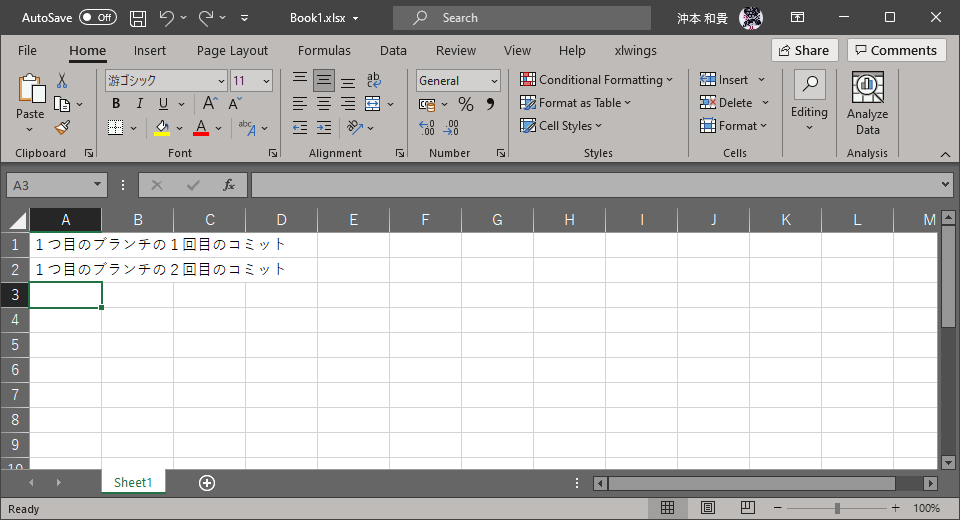
Excelファイルを開いてみると,チェックアウトしたコミットの状態までファイルが戻っていることが分かる
ロールバックしたところから作業を再開する
ロールバックしたところから作業を再開するために枝分かれを作成する
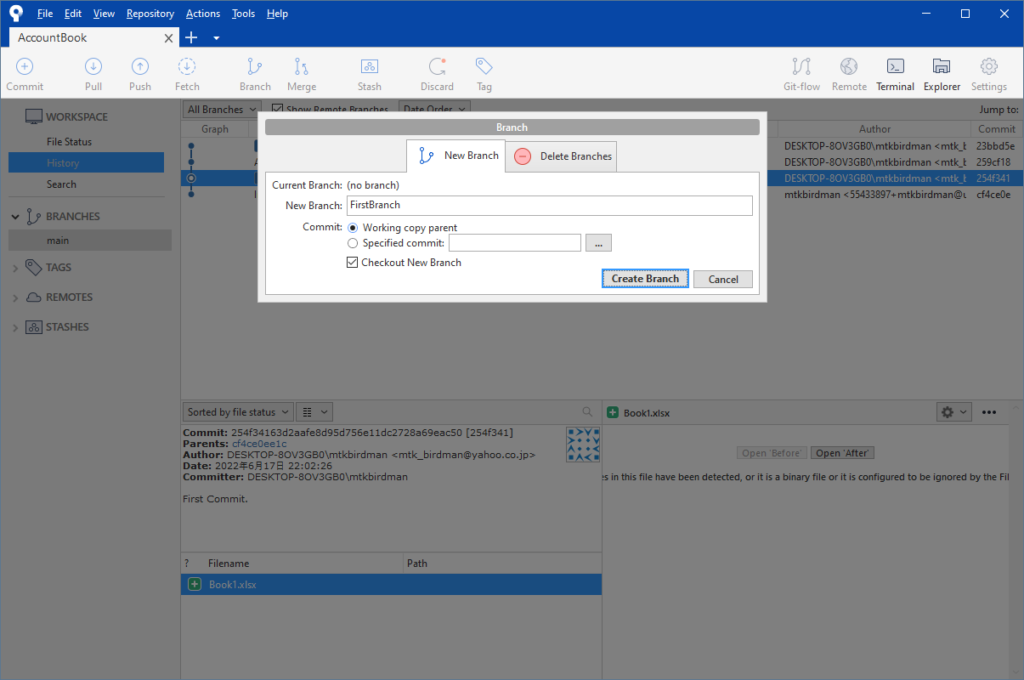
画面上の「Branch」をクリックする
ブランチの名前を入力して「Create Branch」をクリックする
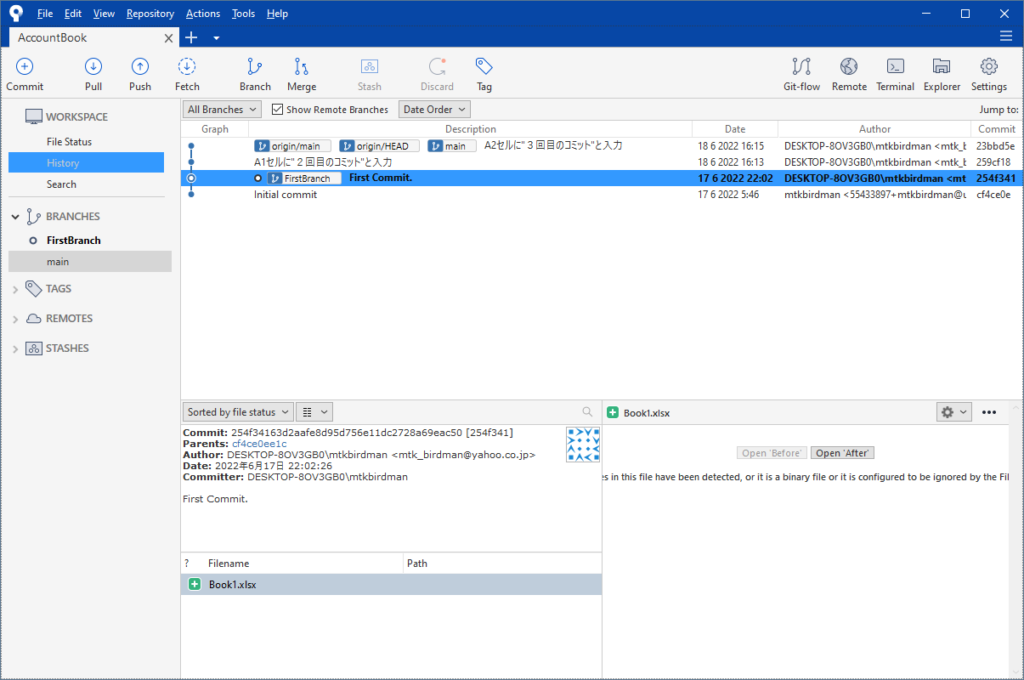
そこから作業を進めてコミットしていくと,コミットグラフが枝分かれしていく
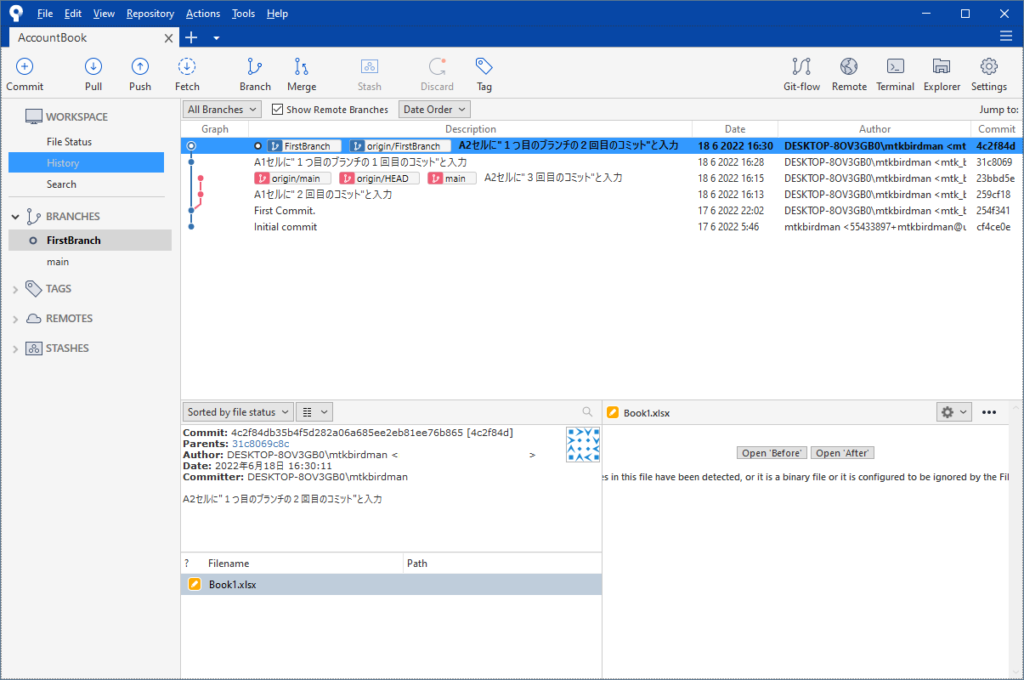
プッシュする際にはブランチが選択できるようになる
おわりに
GithubとSourceTreeを使ってExcelファイルのバージョンを管理する方法について説明した
これでファイル名でバージョン管理する似非プログラマーを卒業することができた
↓関連記事


コメント