WindowsのVisual Studio CodeでPythonの環境を構築する方法について説明する
Anacondaは使わない
Visual Studio Code のインストール
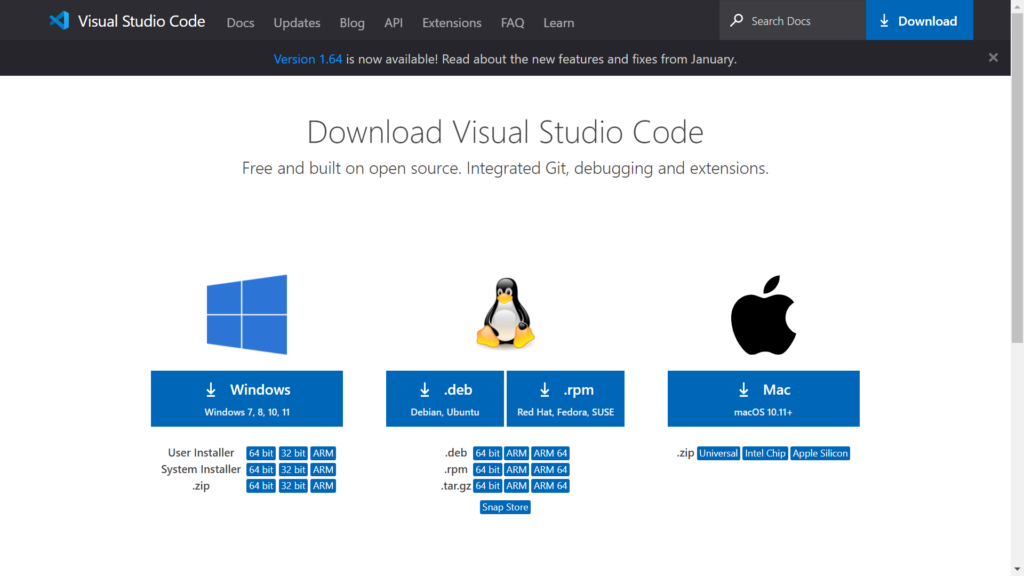
↓Visual Studio Code の公式サイトにアクセスする
「Windows」をクリックする
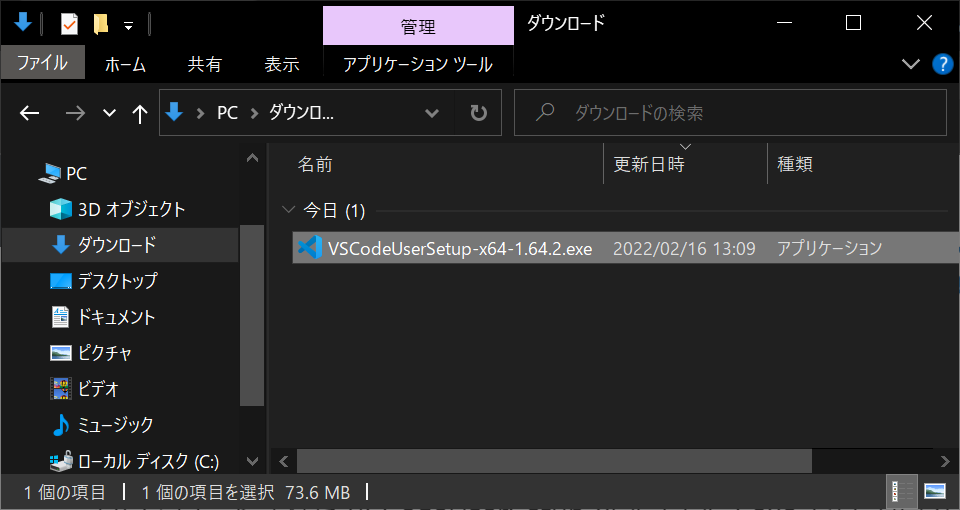
ダウンロードされた VSCodeUserSetup-x64-1.64.2.exe をダブルクリックして実行する
使用許諾契約書を読んで「同意する」にチェックを入れ「次へ」をクリック

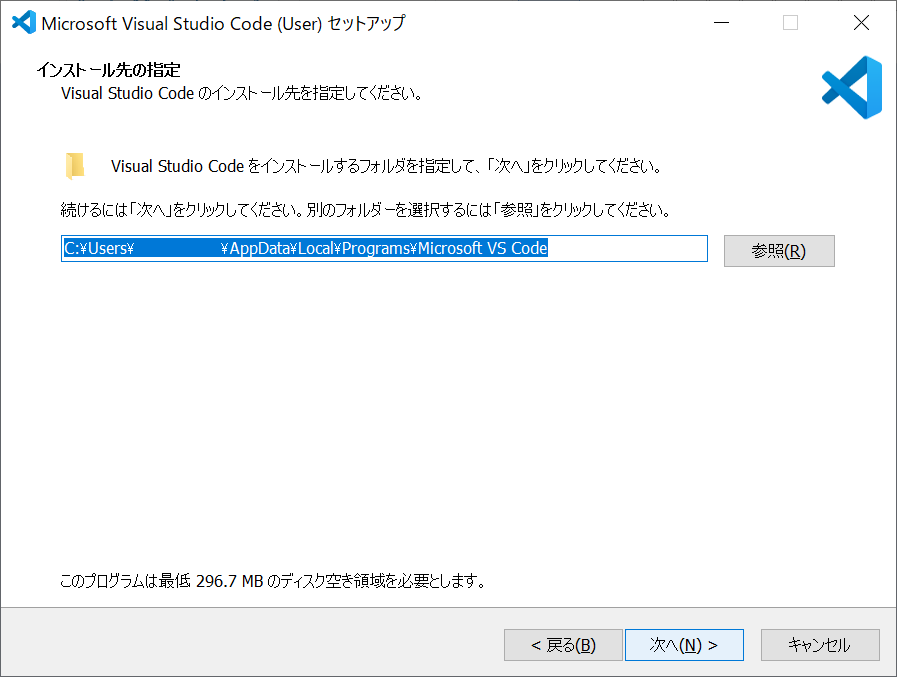
「次へ」をクリック
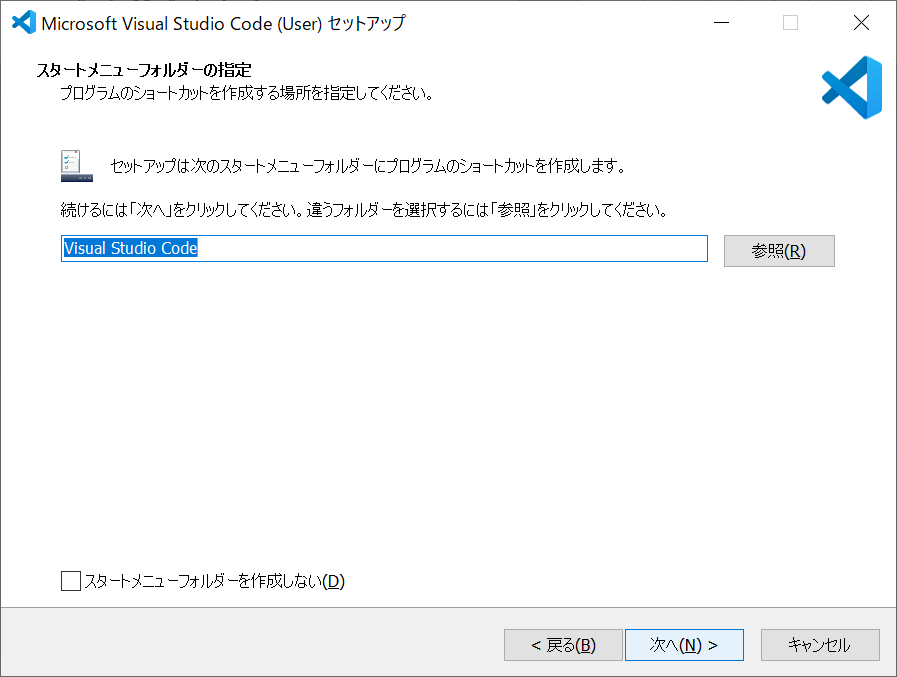
「次へ」をクリック
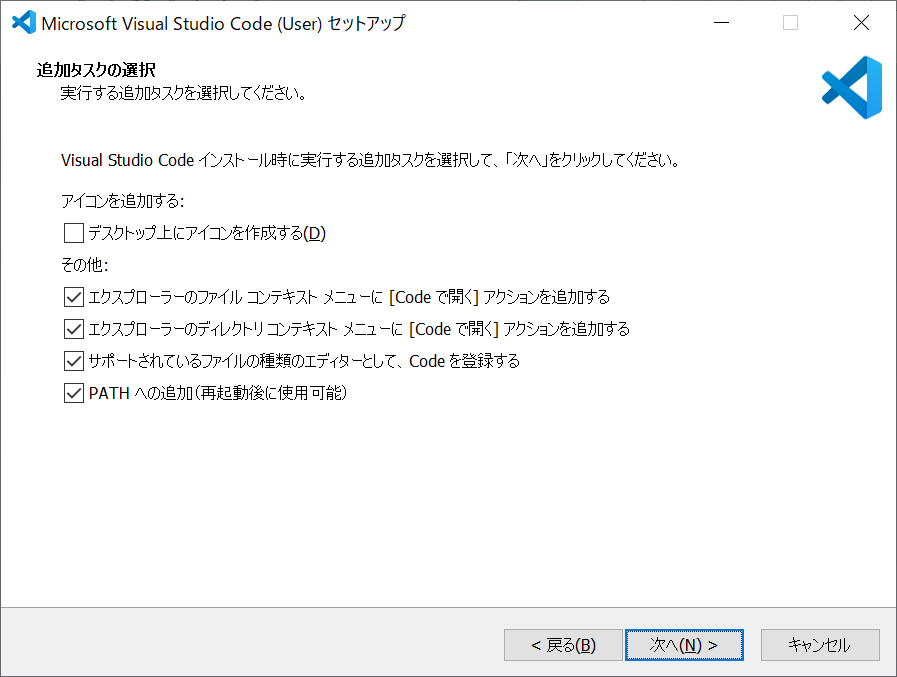
「PATHへの追加(再起動後に使用可能)」にチェックを入れる
それ以外はお好みでチェックを入れ「次へ」をクリック
「インストール」をクリック

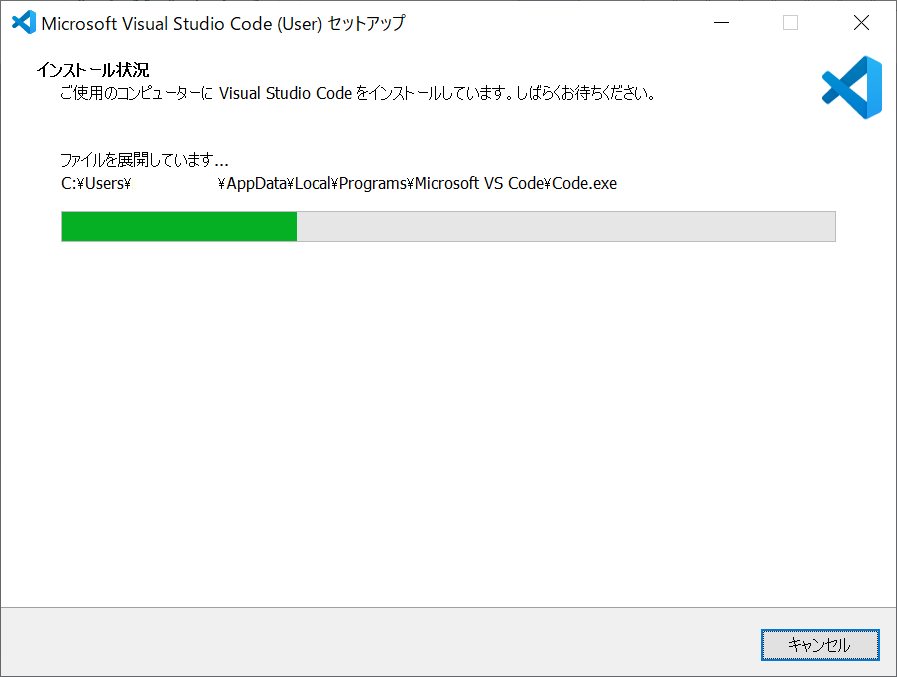
インストールが始まる(すぐに終わる)
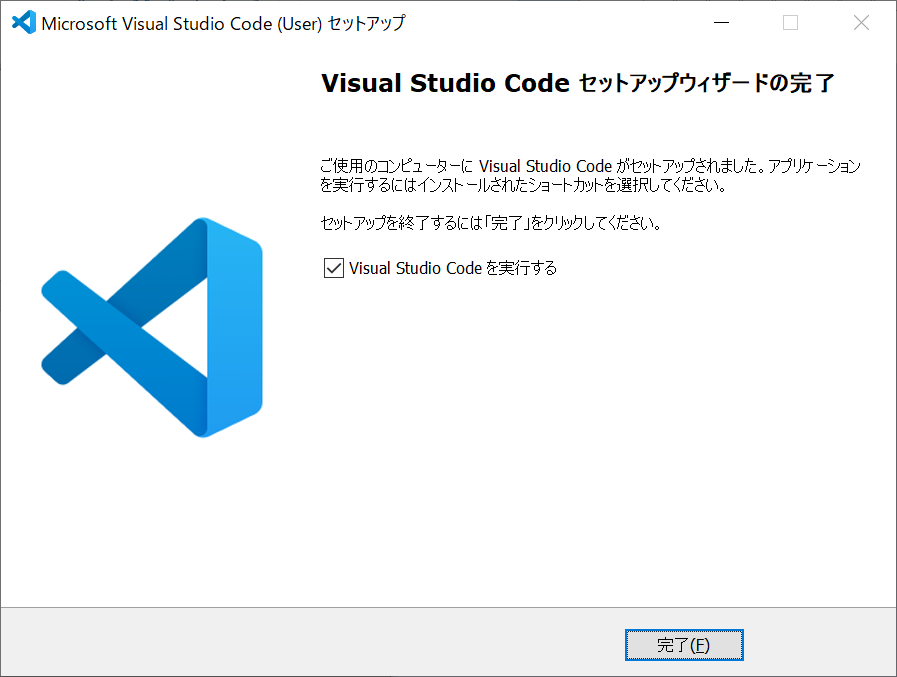
「Visual Studio Code を実行する」にチェックを入れて「完了」をクリック
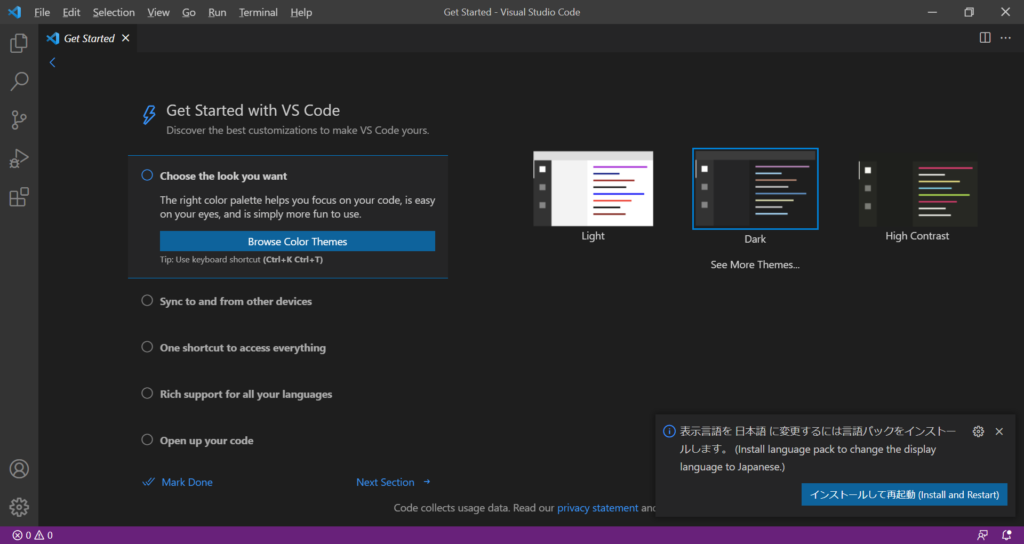
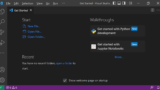
Visual Studio Code が起動する
言語を日本語にするために、右下の「インストールして再起動」をクリック
Visual Studio Code が再起動され、言語が日本語になる
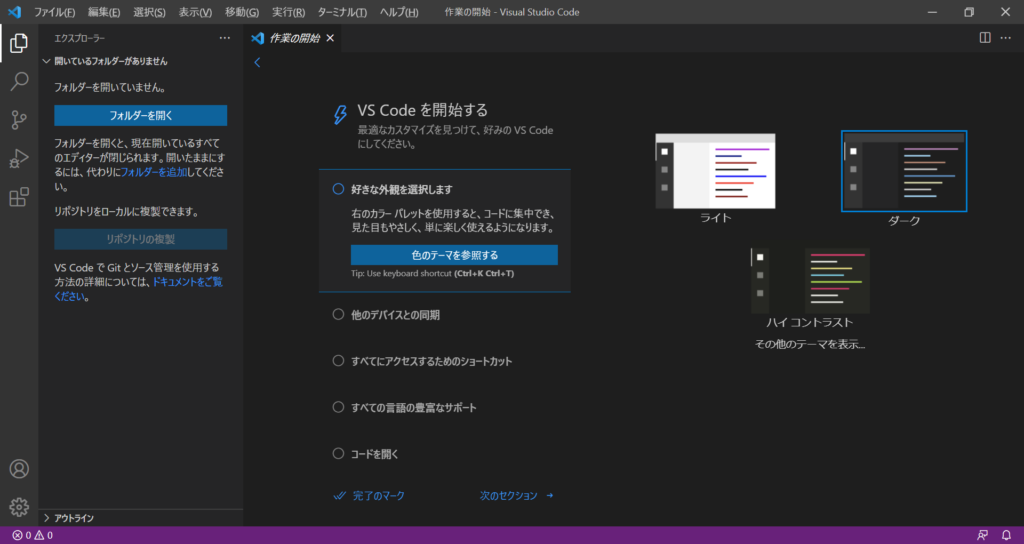
これでVisual Studio Code のインストールは完了である
Pythonのインストール
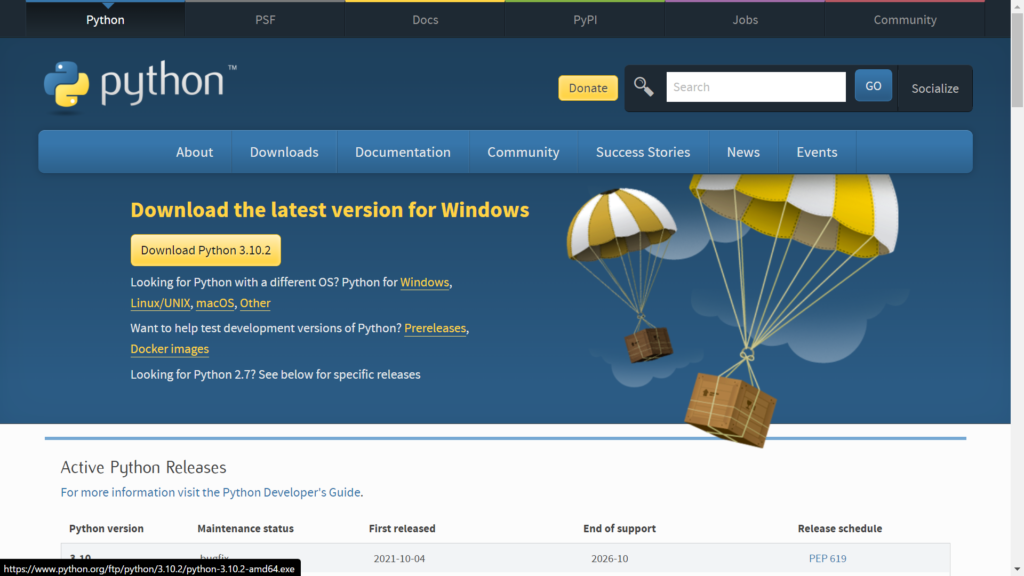
↓Pythonの公式サイトにアクセスする
好きなバージョンをダウンロードする
今回は最新版の3.10.2をダウンロードするので「Download Python 3.10.2」をクリック
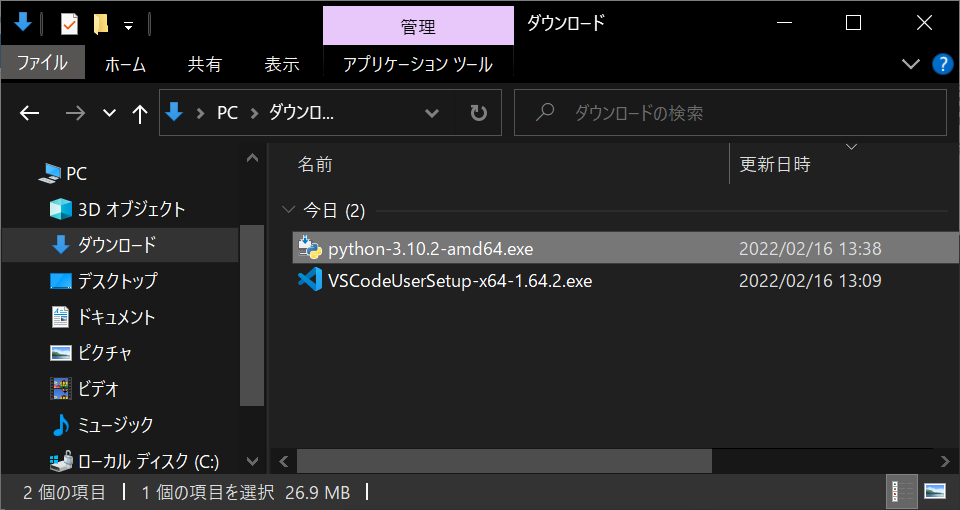
ダウンロードされた「Python-3.10.2-amd54.exe」をダブルクリックして実行する
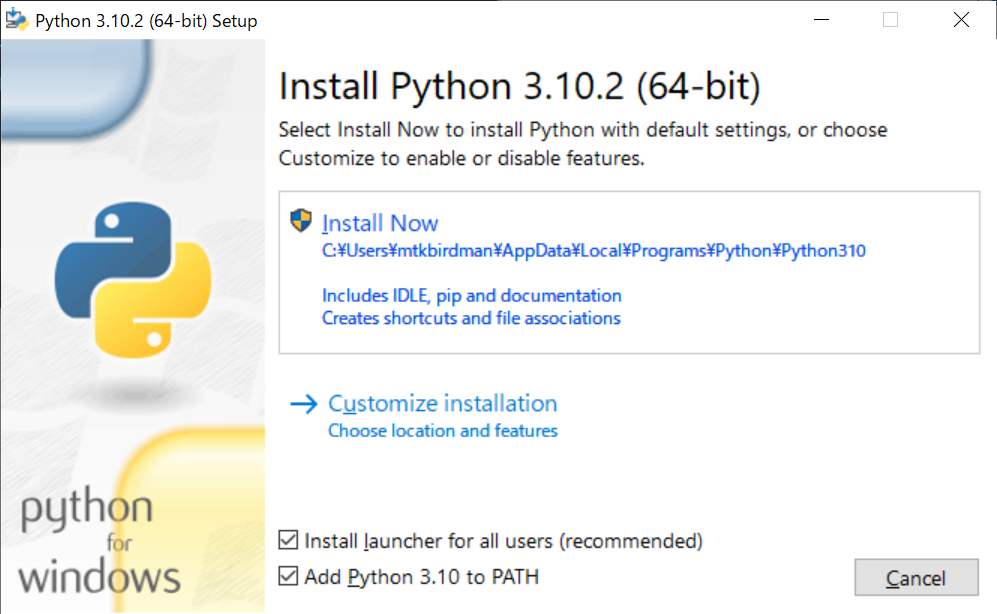
「Add Python 3.10 to PATH」にチェックを入れて「Install Now」をクリック
インストールが始まる(すぐに終わる)
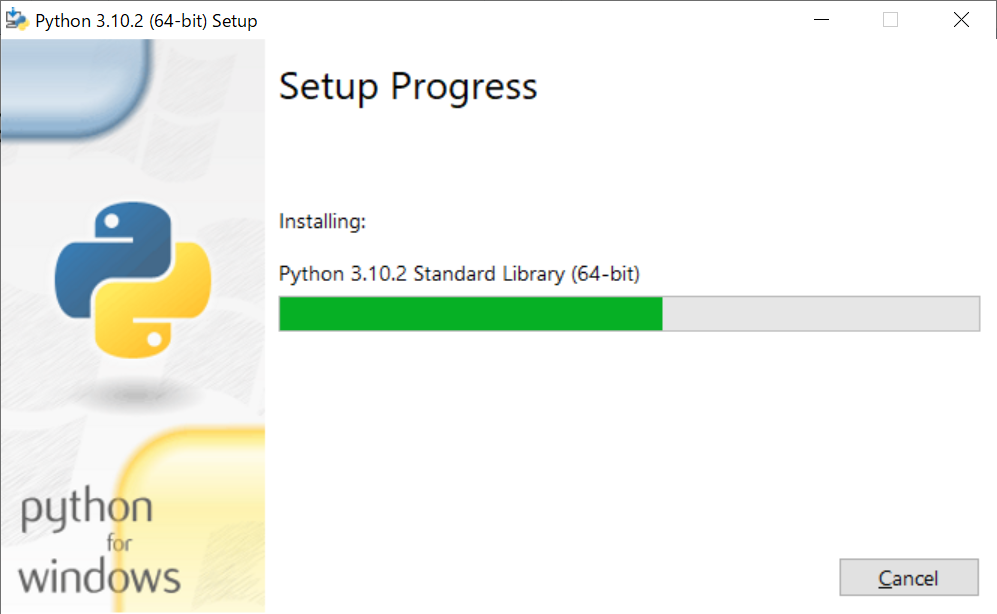
インストールが終了したので「Close」をクリック

これでPythonのインストールは完了である
Visual Studio Code で Python を使えるようにする
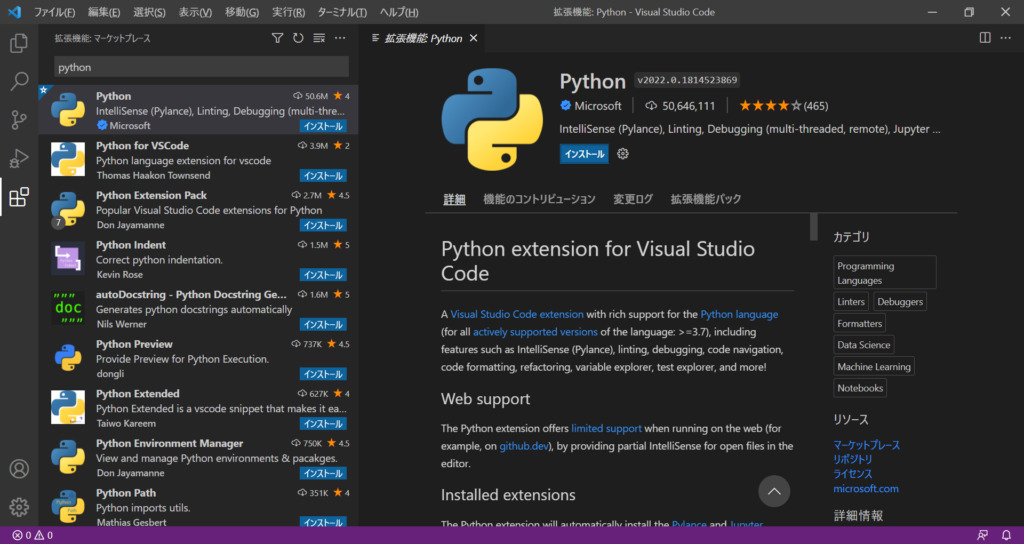
Visual Studio Code を開き、拡張機能を開く(Ctrl+Shift+X)
左上の検索窓に「python」と入力し、1番上に出てくる「Python」という名前の拡張機能の「インストール」をクリックする
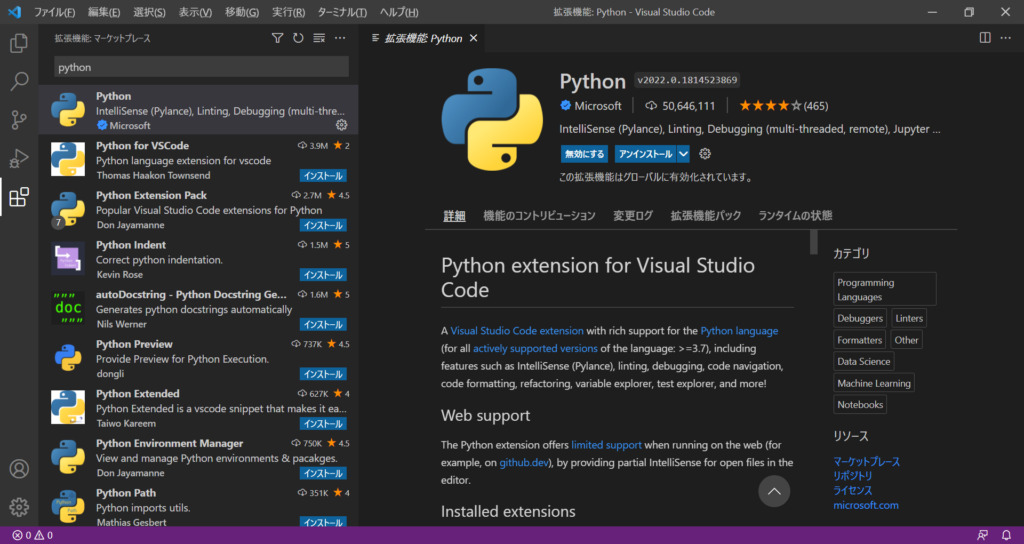
インストール後は「この拡張機能はグローバルに有効化されています。」という文章が表示される
サンプルプログラムを実行する
きちんとインストールできたかどうかを確認するために、サンプルコードを実行する
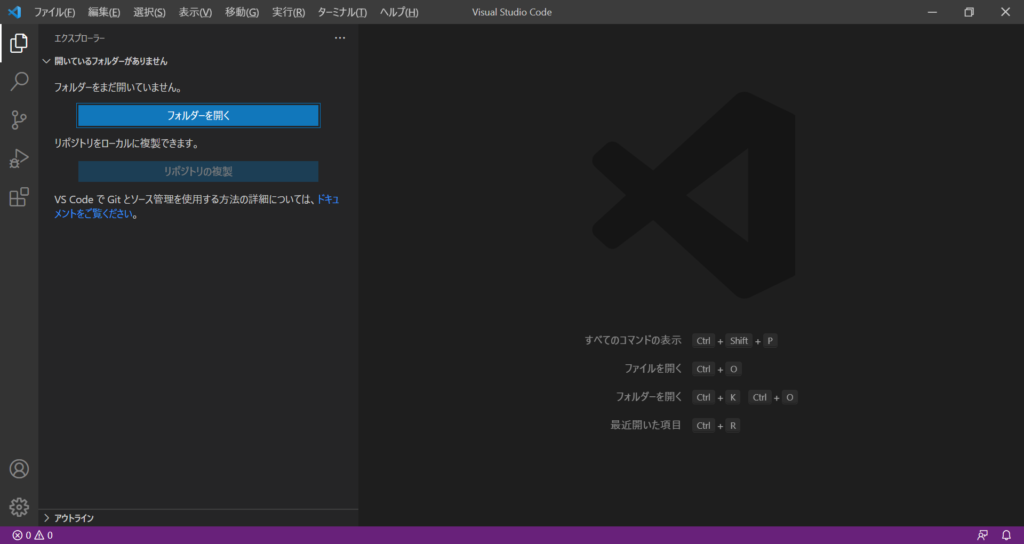
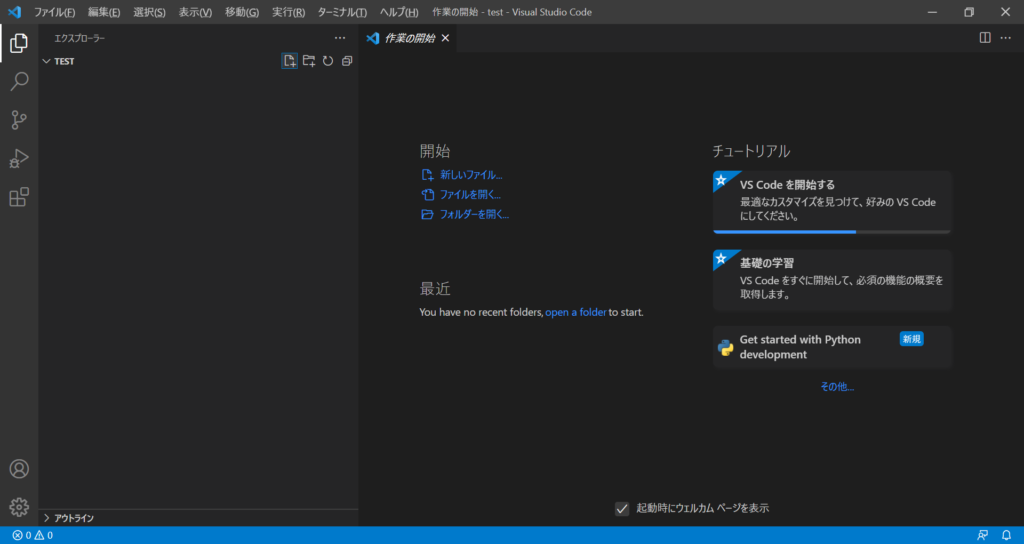
Visual Studio Code を開き、エクスプローラーを開く(Ctrl+Shift+E)
「フォルダーを開く」をクリックする
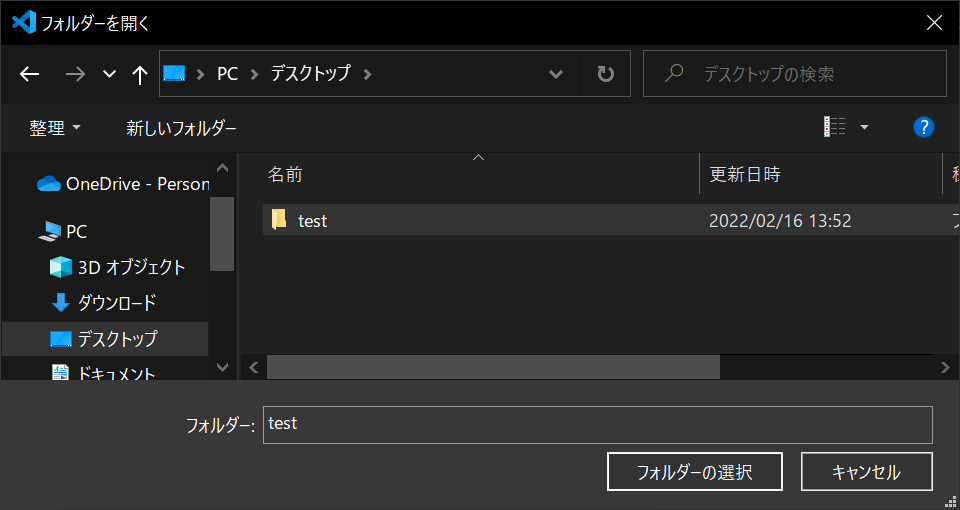
好きなフォルダを選択して「フォルダの選択」をクリック(今回はC:\Users\XXX\Desktop\test)
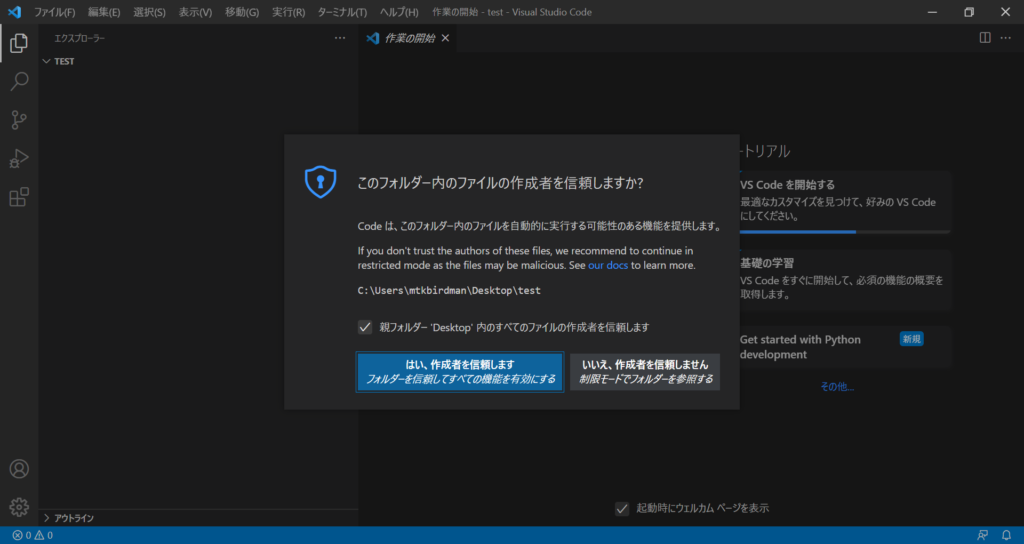
「このフォルダー内のファイルの作成者を信頼しますか?」という警告が出たら「はい、作成者を信頼します」をクリック
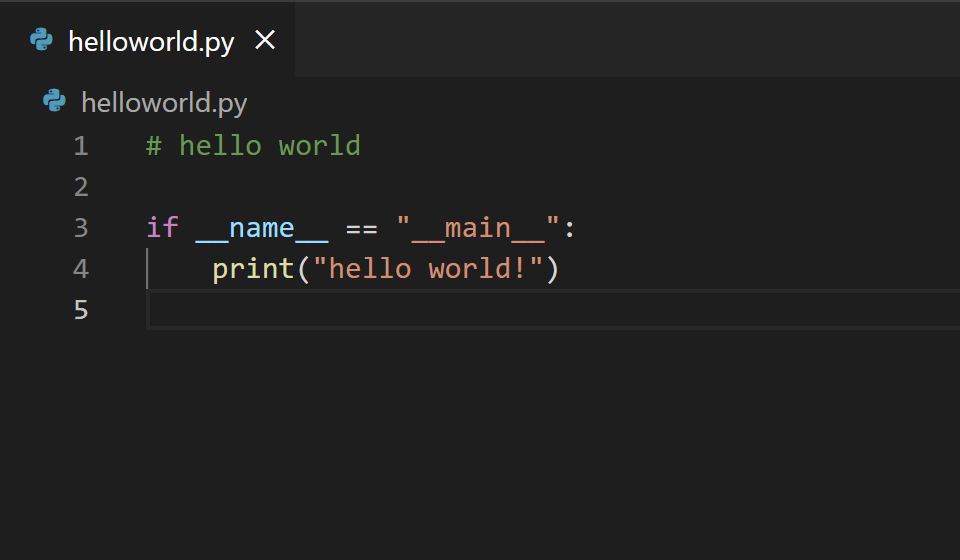
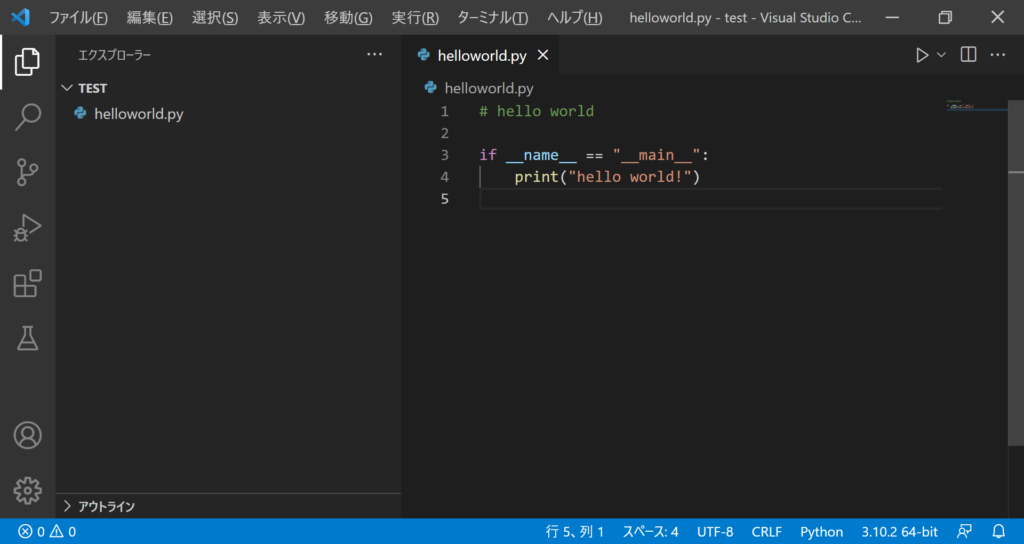
左上の書類のマーク(新しいファイル)をクリックし適当な名前の.pyファイルを作る(今回はhelloworld.py)
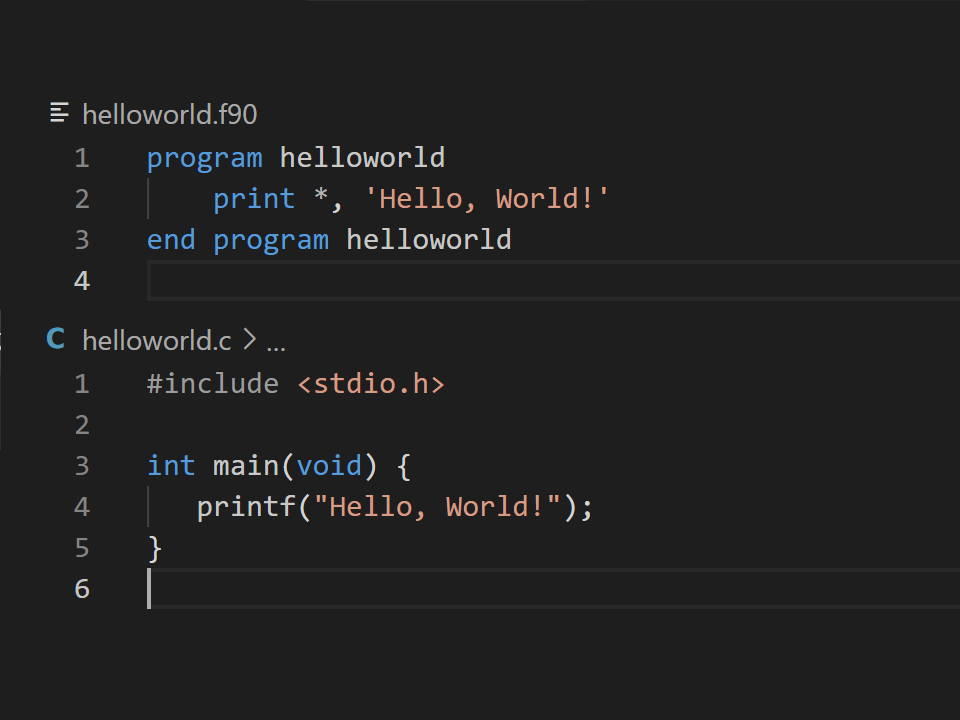
helloworld.pyの中身は以下の通り
# hello world

if __name__ == "__main__":
    print("hello world!")
「Ctrl+@」でターミナルを開く
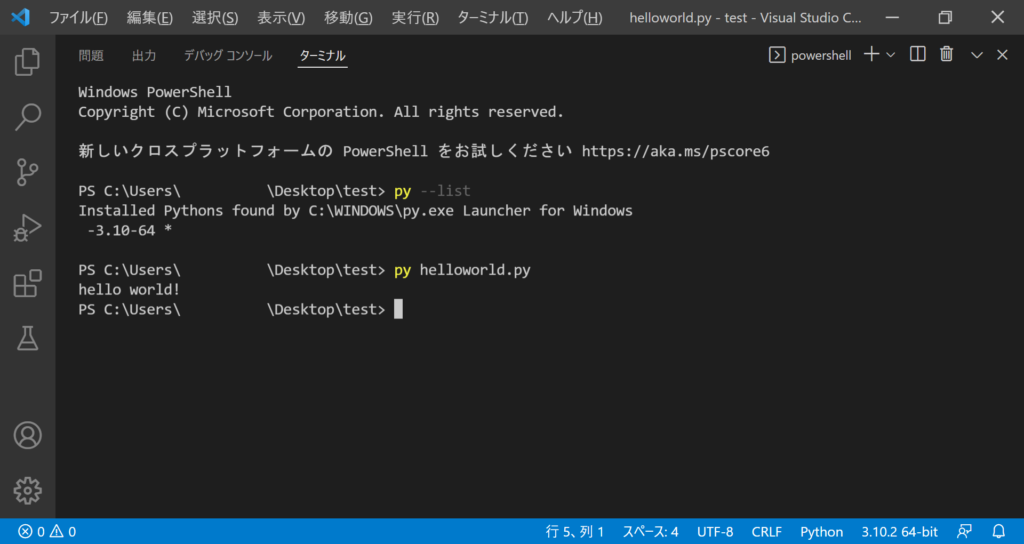
python がインストールできているかを「py --list」コマンドで確認する
PS C:\Users\XXX\Desktop\test> py --list
Installed Pythons found by C:\WINDOWS\py.exe Launcher for Windows
 -3.10-64 *

PS C:\Users\XXX\Desktop\test>
ちなみにWindowsでは仮想環境を構築しなくてもpyコマンドを使うことで複数のバージョンのPythonを使い分けることができる
参考
≫Windows で複数バージョンの Python を使う – Qiita
≫Pythonの複数バージョンの扱い方(Windowsの場合) – ガンマソフト株式会社
テストプログラムを実行してみる
PS C:\Users\XXX\Desktop\test> py helloworld.py
hello world!
PS C:\Users\XXX\Desktop\test>
できた
まとめ
WindowsのVisual Studio CodeでPythonの環境を構築する方法について説明した
Pythonを使えばいろいろと面白いことができるので、ぜひ挑戦してみてほしい
↓関連記事

コメント