WindowsのVisual Studio CodeでCloud LaTeXの実行環境を構築する方法について説明する
Cloud LaTeXとは、環境構築がめんどくさい言語ランキング堂々の第1位に君臨するLaTeXがウェブで簡単に使えてしまうとても便利なサービスである
↓vscodeをまだインストールしていない人はこちら
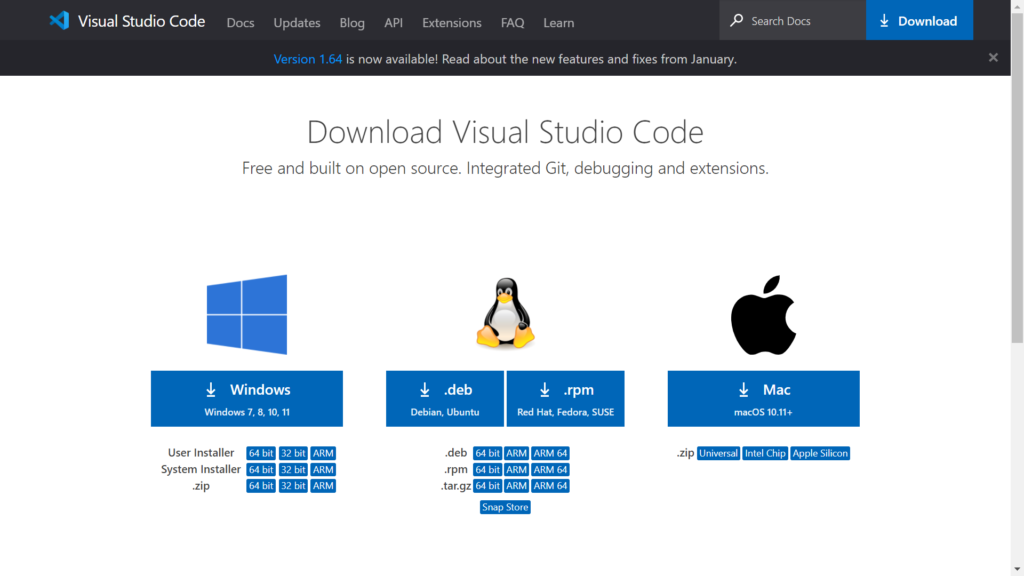
↓Visual Studio Code の公式サイトにアクセスする
「Windows」をクリックする
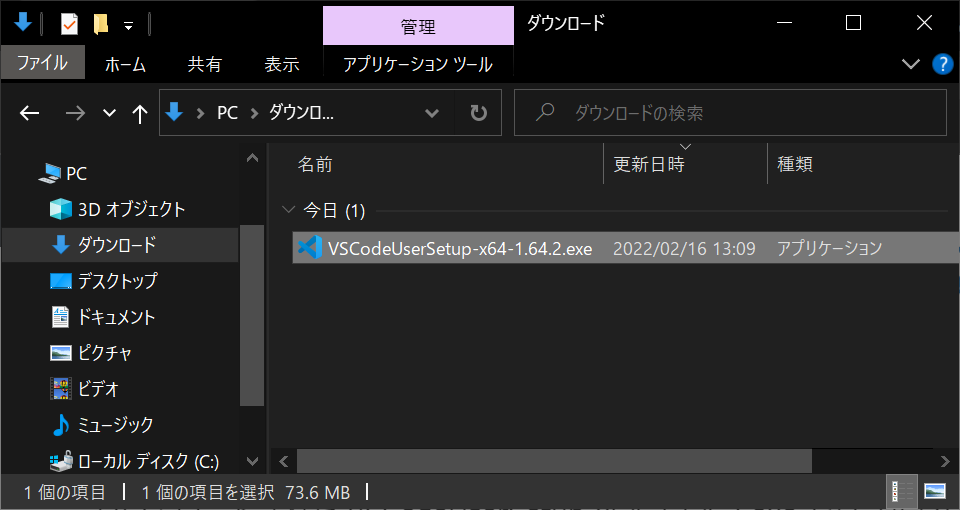
ダウンロードされた VSCodeUserSetup-x64-1.64.2.exe をダブルクリックして実行する
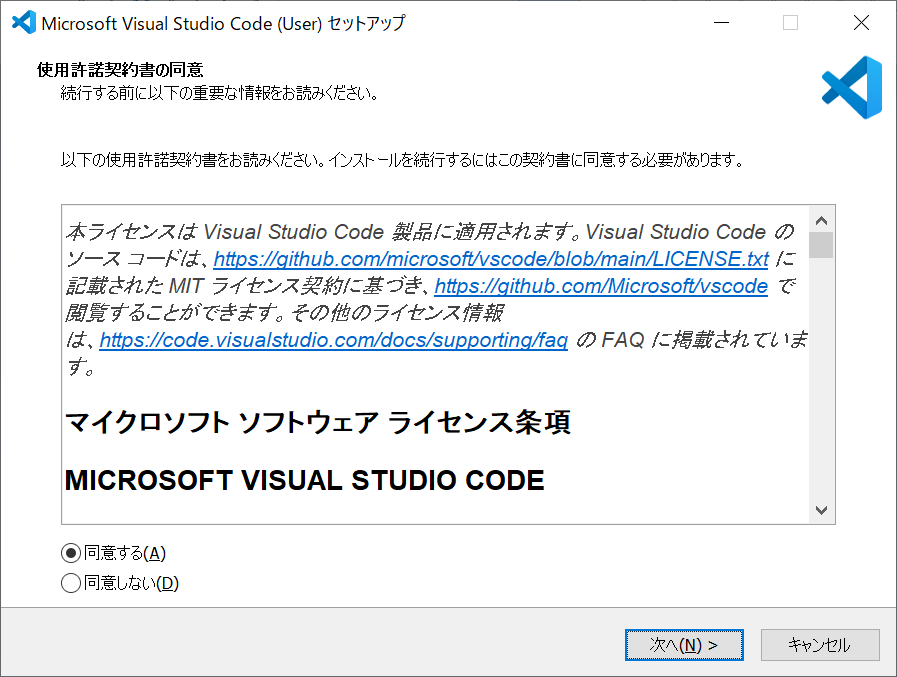
使用許諾契約書を読んで「同意する」にチェックを入れ「次へ」をクリック
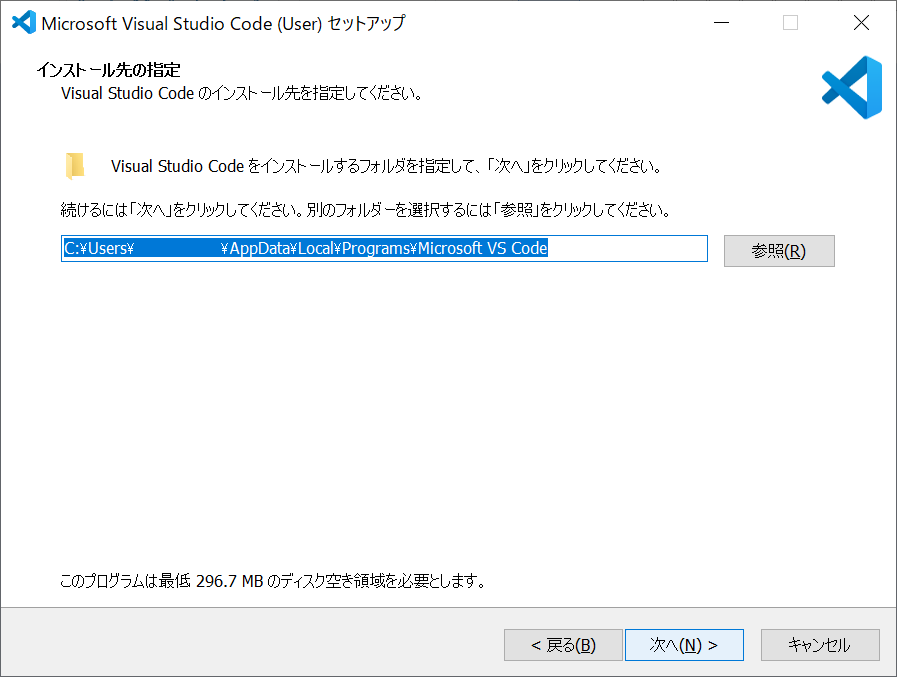
「次へ」をクリック
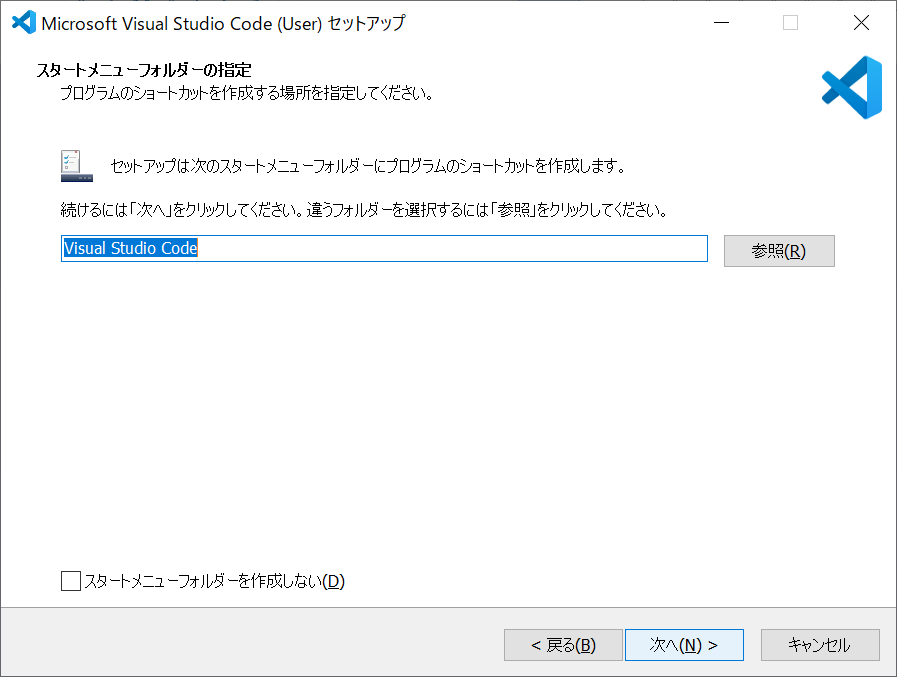
「次へ」をクリック
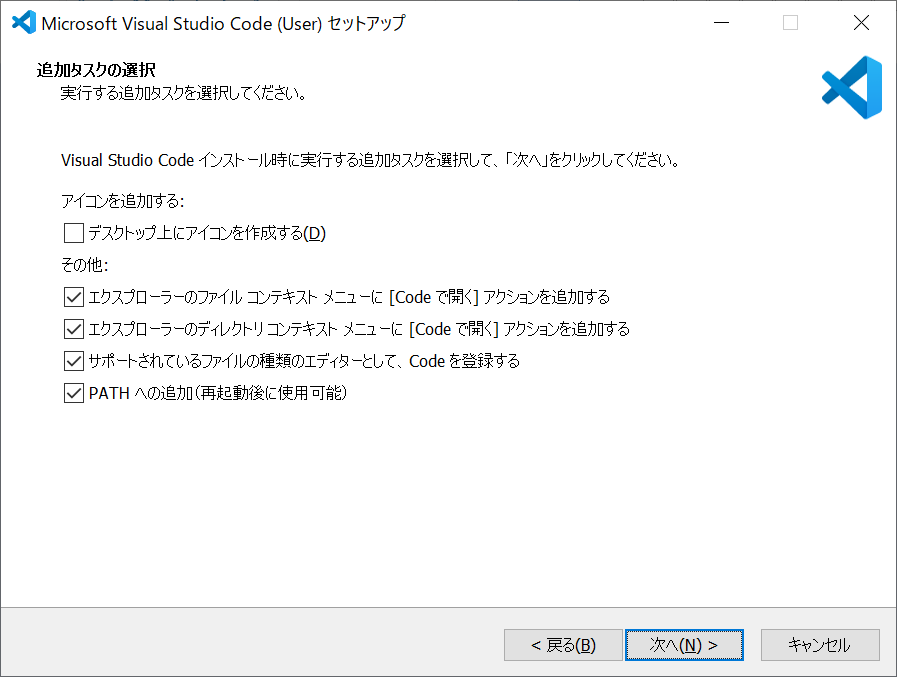
「PATHへの追加(再起動後に使用可能)」にチェックを入れる
それ以外はお好みでチェックを入れ「次へ」をクリック
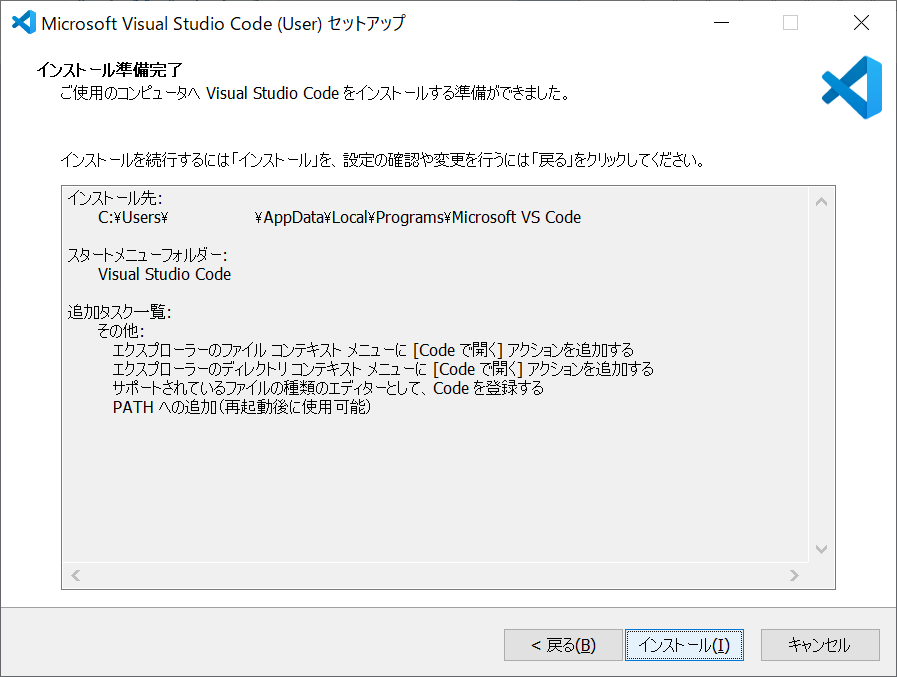
「インストール」をクリック
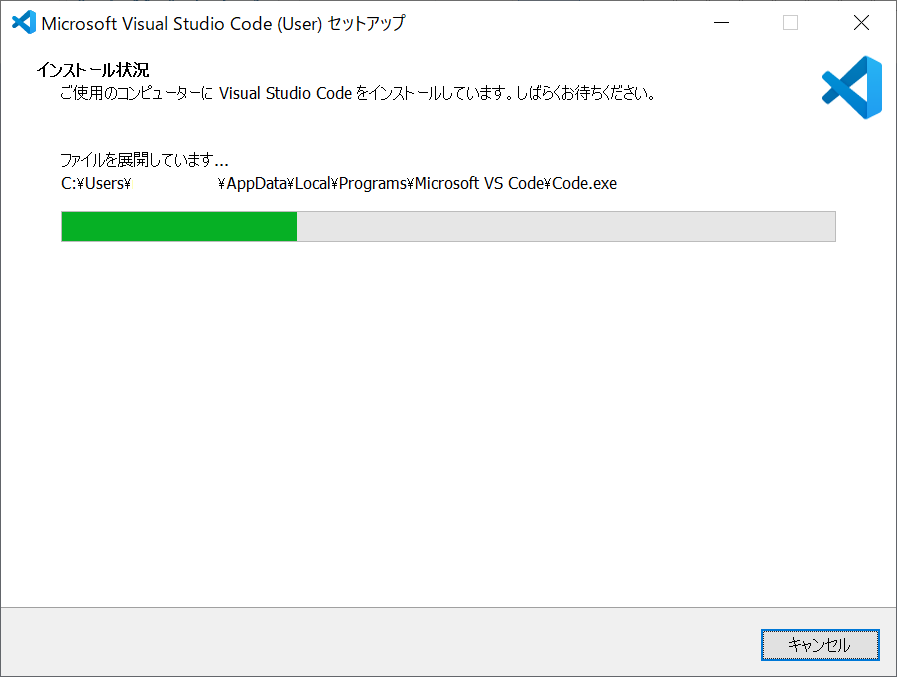
インストールが始まる(すぐに終わる)
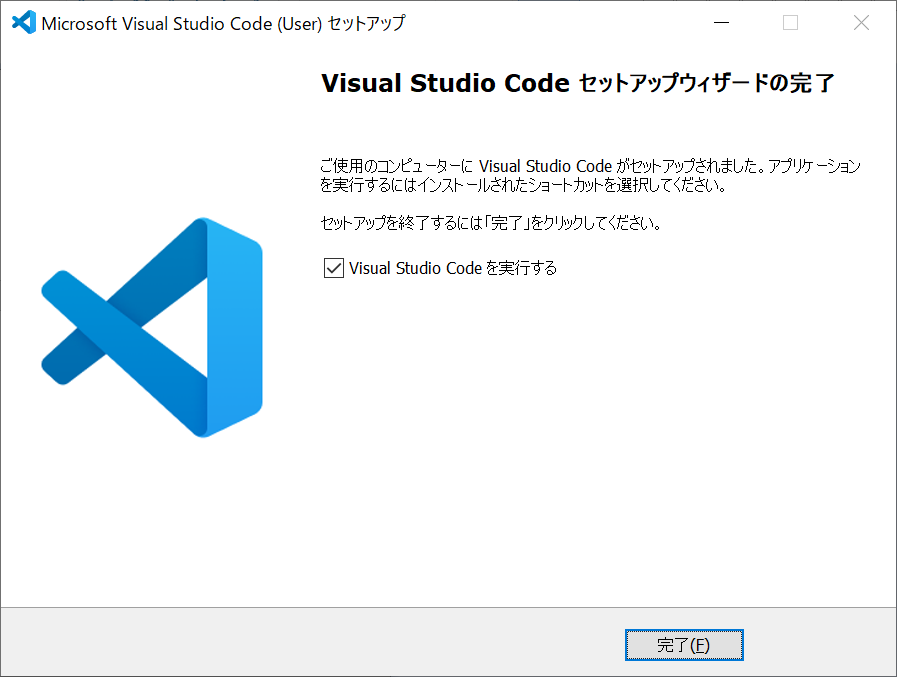
「Visual Studio Code を実行する」にチェックを入れて「完了」をクリック
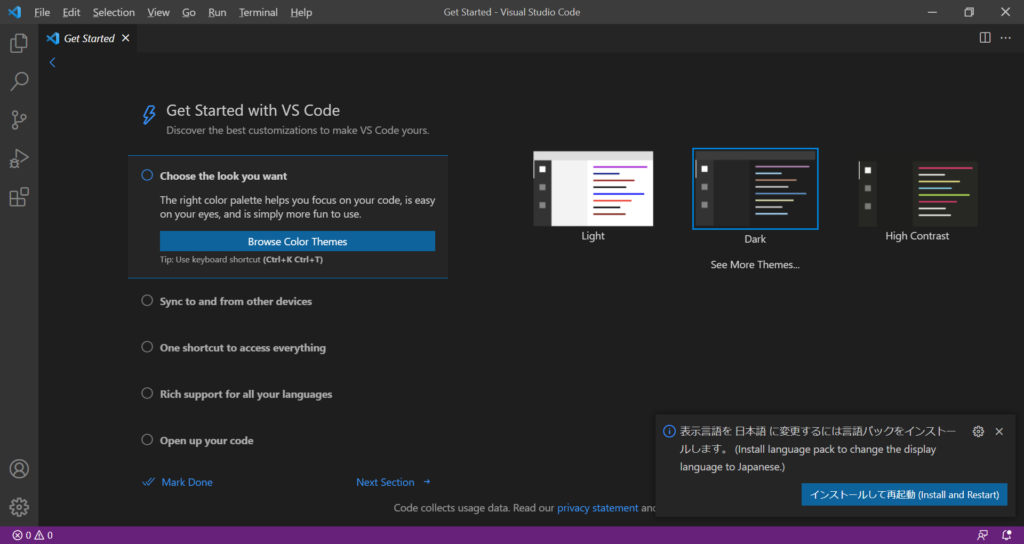
Visual Studio Code が起動する
言語を日本語にするために、右下の「インストールして再起動」をクリック
Visual Studio Code が再起動され、言語が日本語になる

これでVisual Studio Code のインストールは完了である
Cloud LaTex のアカウントを作成する
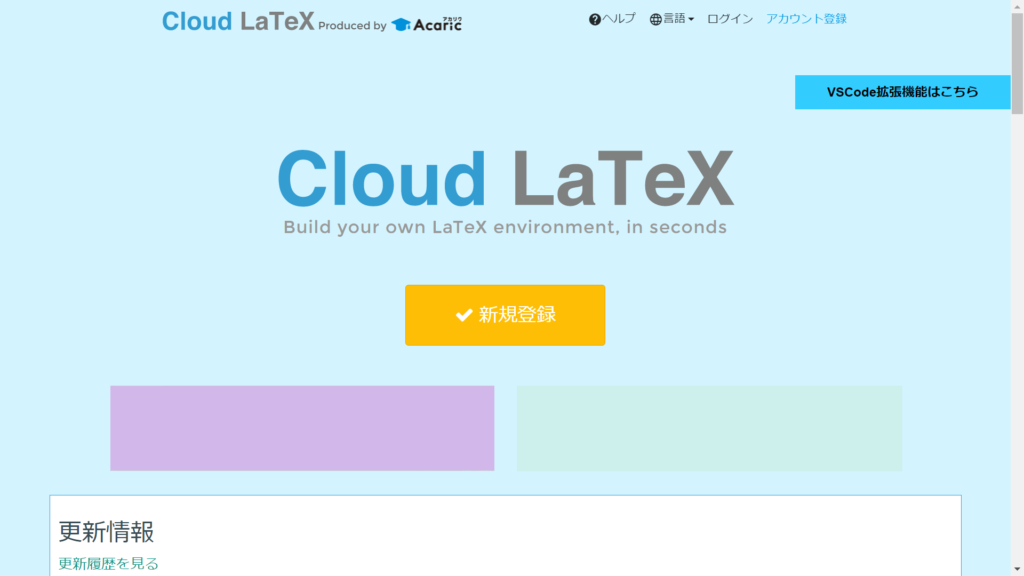
↓Cloud LaTexの公式サイトにアクセスする

「新規登録」をクリックする
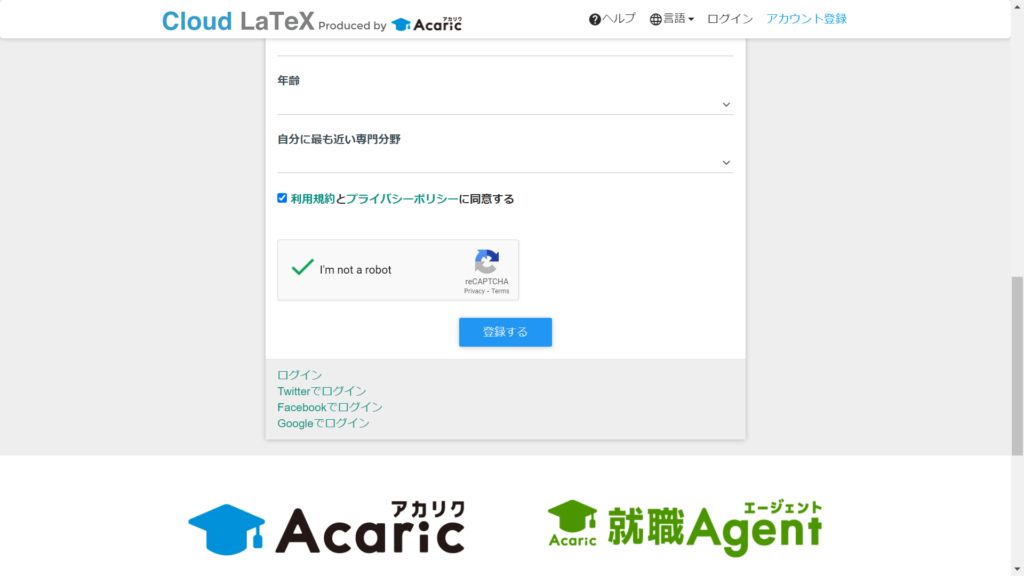
アカウント登録画面に進むので、ユーザー名やメールアドレスなどの情報を入力する
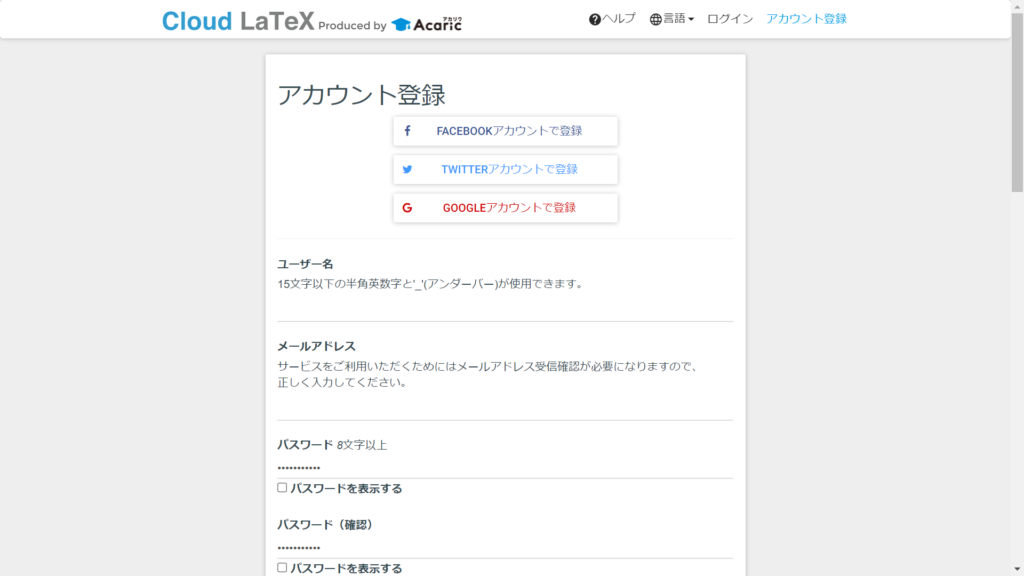
入力し終えたら「登録する」をクリック
登録したメールアドレス宛に認証メールが届くので「メールアドレスの受信確認」をクリックする
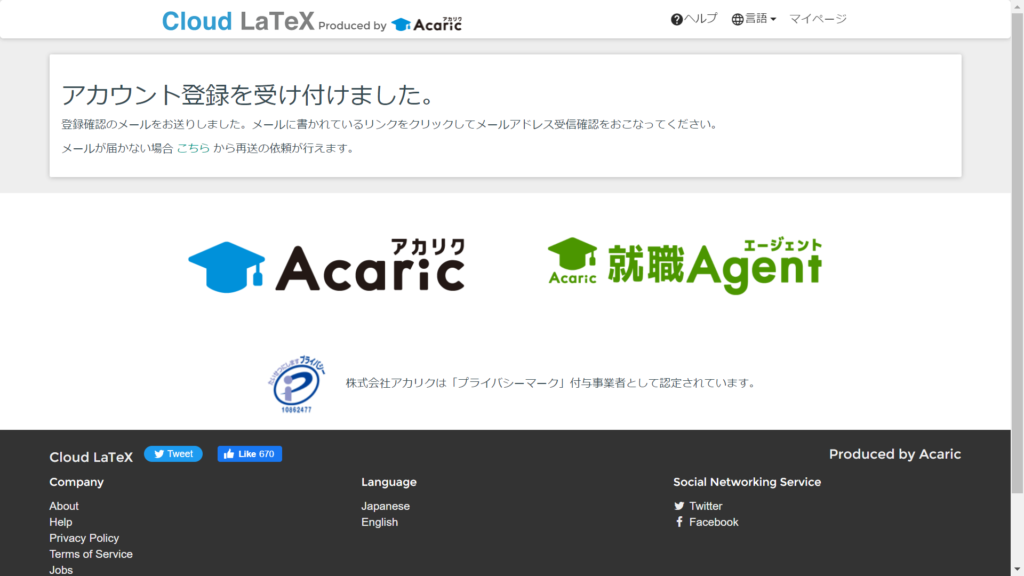
アカウント登録が完了する
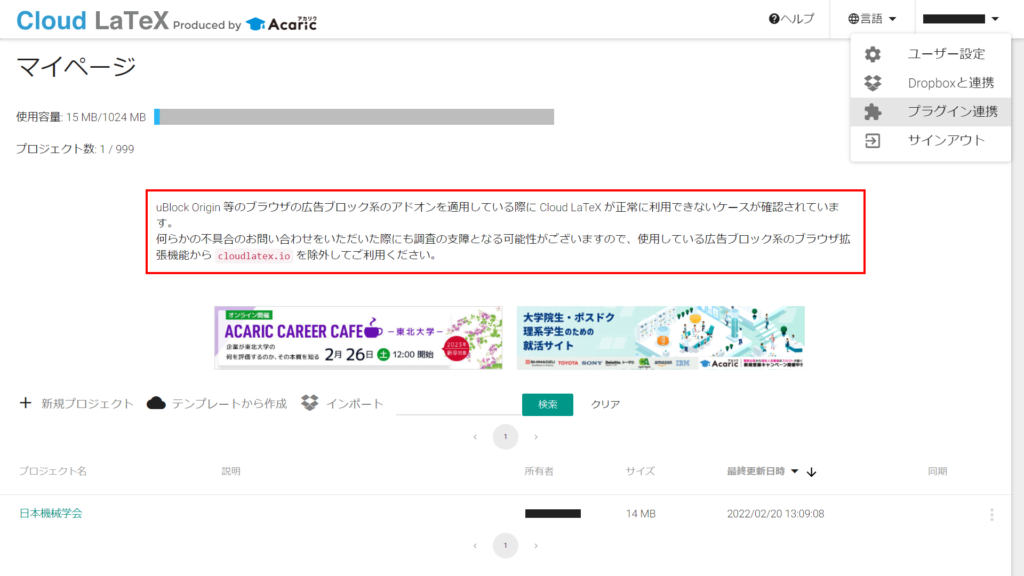
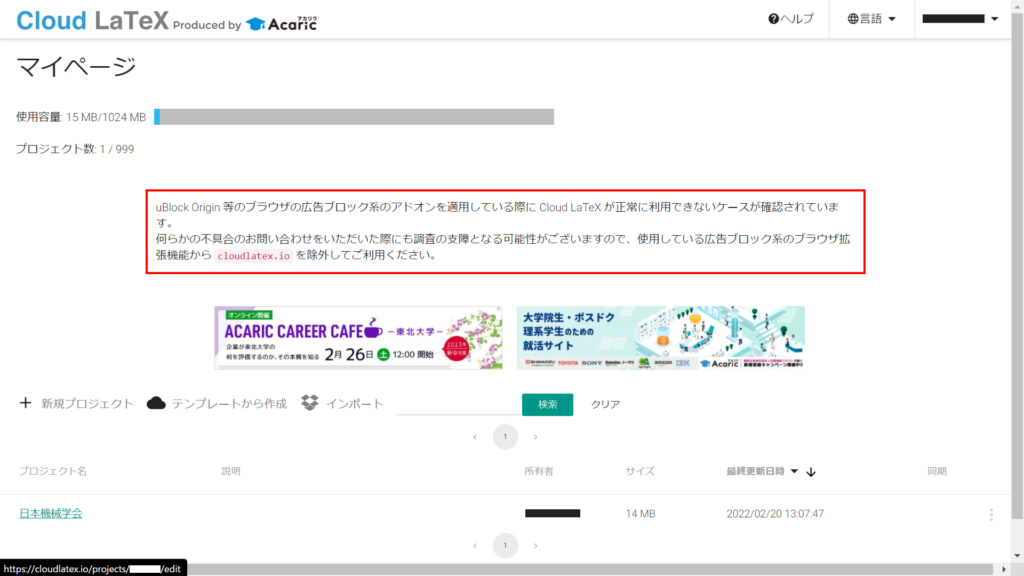
マイページにアクセスする
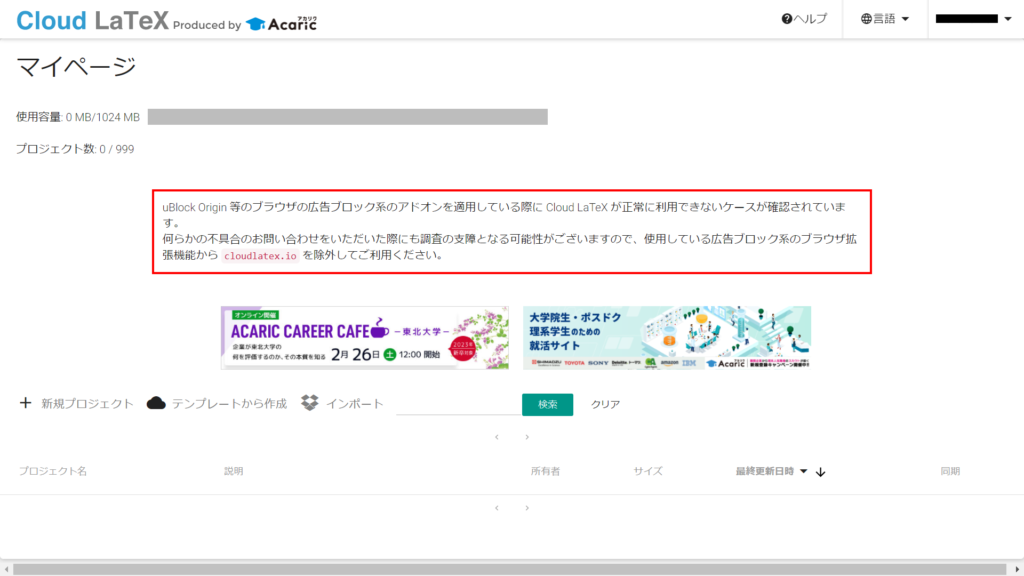
右上のユーザー名をクリックしてプルダウンを開き「プラグイン連携」をクリック
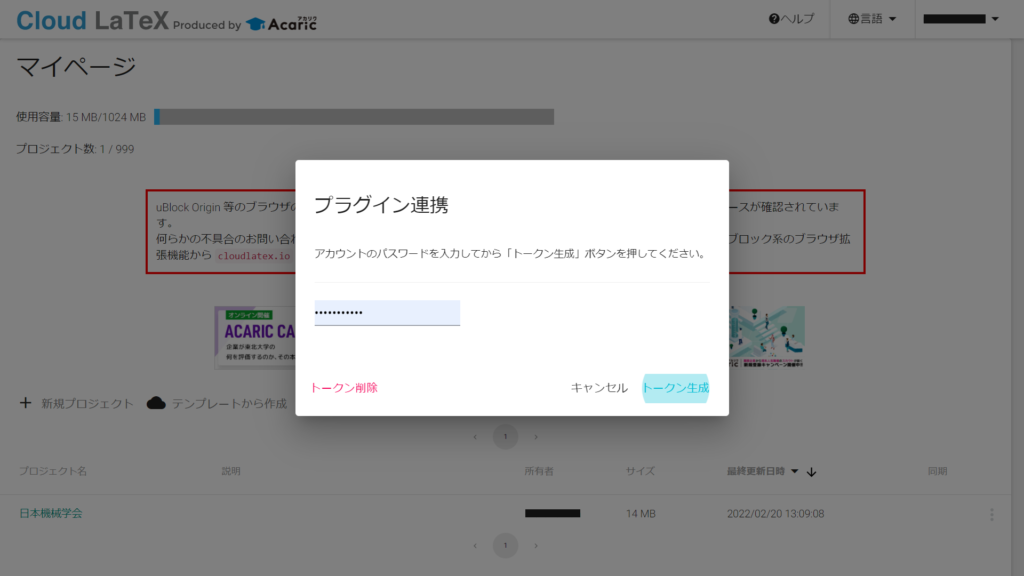
アカウント作成の時に設定したパスワードを入力して「トークン生成」をクリック
client と access-token をコピーしてメモしておく
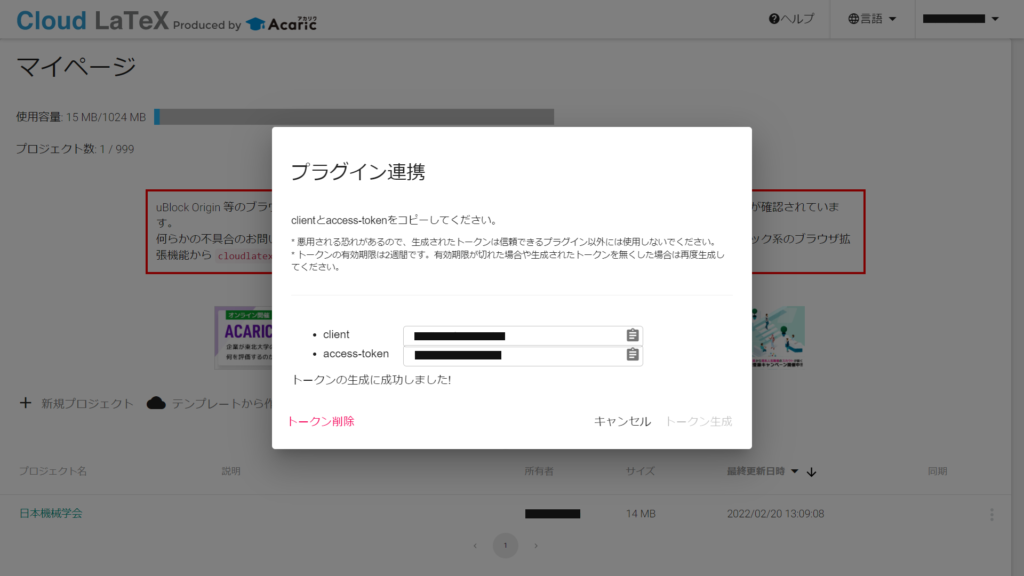
「client」「access-token」の2つがわかっていればOKである
Visual Studio Code で拡張機能をインストールする
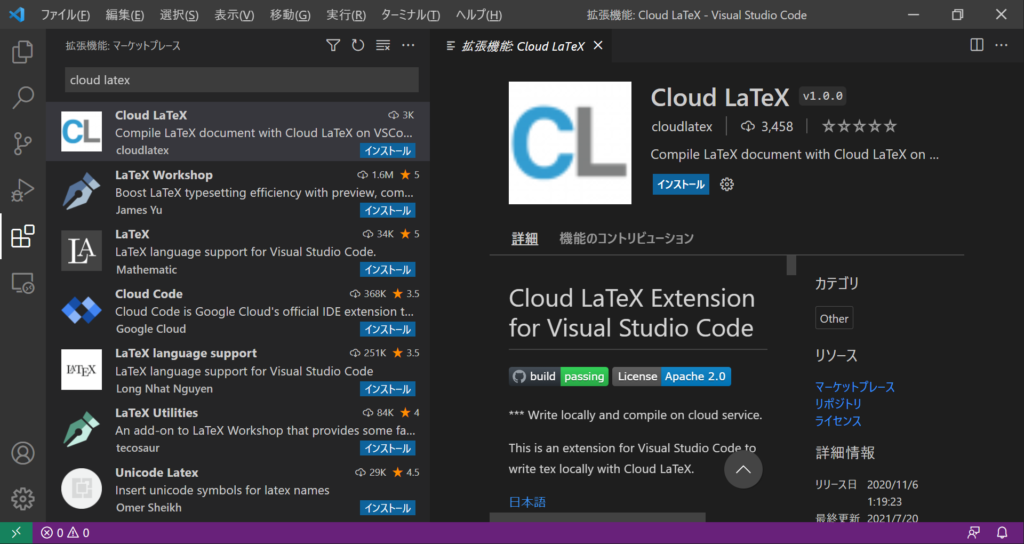
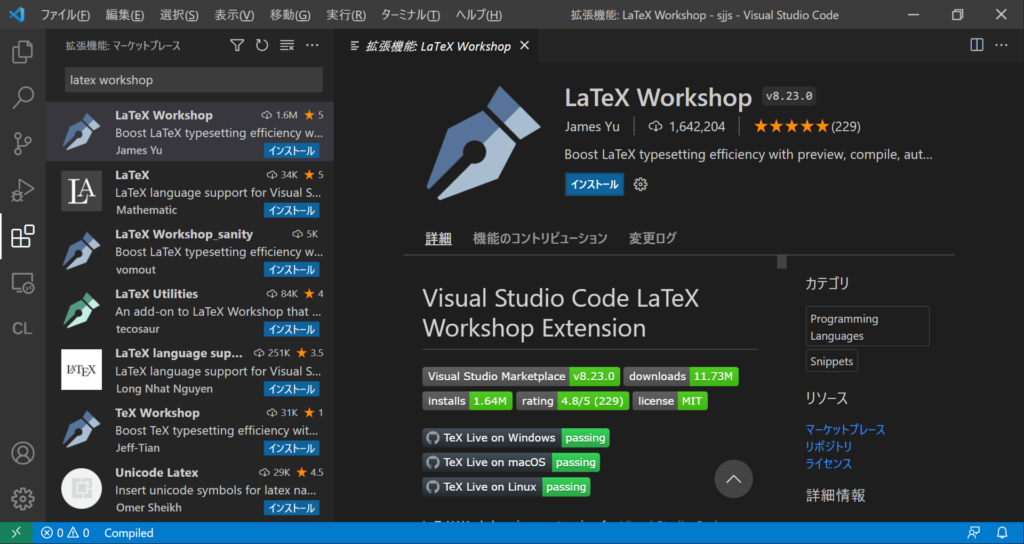
Visual Studio Codeを開き、「Ctrl+Shift+X」で「拡張機能」を開く
左上の検索窓に「cloud latex」と入力し、出てきた「Cloud LaTex」の「インストール」をクリックする
左側に「CL」というアイコンが追加されるのでクリックする
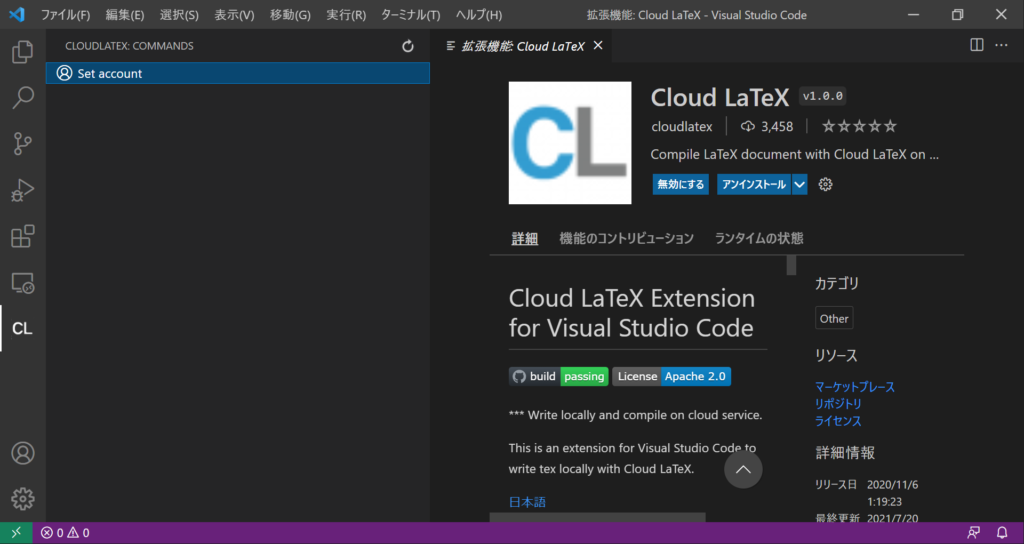
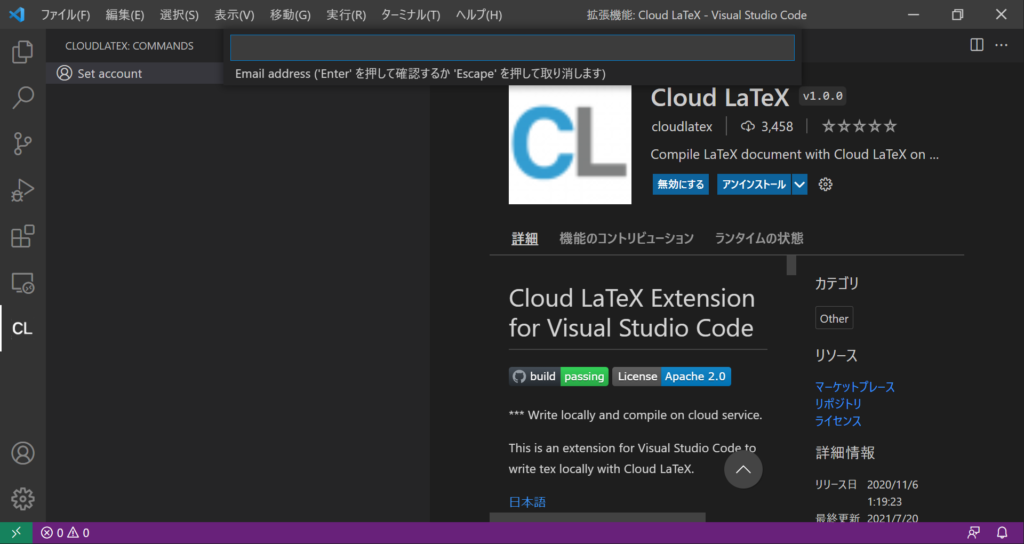
「Set account」をクリックする
「メールアドレス」「client」「access-token」を順番に入力する
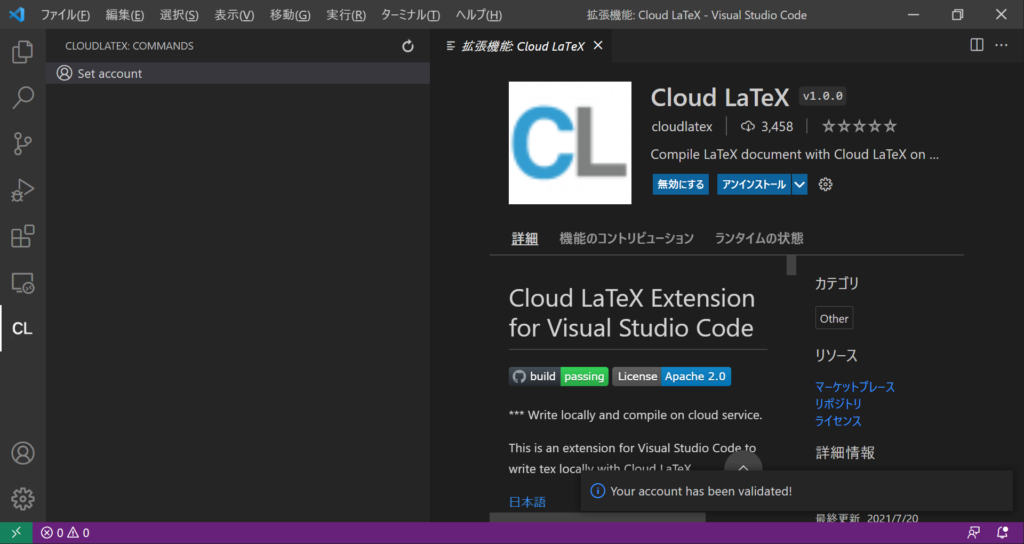
「Your account has been validated!」という通知が出れば連携の設定は完了である
Cloud Latexで作成したプロジェクトをvscodeで編集する
Cloud Latexで作成したプロジェクトをVisual Studio Codeで編集するにはProject IDを取得する必要がある
例として、ウェブ上のCloud Latexで適当なプロジェクトを作成する
今回は「テンプレートから作成>日本機械学会>作成」をクリックした
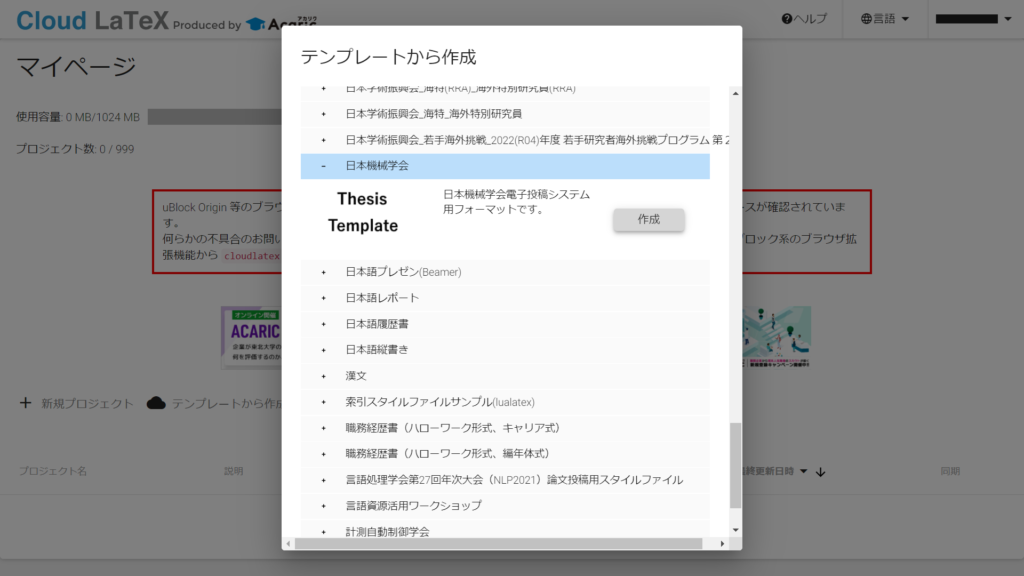
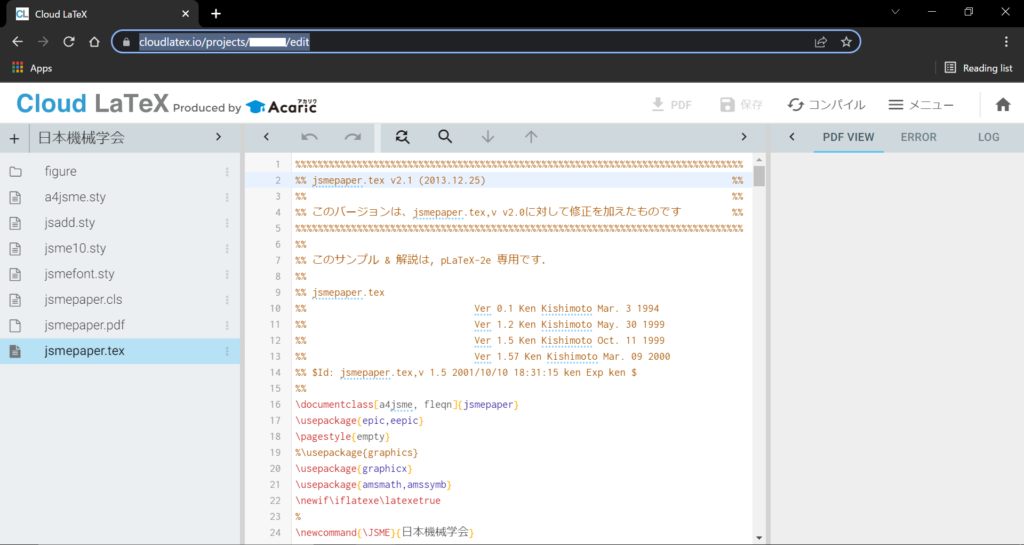
左下に「日本機械学会」という名前のプロジェクトが追加されるので、クリックする
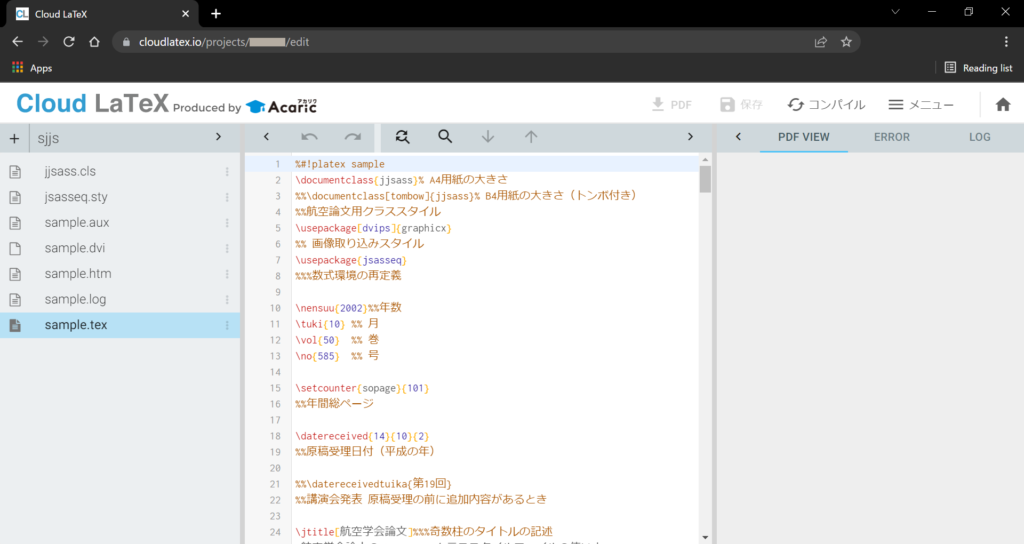
URLを確認する
「https://cloudlatex.io/projects/XXXXXX/edit」となっている6桁の数字「XXXXXX」がProject IDである
Project IDをメモしたら右上の家のマークをクリックしてマイページに戻る
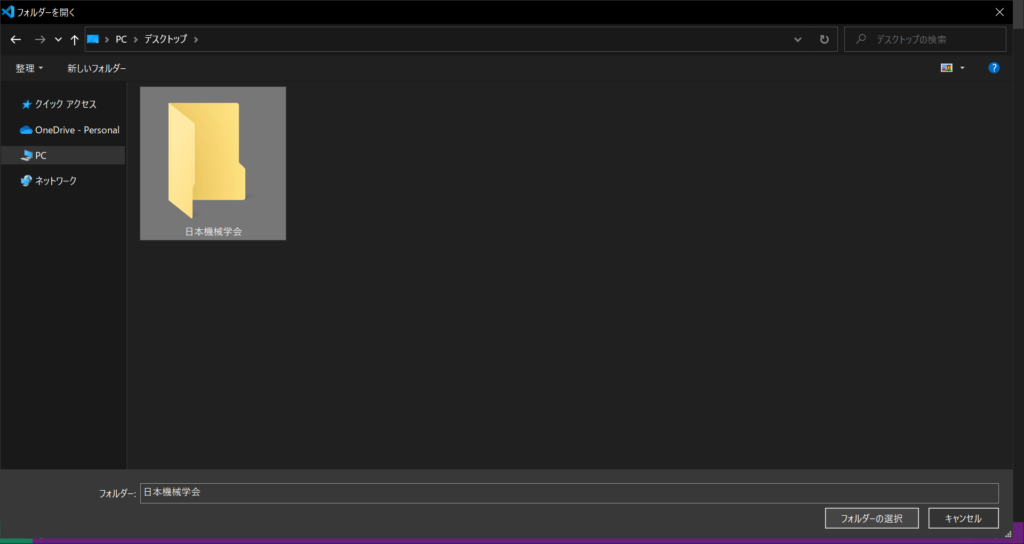
Cloud LaTexと連携させるためのフォルダをローカルの好きな場所に好きな名前で作成する(今回は「C:\Users\XXX\Desktop\日本機械学会」を作成)
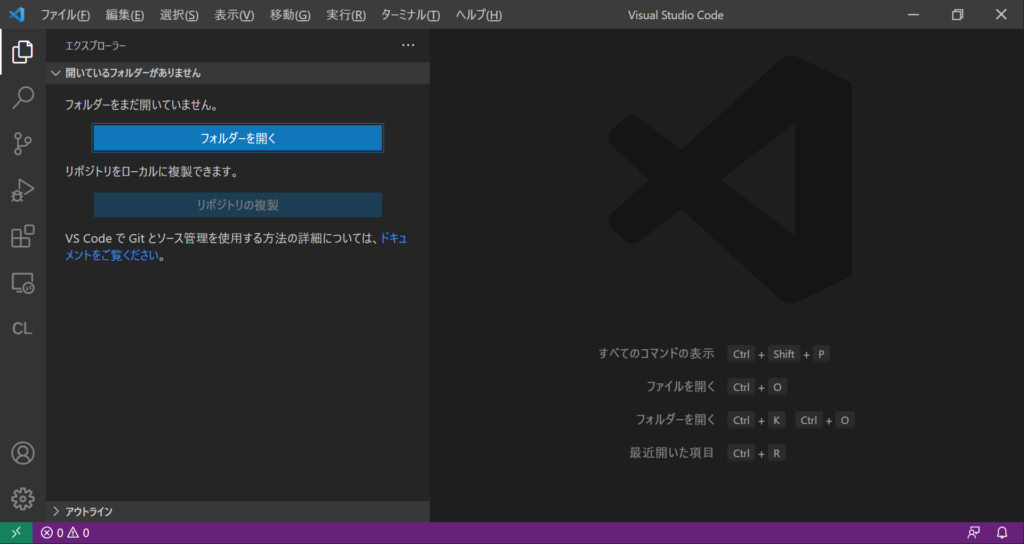
Visual Studio Codeを開く
「Ctrl+Shit+E」でエクスプローラを開き、「フォルダーを開く」をクリック
先ほど作成したフォルダを選択して「フォルダーの選択」をクリック
フォルダが開くので左側にある「CL」のアイコンをクリックする

「Project Setting」をクリックすると「設定」のファイルが開く
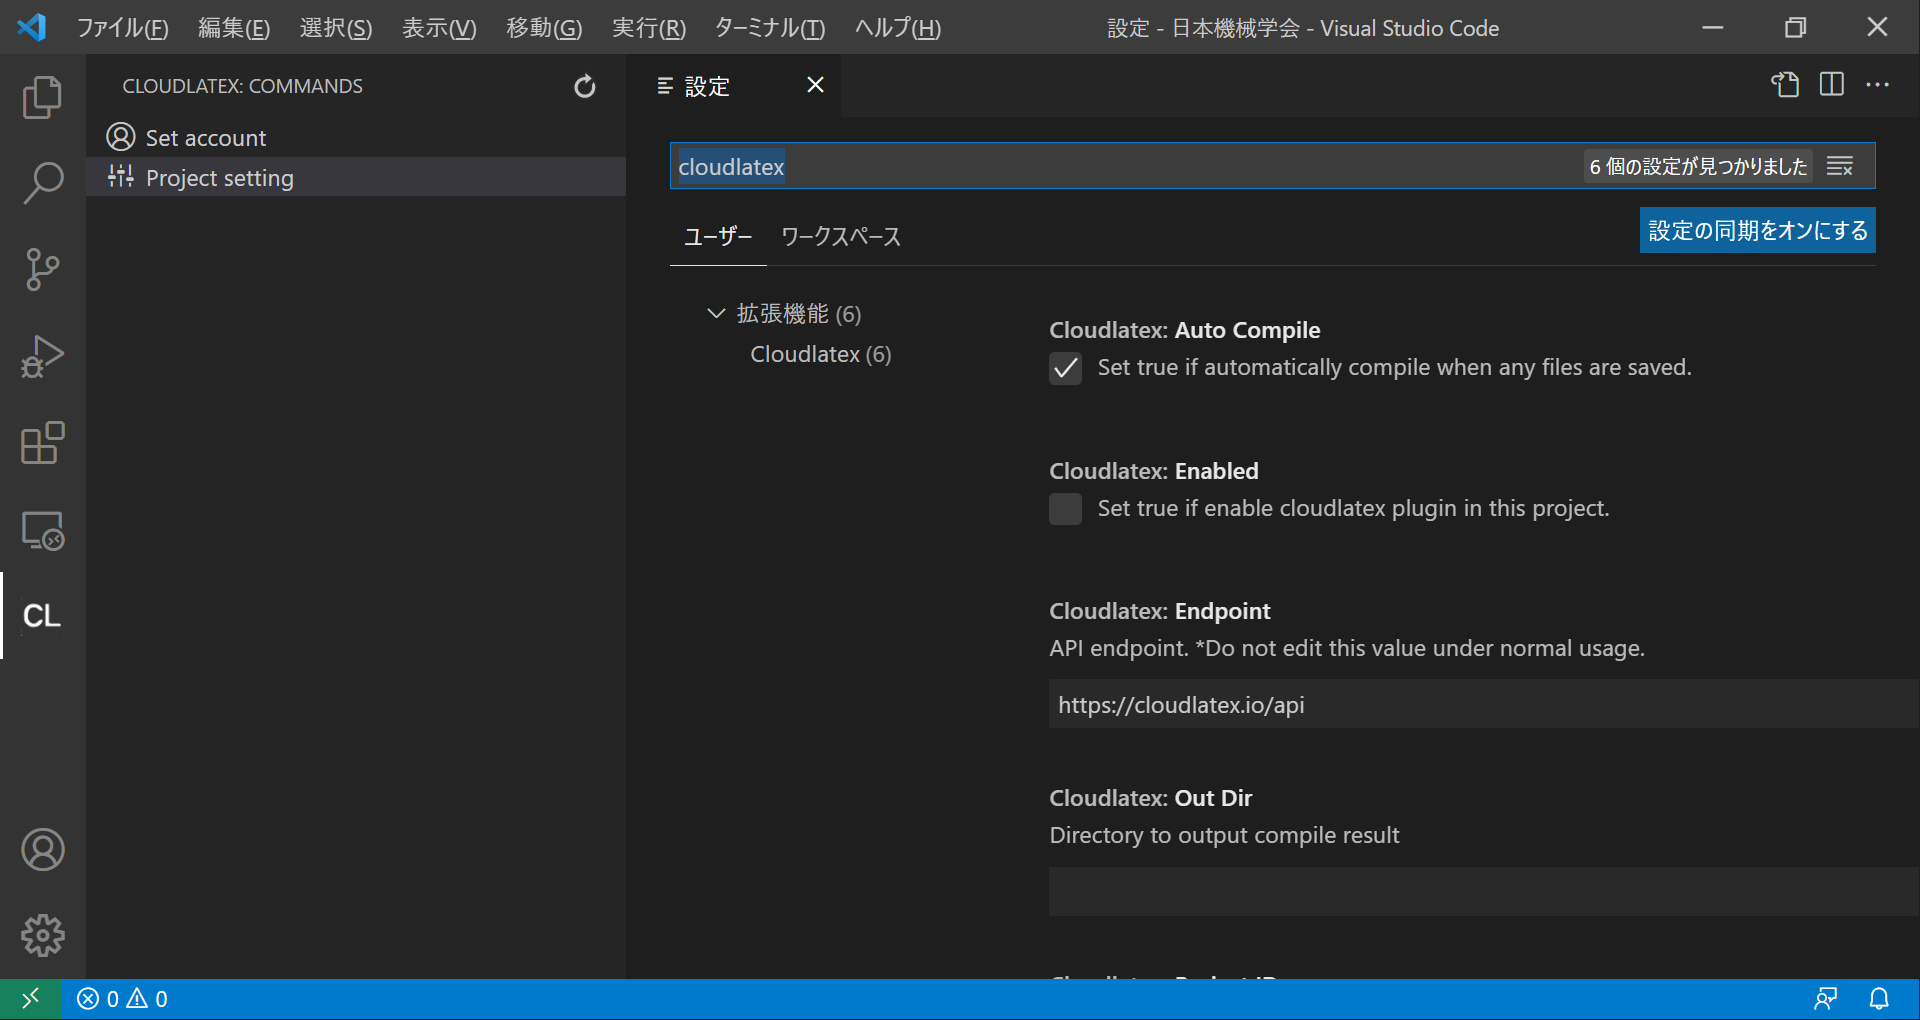
「ユーザー」と「ワークスペース」という2つの設定タブがあるが、「ワークスペース」タブの設定を変更する
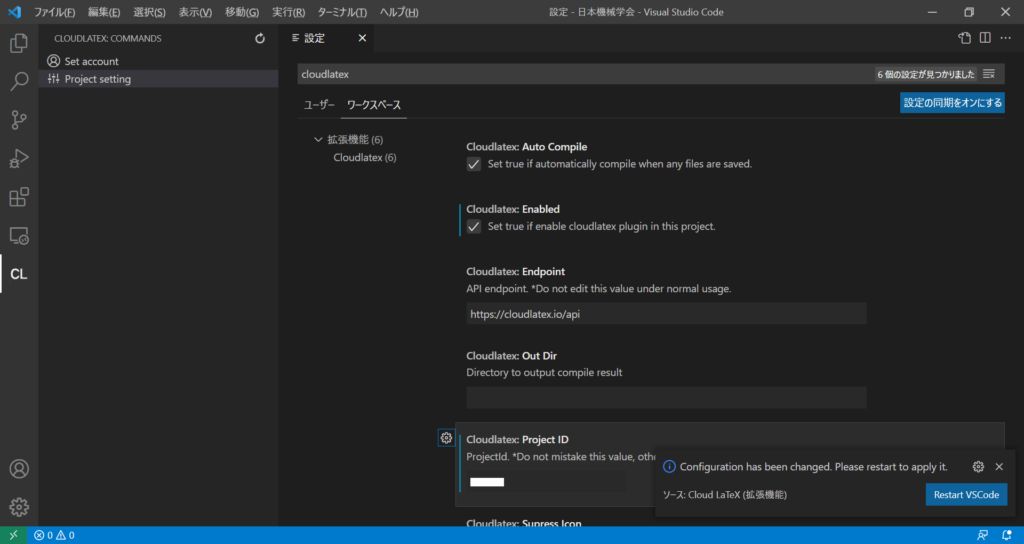
「Cloudlatex: Enabled」にチェックを入れ、「Cloudlatex: Project ID」に先ほど確認した数字を入力する
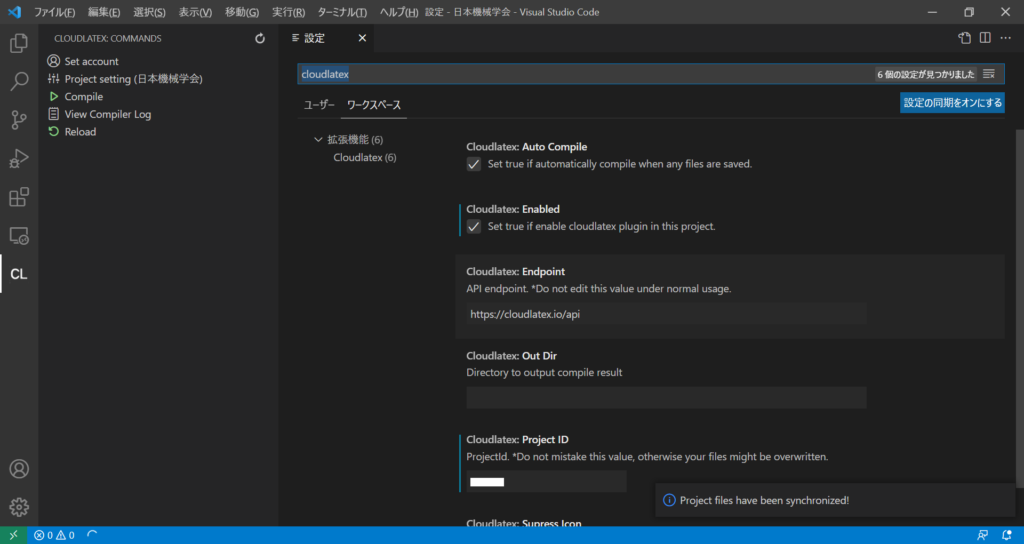
2つとも入力したら、右下に出てくる「Restart VSCode」をクリックする
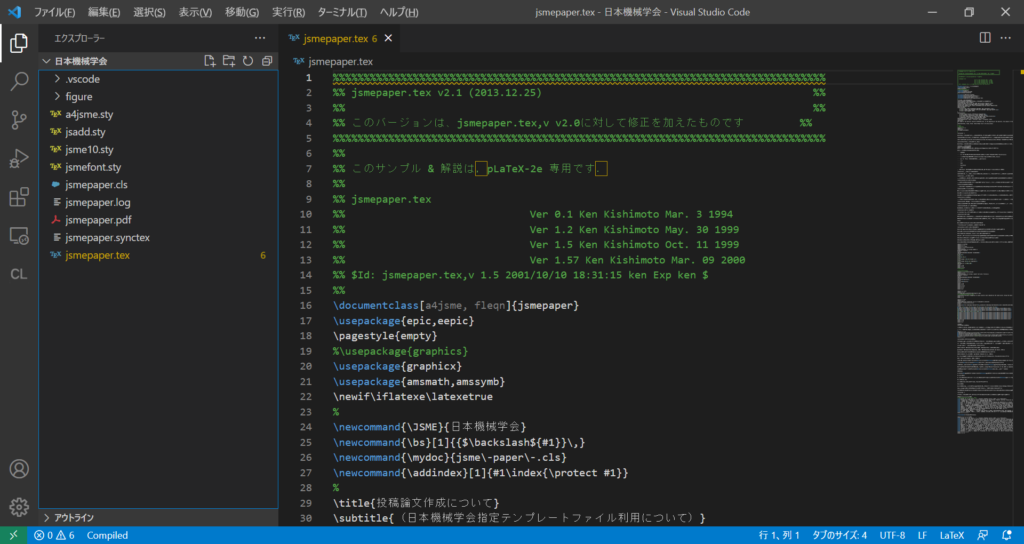
「Project files have been synchronized!」という通知が出てくれば成功である
「Ctrl+Shift+E」でエクスプローラーを開くと、Cloud LaTeX上のファイルが同期されていることがわかる
ローカルのLaTeXプロジェクトをCloud Latexにアップロードする
先輩などからもらったTeXのデータをCloud LaTeXにアップロードして、VSCodeで編集する方法を説明する
例として、日本航空宇宙学会のテンプレート「Tex(for windows)」を使用する

とりあえずTeXに必要そうなファイルをすべて選択して右クリックし、「送る>圧縮(zip形式)フォルダー」をクリックする
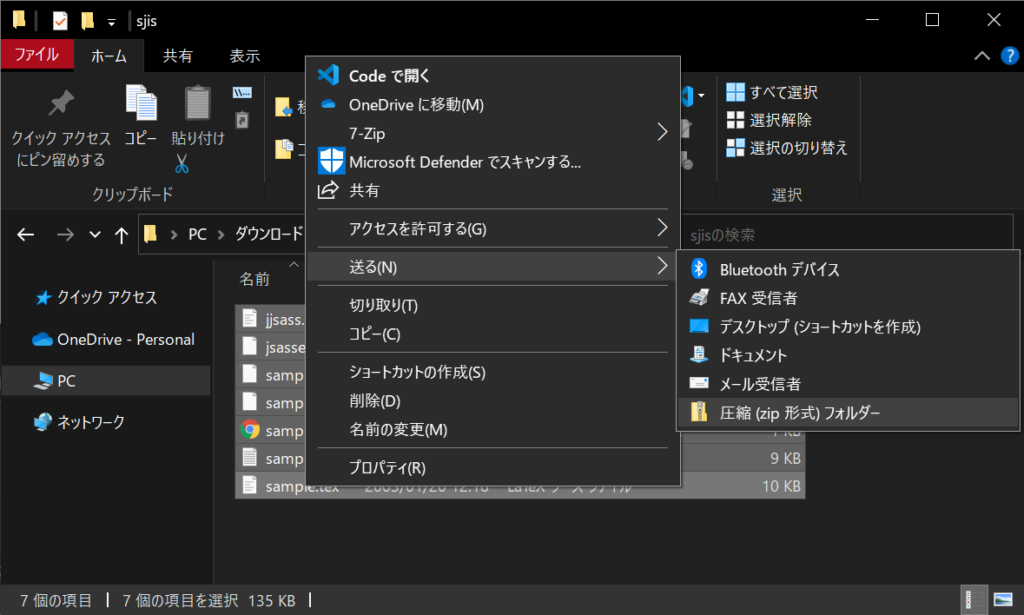
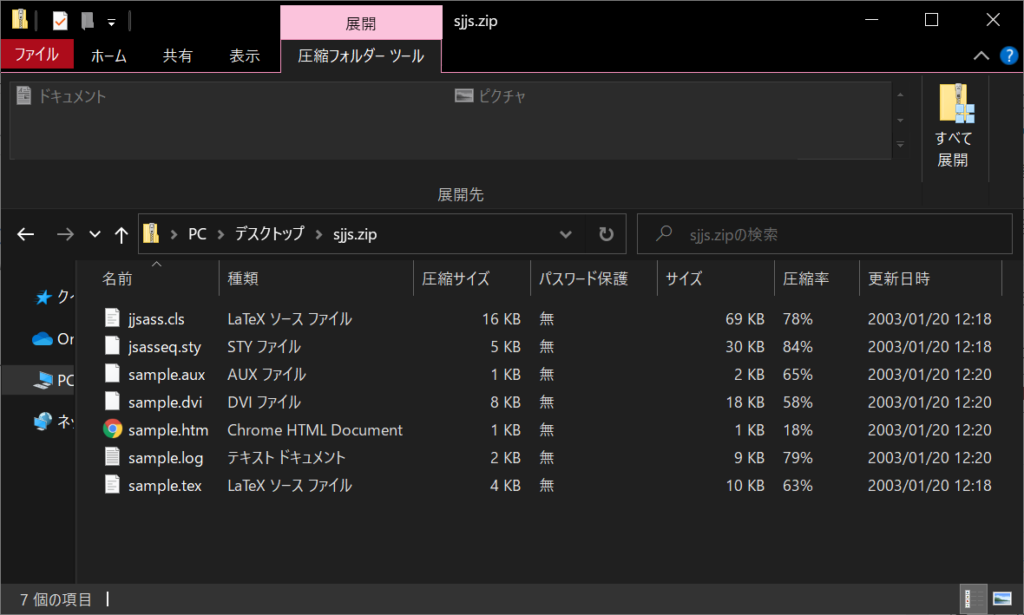
以下のようなzipファイルができる
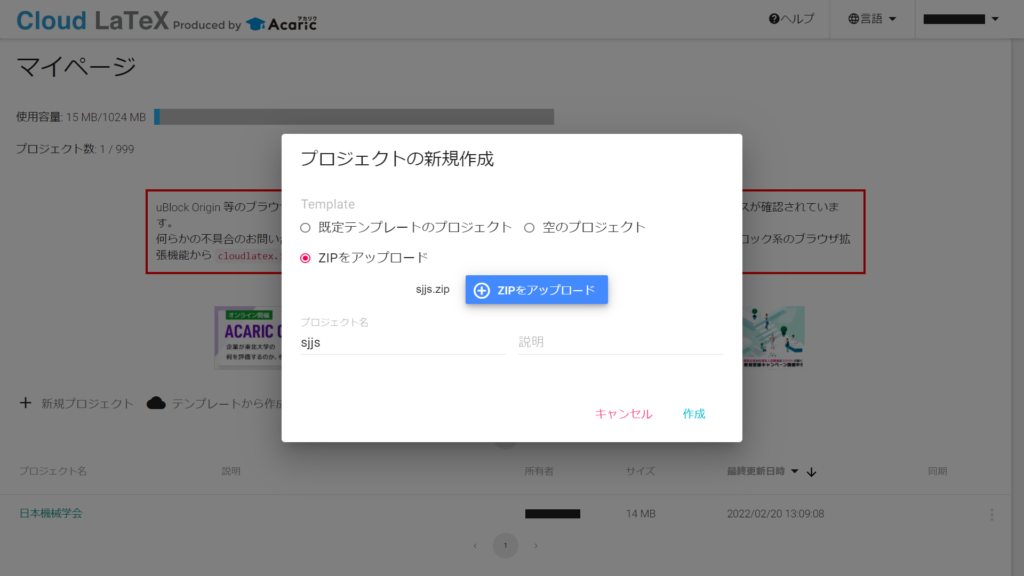
Cloud LaTeXのマイページにアクセスし、「新規プロジェクト」をクリック
「ZIPをアップロード」を選択してzipファイルをアップロードし、「作成」をクリック
これでCloud LaTeX上にLaTeXプロジェクトをアップロードできる
あとは先ほどと同様の手順でVSCodeと連携させればいい
- Project IDを確認
- Cloud LaTeXと連携するフォルダをローカルに作成
- VSCodeで(2)のフォルダを開く
- CLのProject Settingでワークスペース設定の「Enabled」にチェックを入れてProject IDを入力
- VSCodeをリスタートする
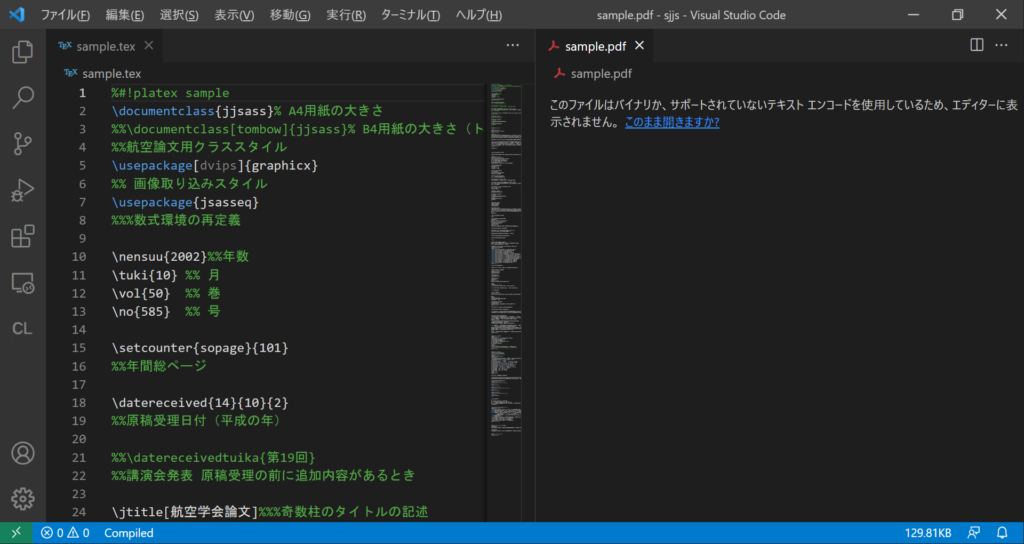
Visual Stuido CodeでPDFのプレビューを確認する
現時点ではpdfファイルのプレビューを見ることができない
pdfファイルのプレビューを見れるようにするために、「LaTeX Workshop」という拡張機能をインストールする
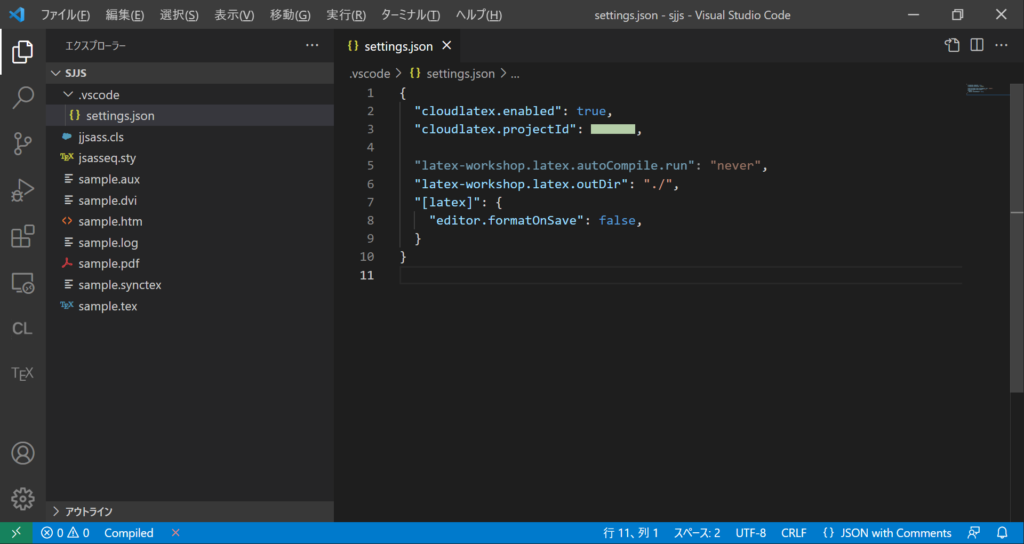
エクスプローラーを開き、「.vscode」というフォルダの中の「setting.json」というファイルを次のように書きかえる
{
  "cloudlatex.enabled": true,
  "cloudlatex.projectId": XXXXXX,

  "latex-workshop.latex.autoCompile.run": "never",
  "latex-workshop.latex.outDir": "./",
  "[latex]": {
    "editor.formatOnSave": false,
  },
  "latex-workshop.latex.autoBuild.run": "never"
}
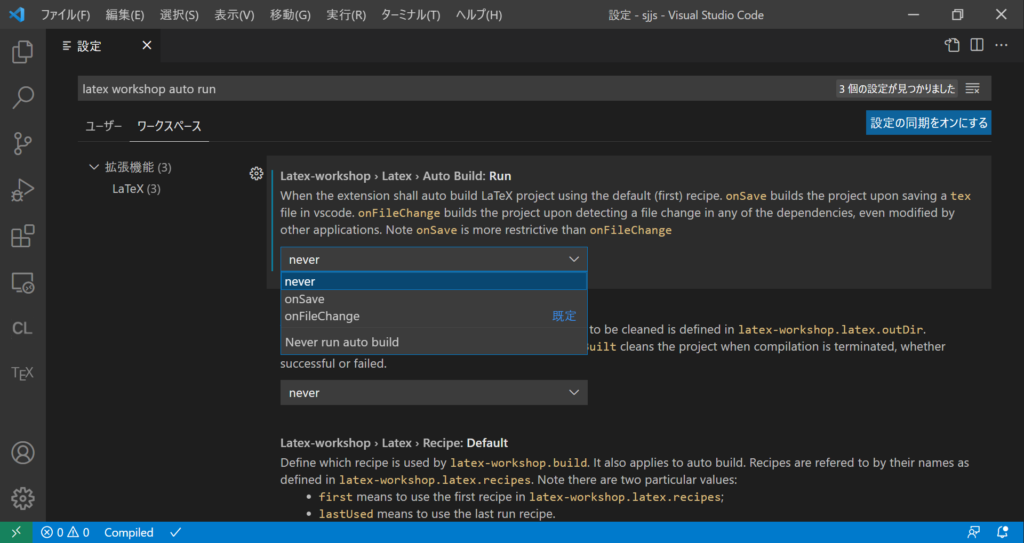
Latex Workshopの自動コンパイルを無効化の設定「"latex-workshop.latex.autoCompile.run": "never"」が効いてないようなので、設定のほうも変更する
左下の歯車のマークをクリックし、「設定」をクリックする
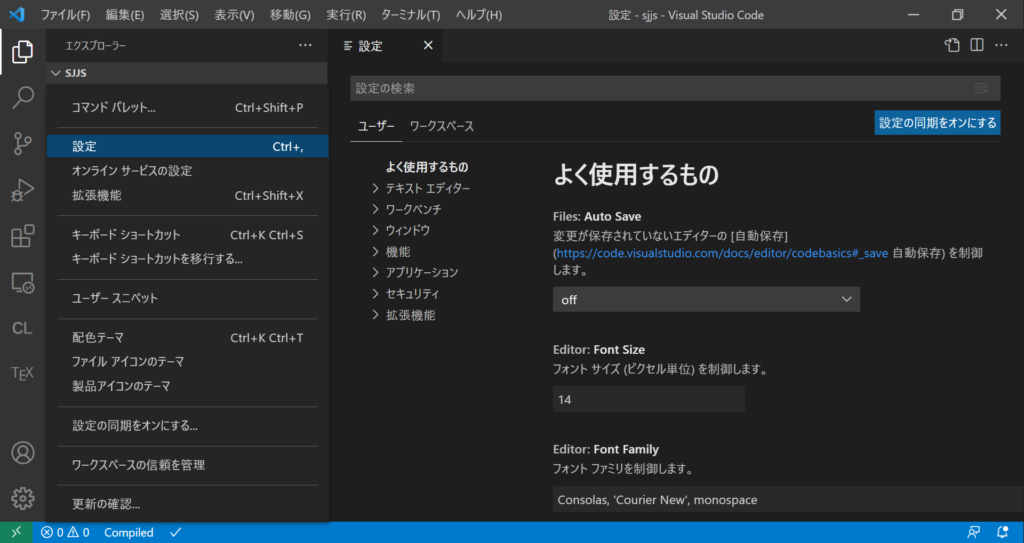
設定の検索窓に「latex workshop auto run」と入力し、「ワークスペース」タブの「Latex-workshop › Latex › Auto Build: Run」を「never」に設定する
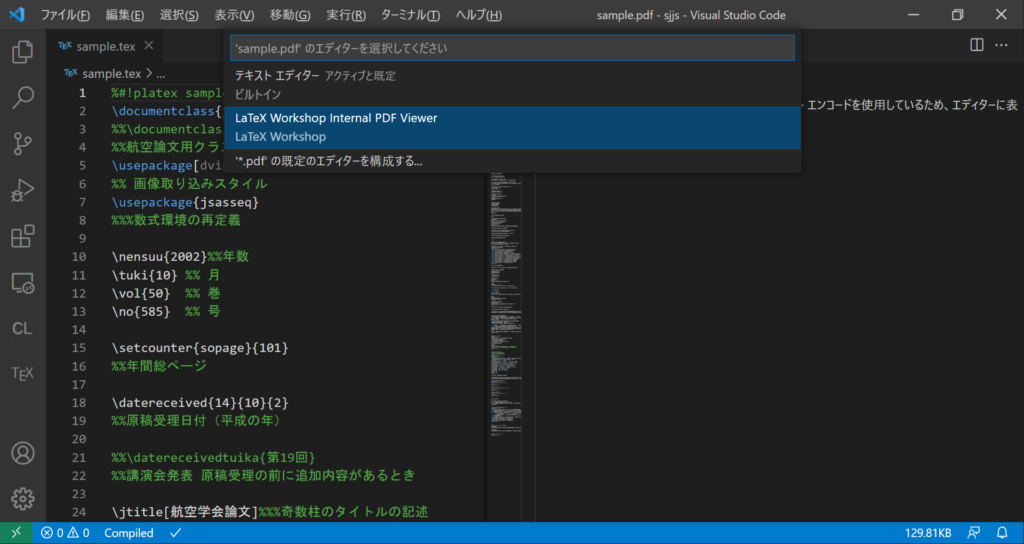
エクスプローラーからpdfファイルを開き、「このまま開きますか?」から「'*.pdf'の既定のエディターを構成する>LaTeX Workshop Internel PDF Viewer」をクリックする
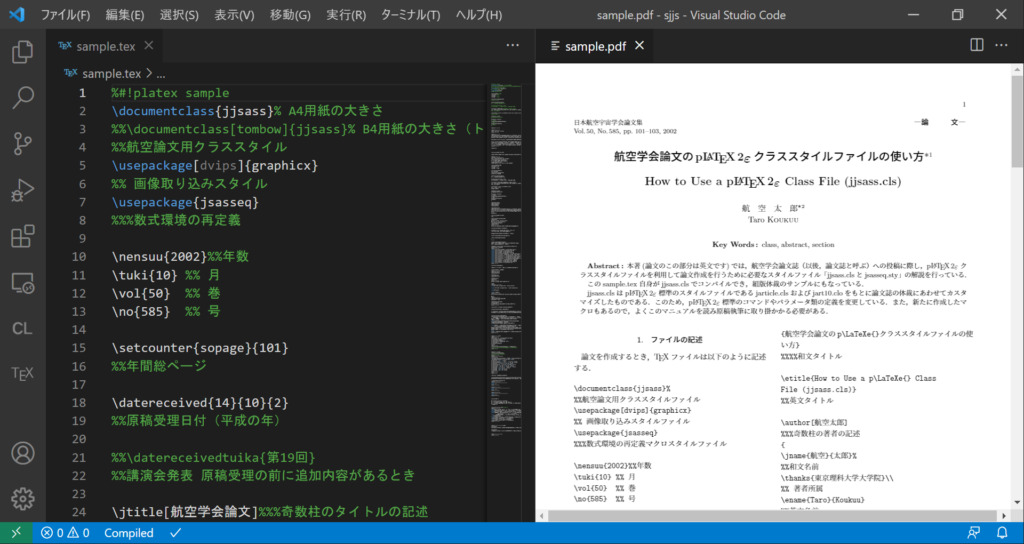
これでVSCodeからPDFのプレビューが確認できるようになった
まとめ
WindowsのVisual Studio CodeでCloud LaTeXの実行環境を構築する方法を説明した
これで煩わしいLaTeXのインストール作業から解放された
↓参考
https://github.com/cloudlatex-team/cloudlatex-vscode-extension/blob/main/docs/README_ja.md↓関連記事


コメント