Ubuntuでpythonの最新版をインストールする方法について紹介する
デフォルトでインストールされているPython
Ubuntuをインストールすると,デフォルトでPythonがインストールされている
:~$ python3 --version
Python 3.8.10
しかし,このPythonはOSの様々な機能を提供するために使われるものなので,ユーザーが適当に使ってはいけない
ましてや絶対にアンインストールなどしてはいけない
≫Ubuntu環境のPython_ Python環境構築ガイド - python.jp
というわけで,自分で使うためのPythonをUbuntuにインストールする
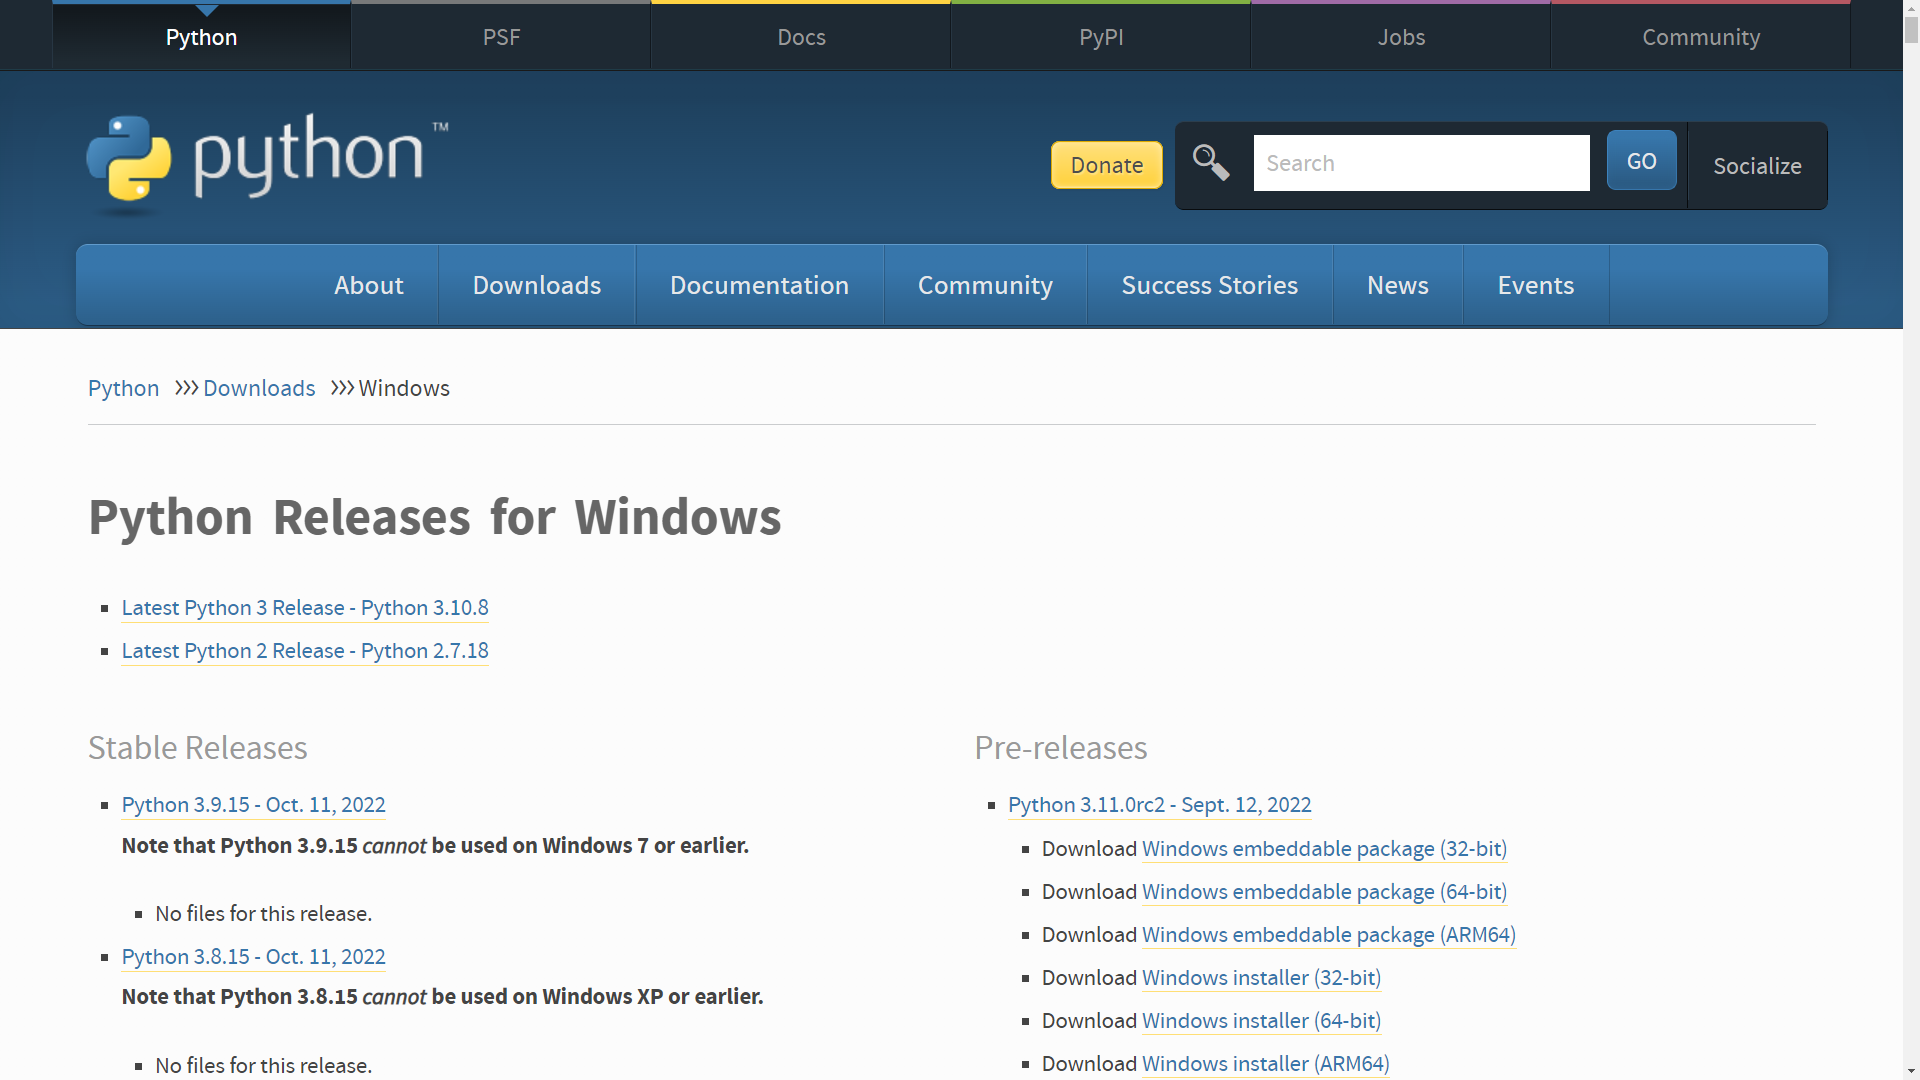
Python公式サイトから最新版をダウンロードする
公式サイトにアクセスし,「Latest Python 3 Release - Python 3.10.8」をクリックする

開いたページの下の方にあるFilesの中から「XZ compressed source tarball」をクリックする
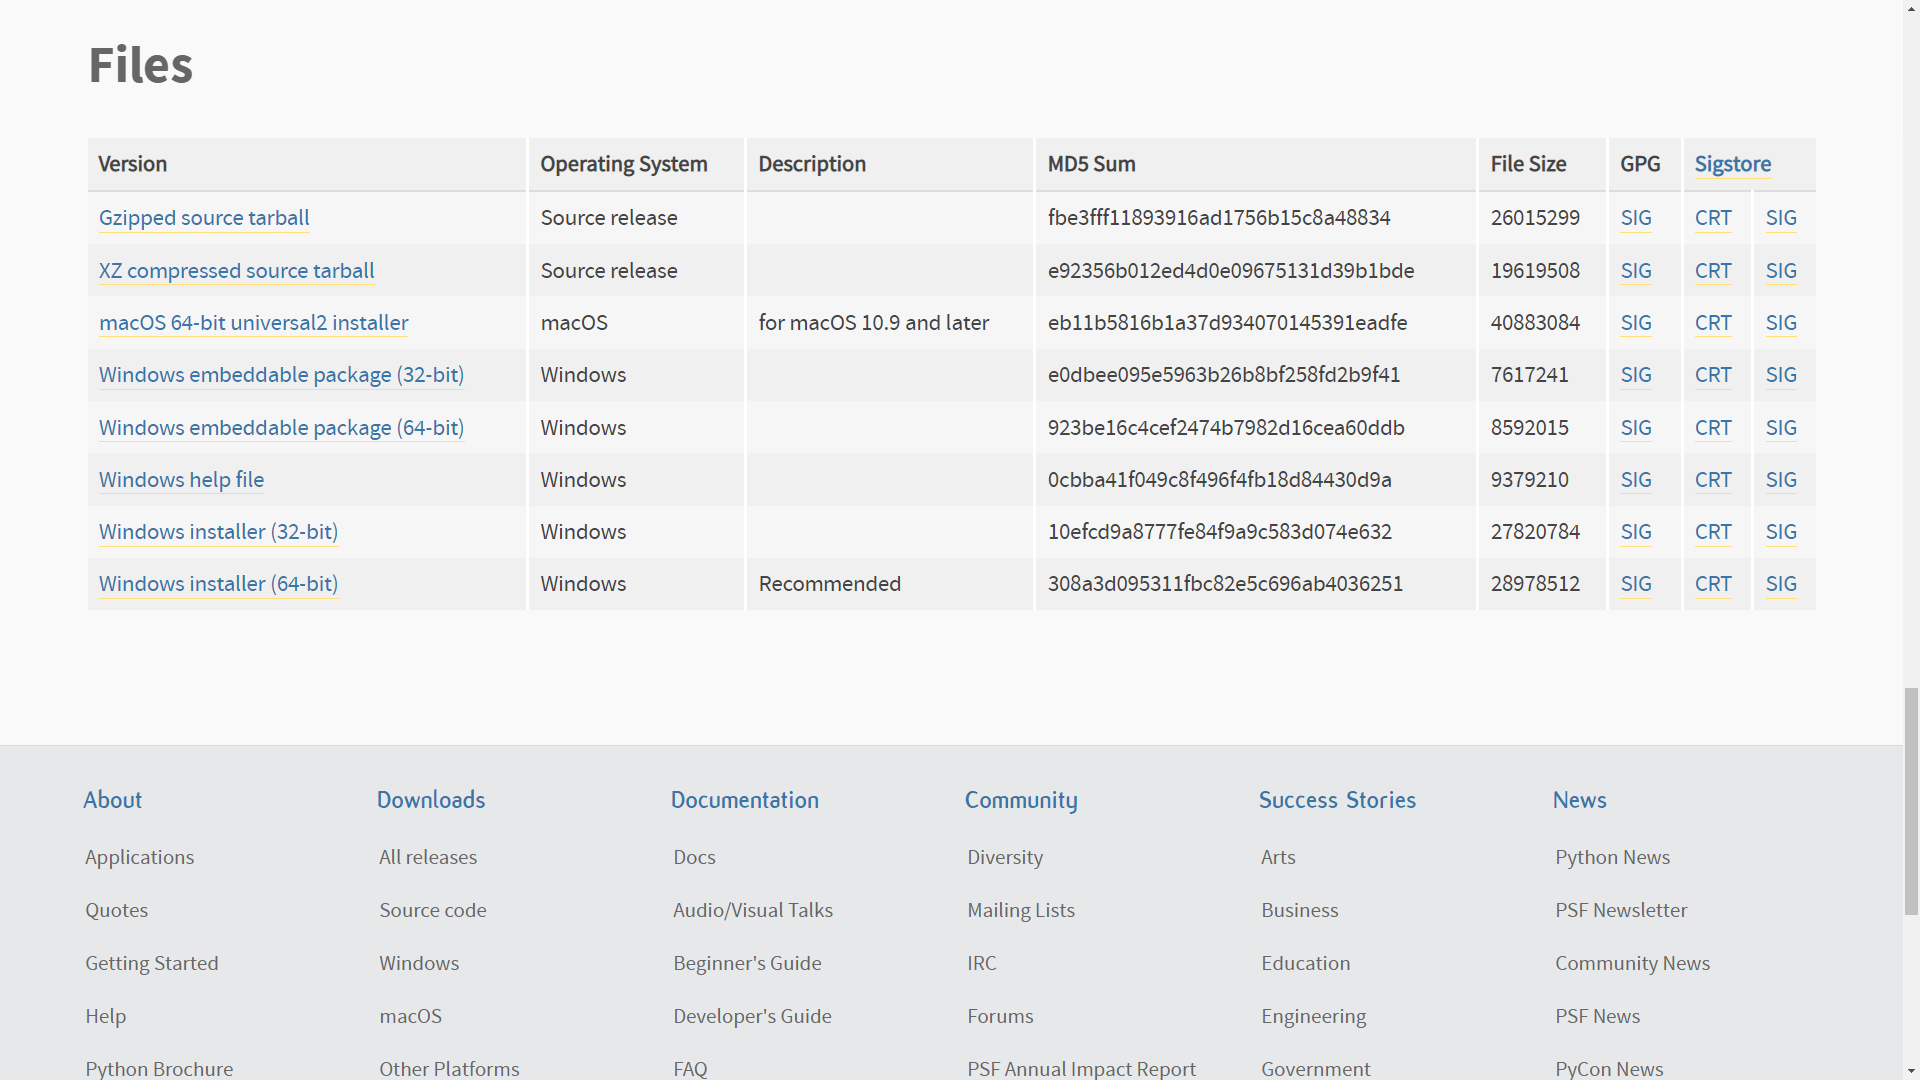
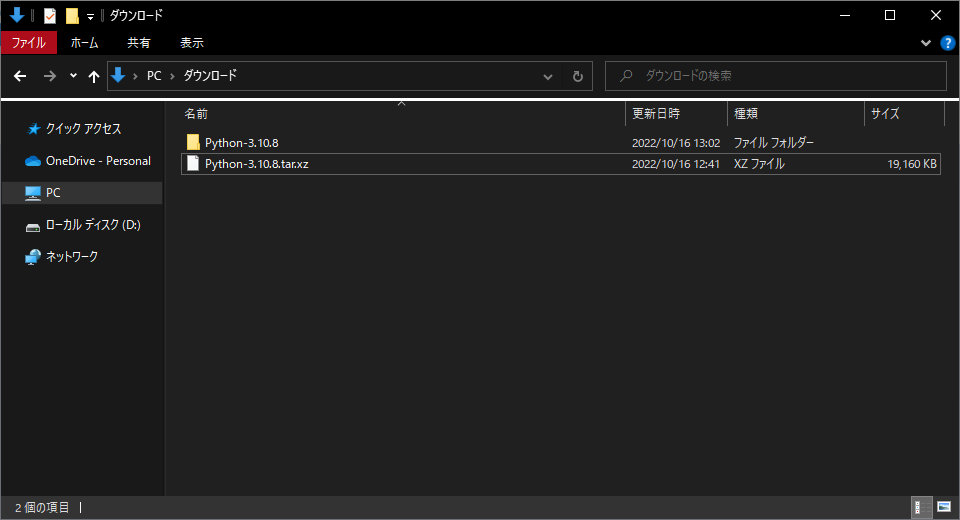
ダウンロードフォルダに「Python-3.10.8.tar.xz」がダウンロードされる
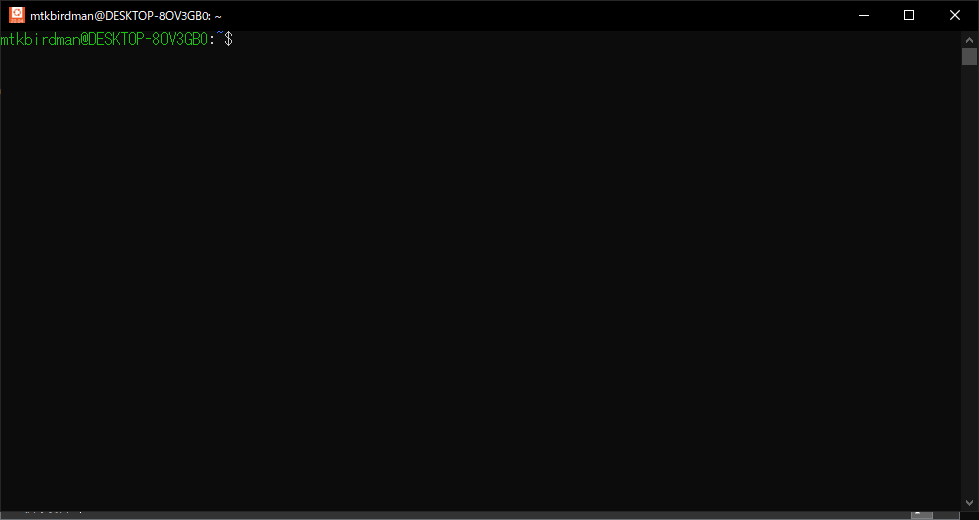
Ubuntuを使ってPythonをインストールする
Ubuntuを開く
次のコマンドをたたいて,Pythonのインストールに必要なものを準備する
sudo apt-get update
sudo apt install build-essential libbz2-dev libdb-dev libreadline-dev libffi-dev libgdbm-dev liblzma-dev libncursesw5-dev libsqlite3-dev libssl-dev zlib1g-dev uuid-dev tk-dev:~$ sudo apt-get update
[sudo] password for mtkbirdman:
Get:1 http://security.ubuntu.com/ubuntu focal-security InRelease [114 kB]
Hit:2 http://archive.ubuntu.com/ubuntu focal InRelease
Get:3 http://archive.ubuntu.com/ubuntu focal-updates InRelease [114 kB]
:
Get:40 http://archive.ubuntu.com/ubuntu focal-backports/universe Translation-en [16.0 kB]
Get:41 http://archive.ubuntu.com/ubuntu focal-backports/universe amd64 c-n-f Metadata [860 B]
Get:42 http://archive.ubuntu.com/ubuntu focal-backports/multiverse amd64 c-n-f Metadata [116 B]
Fetched 24.5 MB in 1min 10s (347 kB/s)
Reading package lists... Done:~$ sudo apt install build-essential libbz2-dev libdb-dev libreadline-dev libffi-dev libgdbm-dev liblzma-dev libncursesw5-dev libsqlite3-dev libssl-dev zlib1g-dev uuid-dev tk-dev
[sudo] password for mtkbirdman:
Reading package lists... Done
Building dependency tree
Reading state information... Done
:
Need to get 25.9 MB of archives.
After this operation, 103 MB of additional disk space will be used.
Do you want to continue? [Y/n] Y
Get:1 http://archive.ubuntu.com/ubuntu focal-updates/main amd64 liblzma5 amd64 5.2.4-1ubuntu1.1 [91.8 kB]
Get:2 http://archive.ubuntu.com/ubuntu focal-updates/main amd64 zlib1g amd64 1:1.2.11.dfsg-2ubuntu1.4 [53.9 kB]
Get:3 http://archive.ubuntu.com/ubuntu focal-updates/main amd64 libsqlite3-0 amd64 3.31.1-4ubuntu0.4 [549 kB]
:
Processing triggers for libc-bin (2.31-0ubuntu9.7) ...
Processing triggers for man-db (2.9.1-1) ...
Processing triggers for install-info (6.7.0.dfsg.2-5) ...次のコマンドをたたいて,ダウンロードしたフォルダを解凍する(ユーザー名:mtkbirdman)
cd /mnt/c/Users/mtkbirdman/Downloads
tar xJf Python-3.10.8.tar.xz
cd Python-3.10.8:~$ cd /mnt/c/Users/mtkbirdman/Downloads
:/mnt/c/Users/mtkbirdman/Downloads$ tar xJf Python-3.10.8.tar.xz
:/mnt/c/Users/mtkbirdman/Downloads$ cd Python-3.10.8次のコマンドをたたいて,Pythonをインストールする
./configure
make
sudo make install:/mnt/c/Users/mtkbirdman/Downloads/Python-3.10.8$ ./configure
checking build system type... x86_64-pc-linux-gnu
checking host system type... x86_64-pc-linux-gnu
checking for python3.10... no
:
checking for a sed that does not truncate output... /usr/bin/sed
checking for --with-cxx-main=<compiler>... no
checking for g++... no
configure:
By default, distutils will build C++ extension modules with "g++".
If this is not intended, then set CXX on the configure command line.
checking for the platform triplet based on compiler characteristics... x86_64-linux-gnu
checking for multiarch... x86_64-linux-gnu
checking for -Wl,--no-as-needed... yes
:
config.status: creating pyconfig.h
creating Modules/Setup.local
creating Makefile
If you want a release build with all stable optimizations active (PGO, etc),
please run ./configure --enable-optimizations:/mnt/c/Users/mtkbirdman/Downloads/Python-3.10.8$ make
gcc -pthread -c -Wno-unused-result -Wsign-compare -DNDEBUG -g -fwrapv -O3 -Wall -std=c99 -Wextra -Wno-unused-result -Wno-unused-parameter -Wno-missing-field-initializers -Werror=implicit-function-declaration -fvisibility=hidden -I./Include/internal -I. -I./Include -DPy_BUILD_CORE -o Programs/python.o ./Programs/python.c
gcc -pthread -c -Wno-unused-result -Wsign-compare -DNDEBUG -g -fwrapv -O3 -Wall -std=c99 -Wextra -Wno-unused-result -Wno-unused-parameter -Wno-missing-field-initializers -Werror=implicit-function-declaration -fvisibility=hidden -I./Include/internal -I. -I./Include -DPy_BUILD_CORE -o Parser/token.o Parser/token.c
gcc -pthread -c -Wno-unused-result -Wsign-compare -DNDEBUG -g -fwrapv -O3 -Wall -std=c99 -Wextra -Wno-unused-result -Wno-unused-parameter -Wno-missing-field-initializers -Werror=implicit-function-declaration -fvisibility=hidden -I./Include/internal -I. -I./Include -DPy_BUILD_CORE -o Parser/pegen.o Parser/pegen.c
:
gcc -pthread -c -Wno-unused-result -Wsign-compare -DNDEBUG -g -fwrapv -O3 -Wall -std=c99 -Wextra -Wno-unused-result -Wno-unused-parameter -Wno-missing-field-initializers -Werror=implicit-function-declaration -fvisibility=hidden -I./Include/internal -I. -I./Include -DPy_BUILD_CORE -o Programs/_testembed.o ./Programs/_testembed.c
gcc -pthread -Xlinker -export-dynamic -o Programs/_testembed Programs/_testembed.o libpython3.10.a -lcrypt -lpthread -ldl -lutil -lm -lm
sed -e "s,@EXENAME@,/usr/local/bin/python3.10," < ./Misc/python-config.in >python-config.py
LC_ALL=C sed -e 's,\$(\([A-Za-z0-9_]*\)),\$\{\1\},g' < Misc/python-config.sh >python-config:/mnt/c/Users/mtkbirdman/Downloads/Python-3.10.8$ sudo make install
if test "no-framework" = "no-framework" ; then \
/usr/bin/install -c python.exe /usr/local/bin/python3.10; \
else \
:
Installing collected packages: setuptools, pip
Successfully installed pip-22.2.2 setuptools-63.2.0
WARNING: Running pip as the 'root' user can result in broken permissions and conflicting behaviour with the system package manager. It is recommended to use a virtual environment instead: https://pip.pypa.io/warnings/venvインストールできたことを確認する
:~$ python3 --version
Python 3.10.8
無事最新バージョンである3.10.8をインストールできた
python3というコマンドを使うと,Ubuntuに最後にインストールされたバージョンのPythonが自動的に呼び出される
自分でダウンロードした特定のバージョンのPythonを使いたいときは,python3.xというコマンドを使う必要がある
仮想環境を構築する
UbuntuでPythonを使うには仮想環境が必須である
絶対に必ず間違いなく必須なので仮想環境とかよくわからない人もとりあえず仮想環境を作ろう
仮想環境を作成したいディレクトリに移動し,仮想環境を次のコマンドで作成する
(今回は/mnt/c/Users/mtkbirdman/Desktop/testに作成)
cd /mnt/c/Users/mtkbirdman/Desktop/test
python3 -m venv .py310venv.py310venvは作成する仮想環境の名前なので,わかりやすい名前なら何でもいい
:~$ cd /mnt/c/Users/mtkbirdman/Desktop/test
:/mnt/c/Users/mtkbirdman/Desktop/test$ python3 -m venv .py310venvlsコマンドで見てみると.py310venvが作成されていることが分かる
:/mnt/c/Users/mtkbirdman/Desktop/test$ ls -la
total 0
drwxrwxrwx 1 mtkbirdman mtkbirdman 4096 Oct 19 20:26 .
drwxrwxrwx 1 mtkbirdman mtkbirdman 4096 Oct 19 20:20 ..
drwxrwxrwx 1 mtkbirdman mtkbirdman 4096 Oct 19 20:26 .py310venv
グローバル環境から仮想環境へ切り替える
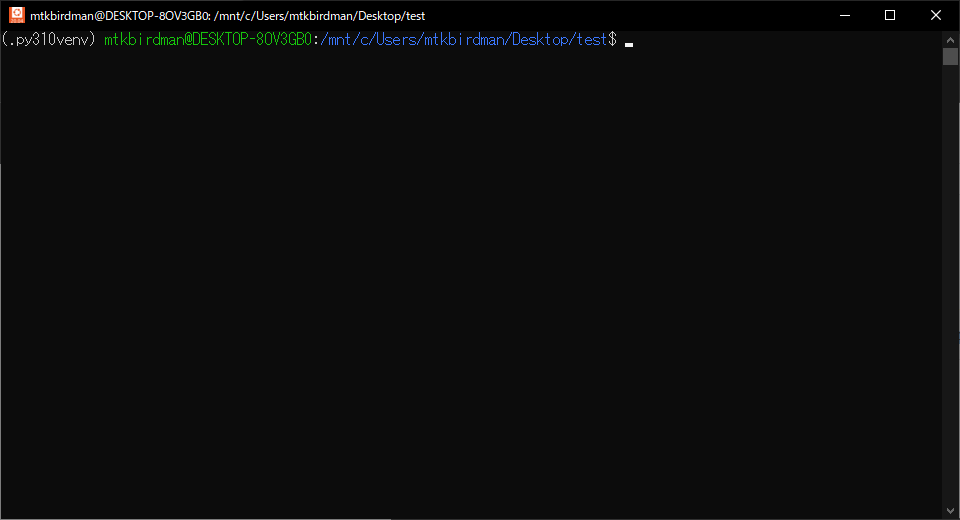
.py310venvを作成したディレクトリで次のコマンドをたたけば仮想環境に切り替えることができる
. .py310venv/bin/activate仮想環境に切り替わると,一番左側に(.py310venv)と表示される
仮想環境を終了してグローバル環境に戻る
仮想環境を終了するには次のコマンドをたたく
deactivateこれで仮想環境を終了できる
再び仮想環境に戻りたいときは,.py310venvを作成したディレクトリに移動して. .py310venv/bin/activateのコマンドをたたけばいい
pipを使う
仮想環境の中なら,普通にpipコマンドを使うことができる
pip install numpy
pip list試しに仮想環境内でpip installを使っていくつかのモジュールをインストールしてみた
(.py310venv) :/mnt/c/Users/mtkbirdman/Desktop/test$ pip list
Package            Version
------------------ -------
cmplxfoil          2.0.1
mdolab-baseclasses 1.7.0
mpi4py             3.1.3
numpy              1.23.4
pip                22.3
pyspline           1.5.1
scipy              1.9.2
setuptools         63.2.0
仮想環境を終了する
(.py310venv) :/mnt/c/Users/mtkbirdman/Desktop/test$ deactivatepip3 listを使うと,グローバル環境のPythonには何もインストールされていないことが分かる
:/mnt/c/Users/mtkbirdman/Desktop/test$ pip3 list
Package    Version
---------- -------
numpy      1.23.4
pip        22.3
setuptools 65.5.0
以上
コメント
とても分かりやすいです。仮想環境の構築は手探りで大変だったのでubuntuを使う知人等に拡散したいと思います。
コメントありがとうございます!
お役に立てて何よりです。